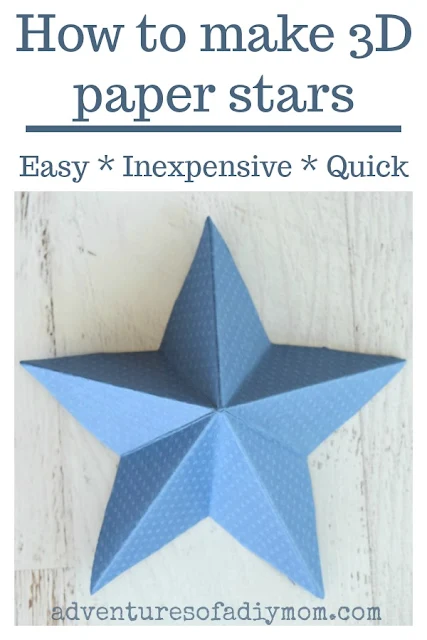
Using red and blue patterned paper will give you a patriotic star to spruce up your 4th of July decor. Or use Christmas themed paper or colors for Christmas tree ornaments or holiday decorating, like I did with this star wreath.
3D Paper Stars
You've seen the 3D tin stars that are sold everywhere for home decor. You can create a similar look for MUCH less using cardstock.Use the stars to create a garland, or to sit on a shelf. Use patriotic paper to create stars for 4th of July decor.Use gold or silver stars to accent your Christmas decor. The options are only limited by your paper supply.
It's a fun craft for kids on a "too hot to go outside" day this summer too. The stars are pretty easy to make, but being three dimensional brings the WOW factor. I was showing my daughter how to make them and her little friend came over and kept exclaiming how cool they were.
Update 6-4-19: This post was originally published 6-25-14. It has been updated to include a video and some new images.
Supplies needed for paper stars
- paper
- scissors
- twine or string to hang, if desired
Easy step-by-step to make 3-D paper stars
To watch the video, scroll to the end. Printable instructions are also included at the end of the post.- Begin with a rectangle and fold it in half hamburger style.
- Fold the top left corner to the middle of the right side.
- Take the point and fold it back on itself to line up with the left side.
- Fold over the right side, folding right over the fold you just created in the previous step.
- Take the point from the left and fold it over so that the sides line up.
- Place your scissors so they are parallel to the bottom. (You can try different angles and see how the stars turn out. They will be pointier or fatter depending on the angle)
- Cut
- Unfold the star
- Refold the creases so that all the points crease upward and all the short folds crease downward.
↓↓ To watch the video, click the link ↓↓
Tip: Regular paper is easier to work with than card stock, so I recommend trying this out with regular paper to figure out the process and then when you've got it down use your patterned paper.
What size paper should I use?
I used a 8 1/2 X 11 sheet of paper for the step by step pictures. My smaller stars were made with a 4 X 6 piece of cardstock. Play around with different sizes, I bet a longer, skinnier rectangle would yield a really neat looking star.What size will my stars end up?
If you start with an 8 1/2 X 11 sheet of paper, the star will end up approximately 7 inches in diameter at the widest point.If using a 4 X 6 sheet of paper, the star will be about 3 inches at the widest point. You can make the stars smaller, by cutting closer to the point.
How to fold 3D paper stars video
↓↓ To watch the video, click the link ↓↓
Have you decorated for the 4th yet? I can't wait to get out my 4th of July Flag Tree, banner, and beadboard flag and I don't have a ton of 4th of July decor, but I need to get out what I do have. And hang my paper stars :)
More Paper Craft Ideas
- DIY Thankful Journals
- Birthday Binder
- Easy Paper Butterfly
- Gift Wrapping with Scrapbook Paper
- Watercolor Gift Tags


What a great tutorial! I have always wanted to do these. Now I know what I will be doing this week....
ReplyDeleteI found your through the Teach Me Tuesday @ 3GLOL #10 link party!
Best,
Brooke
I'm pinning this idea because the simple origami and the nice paper make such a bold statement. Thanks for sharing.
ReplyDeleteWhat a great tutorial! I think I just tried to comment but it did not take. If it shows up later, just know I really wanted you to know I appreciate you taking the time to put this out there...I also favorite your etsy shop....
ReplyDeleteI found your through the Teach Me Tuesday @ 3GLOL #10 link party!
Best,
Brooke
Seriously adorable. Sharing :) Stopping by from Gingerly Made.
ReplyDeleteBlessings,
Shari
Visiting from the Artsy Corner link up. This is SO cute! Thanks for sharing :)
ReplyDeleteI love this project. I cannot believe my eyes how that folding and the one cute makes a star. Pinning!
ReplyDeleteHave great weekend,
Kippi
Wow! its so amazing. With a simple pattern folding we r getting a attractive star.
ReplyDelete