Thursday, July 31, 2014

Turn a Necklace into a Bracelet and Earrings


Jewelry Inspiration
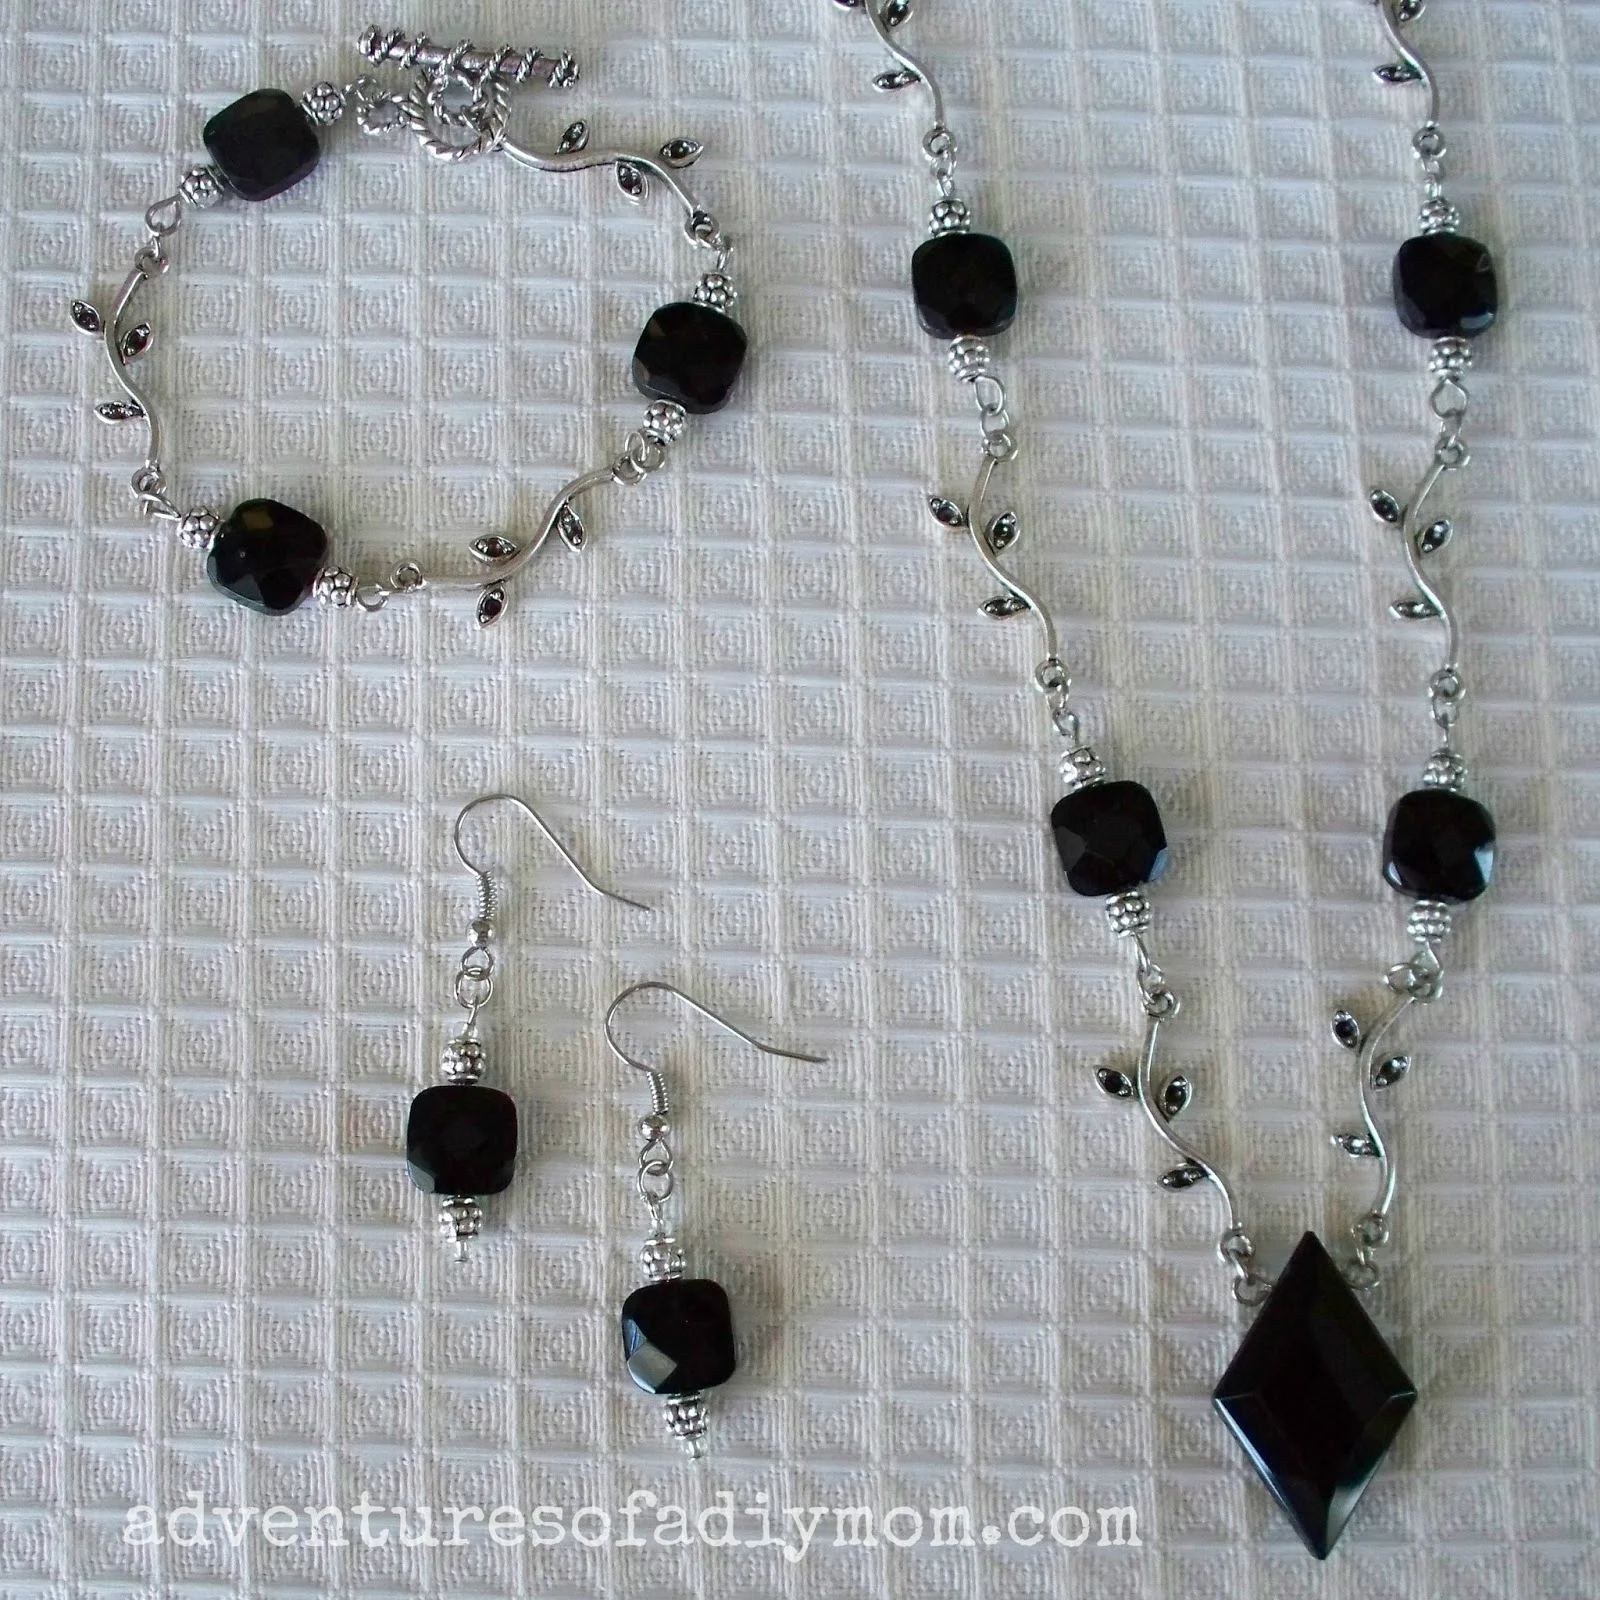
I love making jewelry, but sometimes I can't figure out a design. Sometimes it's hard to decide what beads will go well together. Sometimes it's easier to let the pros help out. That's what I did with this project. Not too long ago, Prima Bead had some of their pre-made jewelry on clearance. I ordered two of the same necklace and quickly turned one of them into a bracelet and a pair of earrings.

Turn a necklace into a bracelet
  The bracelet was super easy I just cut the wire at one end of the bracelet, took off enough beads so that it was the right length to fit around my wrist. Then I reattached the wire to the clasp using crimp beads.

Turn a necklace into earrings
For the earrings, I used the pendant part of the necklace as my inspiration and in no time I had a matching pair of earrings.

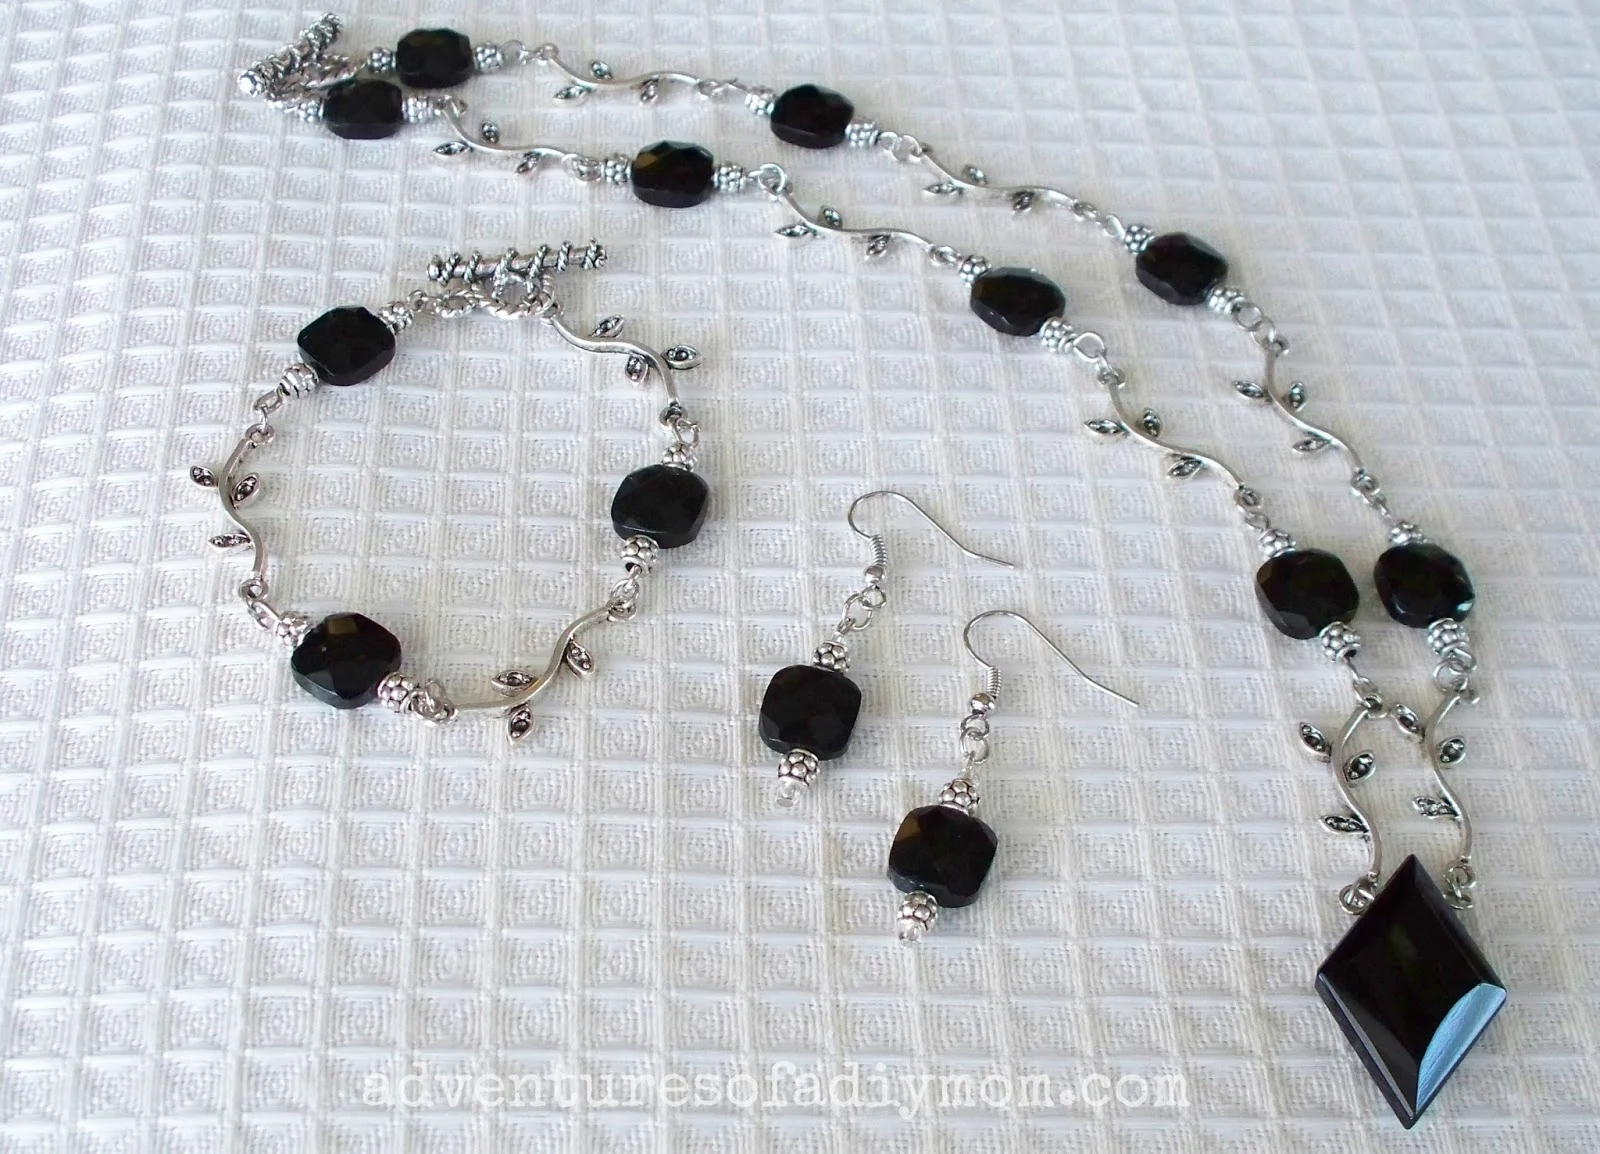
Here's another set I did. I love this black and silver necklace from Prima. 

Turn a necklace into a bracelet and earrings

It was even easier to make this bracelet and earrings from an extra necklace.

Turn a necklace into a bracelet and earrings

Do you have trouble figuring out a design for your jewelry projects? What tips do you have that help inspire you?


Wednesday, July 30, 2014

How to Get your Cake out of the Pan Perfectly Every Time!

Summer is birthday season at our house. We have birthdays in June, July and August. With birthdays comes birthday cake. And with cake sometimes comes the frustration of the cake not coming out and sticking to the pan.

Last year, my mom showed me a simple tip to get the cake out of your pan perfectly every time!

Love cake? Try some of my favorite cake recipes.
How to get your cake out of the pan perfectly every time


Prepare your pan as you normally would for a cake with butter or shortening and then flour. Then, using the bottom of the pan as your stencil, draw a circle into parchment paper.

Then cut it out and stick it in the bottom of the pan before adding your batter. When the cake is done, it's just a matter of loosening the edges with a knife and the cake slides right out.

Simply peel off the wax paper and voila! the perfect cake bottom!

Have you tried this before? What other tips do you have to get your cakes to come out of the pan cleanly?

Thursday, July 17, 2014

Twine Wrapped Jar with Lace Flower


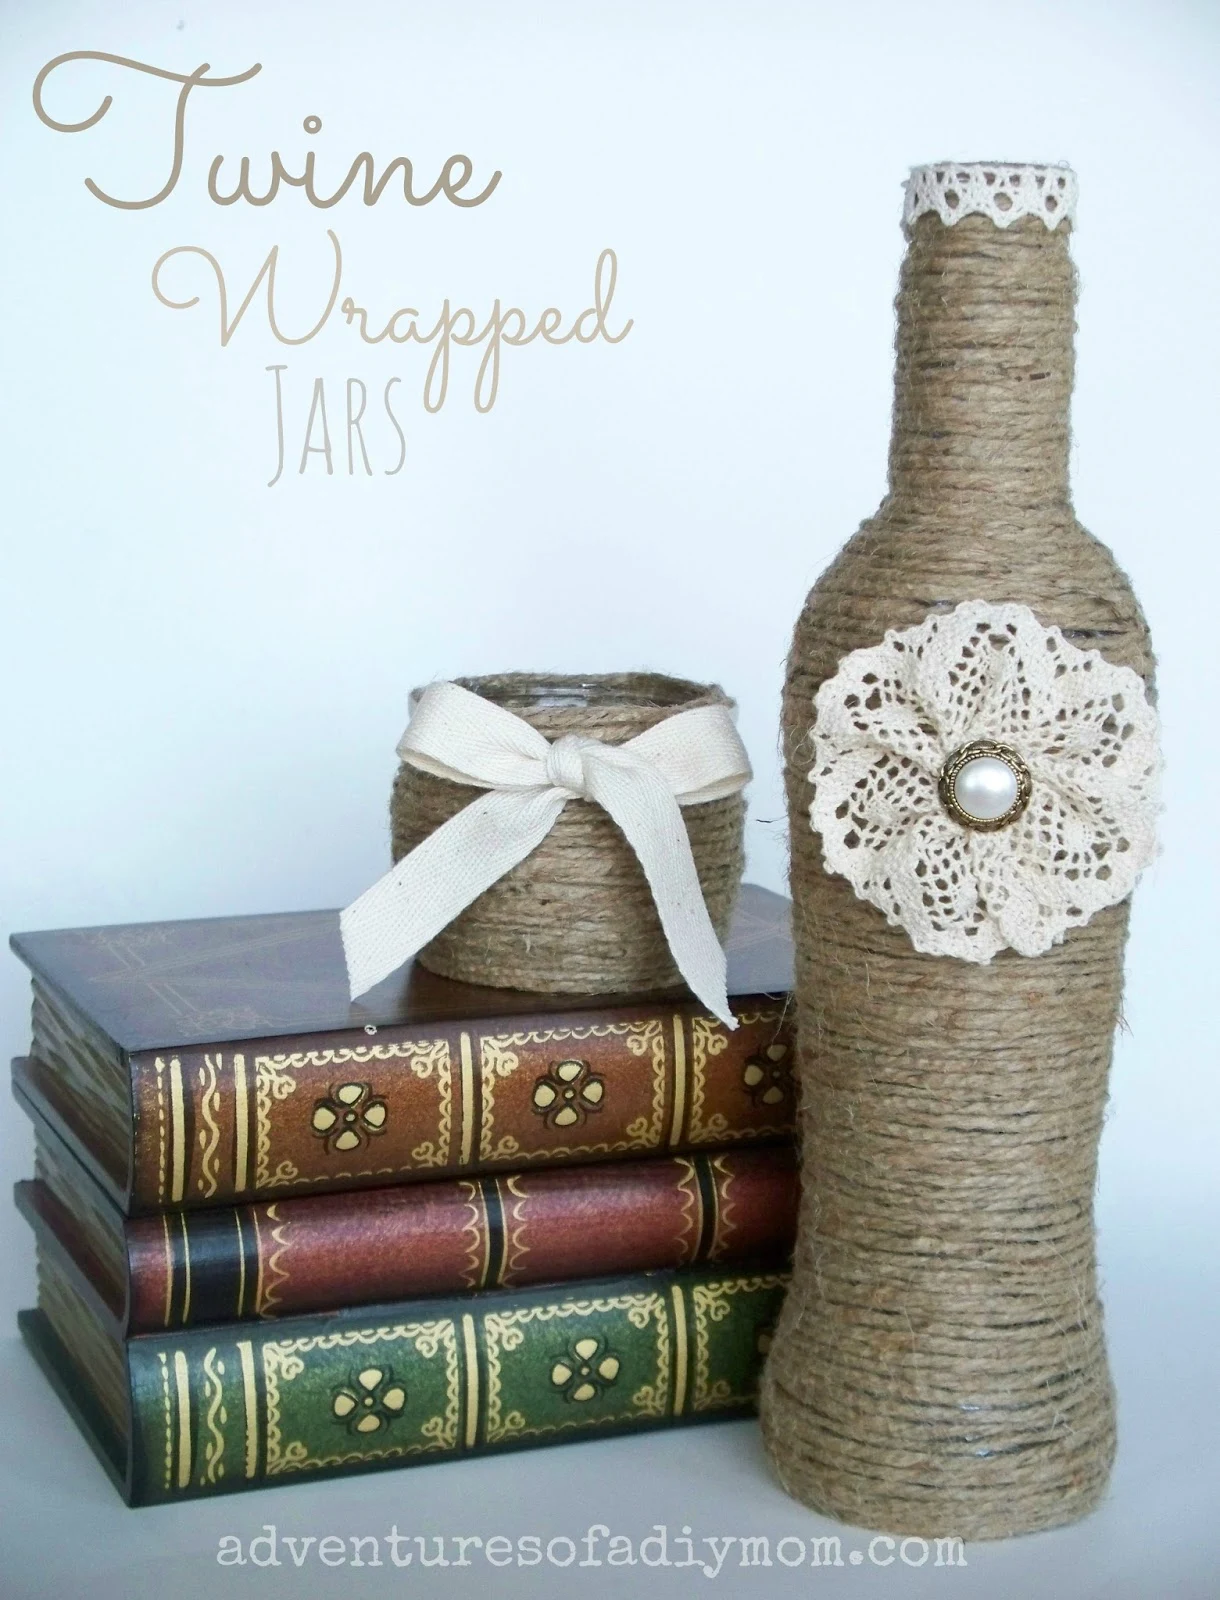
I think I must be the last craft blogger to make a twine wrapped jar. I've seen them for years, and I always wanted to try my hand at one. When my husband brought some unique juice jars home from work, I knew that it was finally time to try it out.  The twine brings a rustic feel, add a touch of lace or ribbon and you have a perfect combination.

Twine Wrapped Jar with Lace Flower
Twine wrapped jars are very easy to make, although they are a bit time consuming. Just grab your hot glue gun and some twine. Wrap your twine around the jar, gluing every so often to keep it from sliding around. Easy peasy.

Twine Wrapped jar with Ribbon

Once it was all wrapped, it just looked a little plain. So I grabbed the leftover lace from my Burlap and Lace Mason Jars, and lined the top, then made a quick flower. I shared the tutorial for the flower yesterday.

Twine Wrapped jar with Ribbon

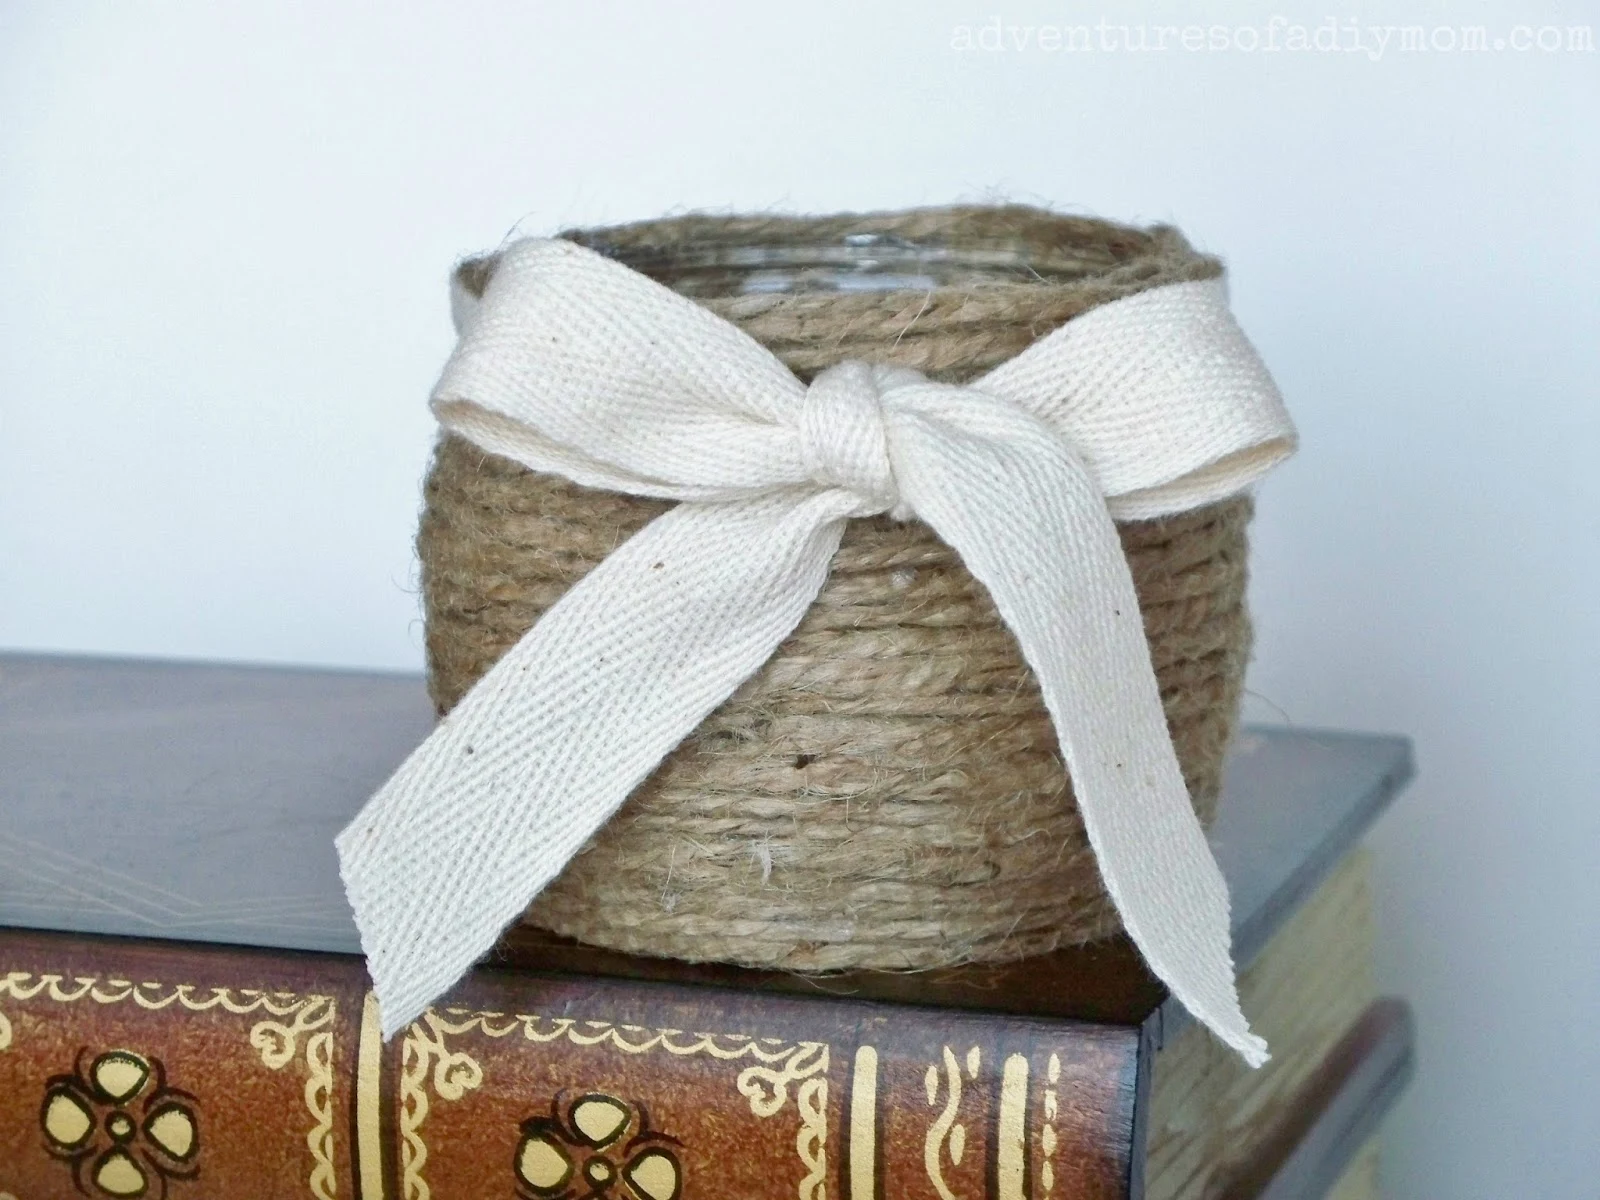
I think I like this little jar even better. I just love the shape...and the ribbon.

It's a shrimp cocktail sauce jar. It's been kicking around because I have a annoying tendency to keep any container that looks like it might be useful in the future.

Can you guess where the ribbon came from? It's also re-purposed. You know when you get flannel pajamas and they're wrapped up with a ribbon that's tied in a bow? Yep, that's where it came from.

Twine Wrapped Jar with Lace Flower
So have you already tried twine wrapping jars? Am I the last person on earth to try it?

Which jar is your favorite?

Thursday, July 3, 2014

Cuffed Shorts with Ribbon and Buttons - Cut off Jean Shorts


Today I'm sharing the last installment in my Cut off Jean Shorts Series. There's actually two pair of shorts, but the technique is the same. Cuff the shorts, sew on some ribbon and buttons and you have a totally transformed pair of shorts.

If you've never added a cuff to shorts, view my video at the end of this post: How to Blind-Hem stitch

Cuffed Shorts with Ribbon and Buttons - Cut off Jean Shorts SeriesCuffed Shorts with Ribbon and Buttons - Cut off Jean Shorts Series


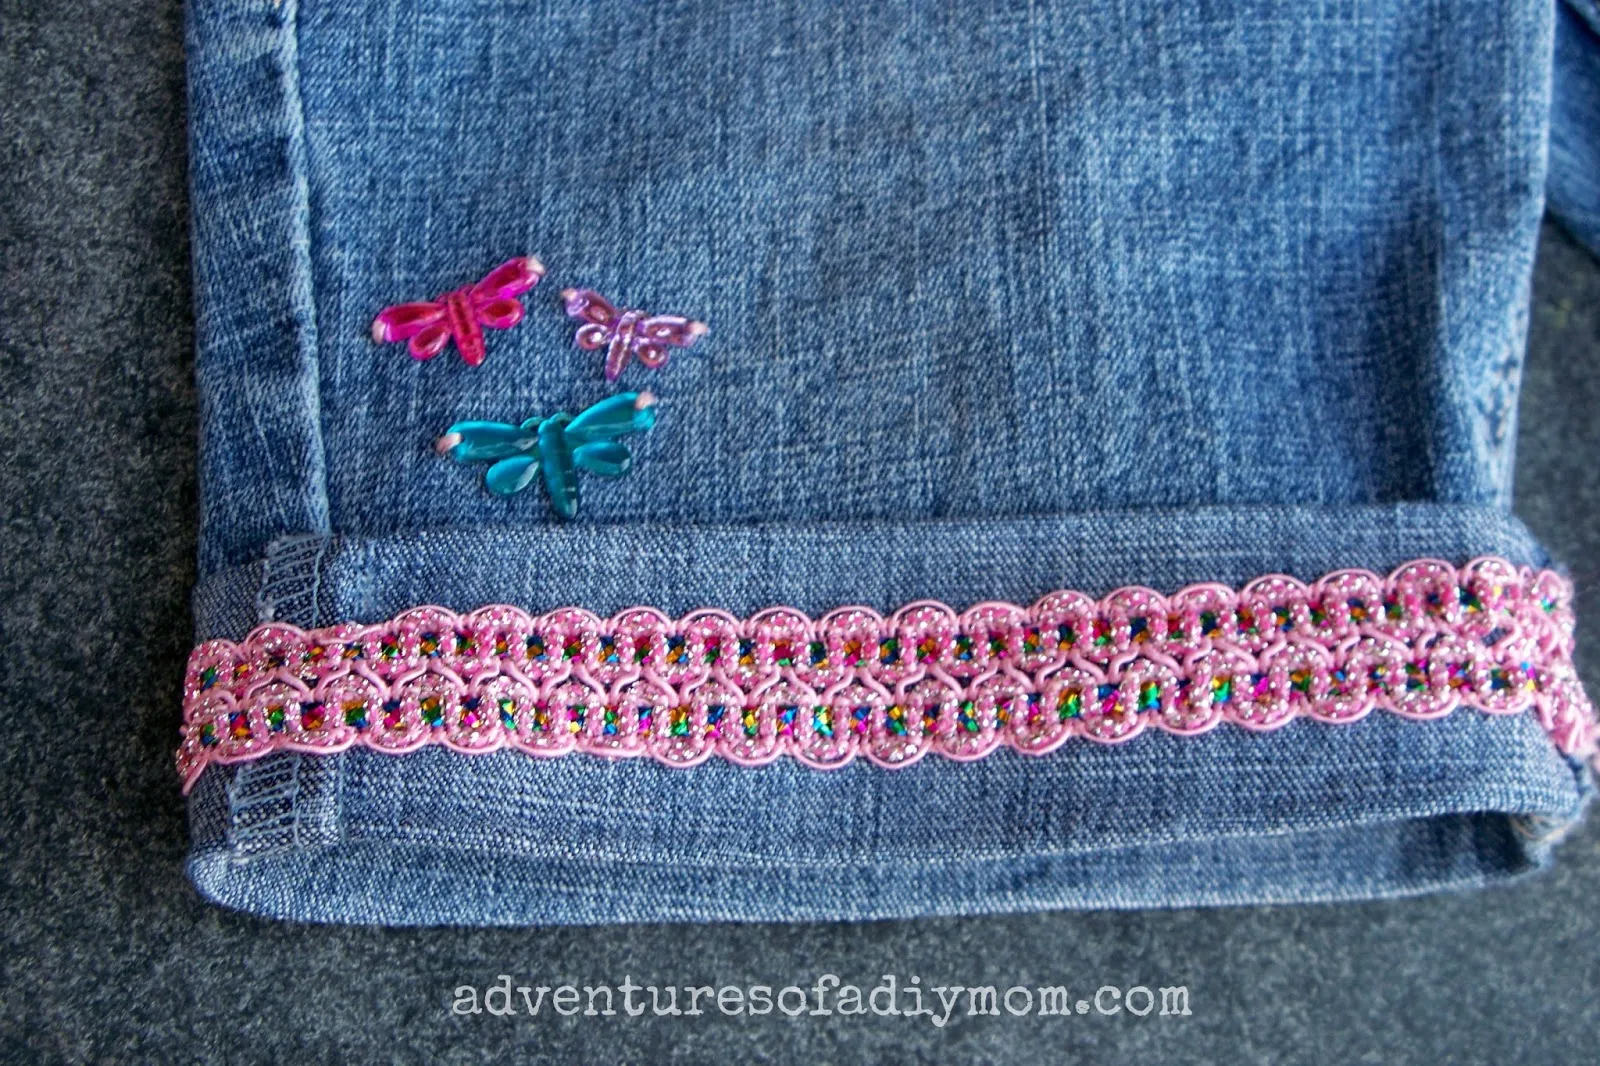
Begin by cutting an old pair of jeans at the knees. Fold them up twice and press them in place with an iron. Now it's time to sew on some ribbon. One of my daughters just had to have this pink sparkly ribbon. I folded over the end, placed it at the inner seam and sewed along the bottom edge of the ribbon. When I got near the end, I cut off the ribbon with just enough to fold it under at the seam and continued sewing to the fold. Then I went back and sewed along the top edge of the ribbon all the way around.

Cuffed Shorts with Ribbon and Buttons - Cut off Jean Shorts Series

Repeat with the other leg.

Cuffed Shorts with Ribbon and Buttons - Cut off Jean Shorts Series

Next I added some fun dragonfly buttons. I used 6-strand embroidery thread and added three buttons on the leg.

Cuffed Shorts with Ribbon and Buttons - Cut off Jean Shorts Series

Then I added three more at on the front pocket.

Then I repeated the whole process with some cute rainbow ricrac on another pair of shorts for my youngest daughter.

Cuffed Shorts with Ribbon and Buttons - Cut off Jean Shorts Series

I think these are my favorite shorts that I've done. I love the rainbow ricrac. She has so many fun bright shirts that all seem to go with these "new" shorts.

Cuffed Shorts with Ribbon and Buttons - Cut off Jean Shorts Series

I hand stitched some ricrac to the back pockets of these shorts as well.

Cuffed Shorts with Ribbon and Buttons - Cut off Jean Shorts Series

And of course added some cute buttons.

Cuffed Shorts with Ribbon and Buttons - Cut off Jean Shorts Series

Other posts in my Cut off Jean Shorts Series:
Cutoff Jean Shorts with Flag Pocket


Cutoff Jean Shorts with Simple Ribbon Bows
 Cutoff Jean Shorts with Simple Ribbon Bows


Cuffed Jean Shorts with Paint
Painted Cuffed Shorts - Cutoff Jean Shorts Series


Lace Cutoff Shorts


Wednesday, July 2, 2014

Painted Cuffed Shorts - Cut off Jean Shorts Series


A fun way to dress up old cut off jean shorts is with fabric paint. My middle daughter is definitely the girly girl in the family. She loves everything pink. So I turned her old jeans into some cuffed shorts with pink hearts.

 Want to make your own Painted Cuffed Shorts? 

Painted Cuffed Shorts - Cut off Jean Shorts Series
Here's how:

Begin by cutting off your old jeans. I find that cutting right at the hole in the knee is perfect for cuffing the shorts. Simply roll them up twice and press them with an iron. I also opted to hem them by hand. I used the same stitch as I use to bind my baby blankets. Need a little help with hemming? Watch the video at the end of this post: How to Blind-Hem Stitch

Now for painting the hearts. I'll be the first to tell you that I am not an artist. I'm not good at drawing, or painting. So I have to come up with easy ways to get what I'm wanting.

So here's the simple way to paint a heart:

How to Paint a Simple Heart the Easy Way

First of all you're going to want to practice on a scrap piece of jean. The bottom leg that you cut off works great. You will also need a foam paint brush, a small paint brush and of course some fabric paint.


Using the bottom of the foam paint brush like a stamp, place it in the paint and make a dot on your jeans.


Make a second dot right next to it so that the two dots are touching.


Make a third dot under the first two and touching both.


Now using the end of the small paintbrush, straighten out the edges of the heart, using the paint from the dots.


That's it!


Once you've practiced a time or two, it's time to try it on the jeans. I started in the very middle, then painted the two end hearts. Lastly, I added the other two middle hearts.

Painted Cuffed Shorts - Cut off Jean Shorts Series
I followed the directions for drying time {it's several hours} and then painted the back with hearts as well. I also went over each heart with a second coat of paint. They've been washed a half a dozen times at this point and so far so good. The paint has stayed perfectly.


Other posts in my Cut off Jean Shorts Series:
Cutoff Jean Shorts with Flag Pocket


Cutoff Jean Shorts with Simple Ribbon Bows
 Cutoff Jean Shorts with Simple Ribbon Bows


Cuffed Jean Shorts with Ribbon


Lace Cutoff Shorts