Wednesday, October 22, 2014

Mini Wooden Dresser

As a young tween, I had an obsession with miniature things. I would save my money and buy small furniture. I would set up the different living areas in the top of a partitioned jewelry box, that's how small the furniture was.  I never played with figurines, I just liked coming up with different ways to arrange the furniture. The obsession has faded, but I still like mini things. 

I've had a couple of these little mini wooden dressers hanging around forever. I never really knew what I wanted to do with them. Well, I finally figured it out and I think it turned out pretty cute. I love the look of the stained wood contrasted with the painted drawers.

Mini Wooden Dresser

A few years ago, I bought a little console thingy to hold all our cell phones and things that needed to recharge. {It's that red thing with the sunglasses sitting on it.} It was handy until the cord went out and it would no longer charge anything. The problem was I'd started storing all the kids ds games in the drawer. So since I didn't have anyplace else to put them, I kept it.  Even though I no longer liked the red and it no longer worked.

Desk Area Makeover
Then I remembered the little wooden dresser and knew it would be perfect to hold all the kids games AND it would take up less space.

Here's the plain wood one next to the remade one.
Mini Wooden Dresser
I rummaged through the craft room and found the little knobs for the feet. Then I set to work staining the sections that I wanted stained. Then carefully painted the drawer fronts and base. I left the inside parts of the drawers unfinished. Once it was all dried, I hot glued the knobs to the bottom. Then I gave it a couple coats of lacquer.

Mini Wooden Dresser
It's perfect storage for all our small things. The bottom drawer fits the ds games and styluses. The middle drawer holds spare sd cards and memory sticks. And the top is mostly empty, but ready when I need a spot for something small.

Mini Wooden Dresser
I just added a few wire baskets to corral other stuff and and the area's got a whole new look.

Now tell me, did you like to play with miniature stuff as a kids? Or am I the only one?

Monday, October 13, 2014

Farrah Tote Bag - The Magic Pattern Book Review & Giveaway

The Farrah Tote Bag
I had a great opportunity to review a new sewing book: The Magic Pattern Book by Amy Barickman. In exchange for my review of the book I received a copy for myself and one for a lucky reader. {Giveaway at the end of the post}

The book includes 6 different variations of 6 patterns creating a total of 36 patterns. It also includes fabric suggestions to give you even more variety.
The Magic Pattern Book
{image courtesy Workman Publishing Co.}
 The different categories in the book are the Tank Top, The Dress, The Skirt, The Cardigan, The Coat, and The Accessory. Below are the 6 different variations of the Dress. You can see how versatile all the patterns are. My next project out of this book will be The Catherine, which is the second from the right.


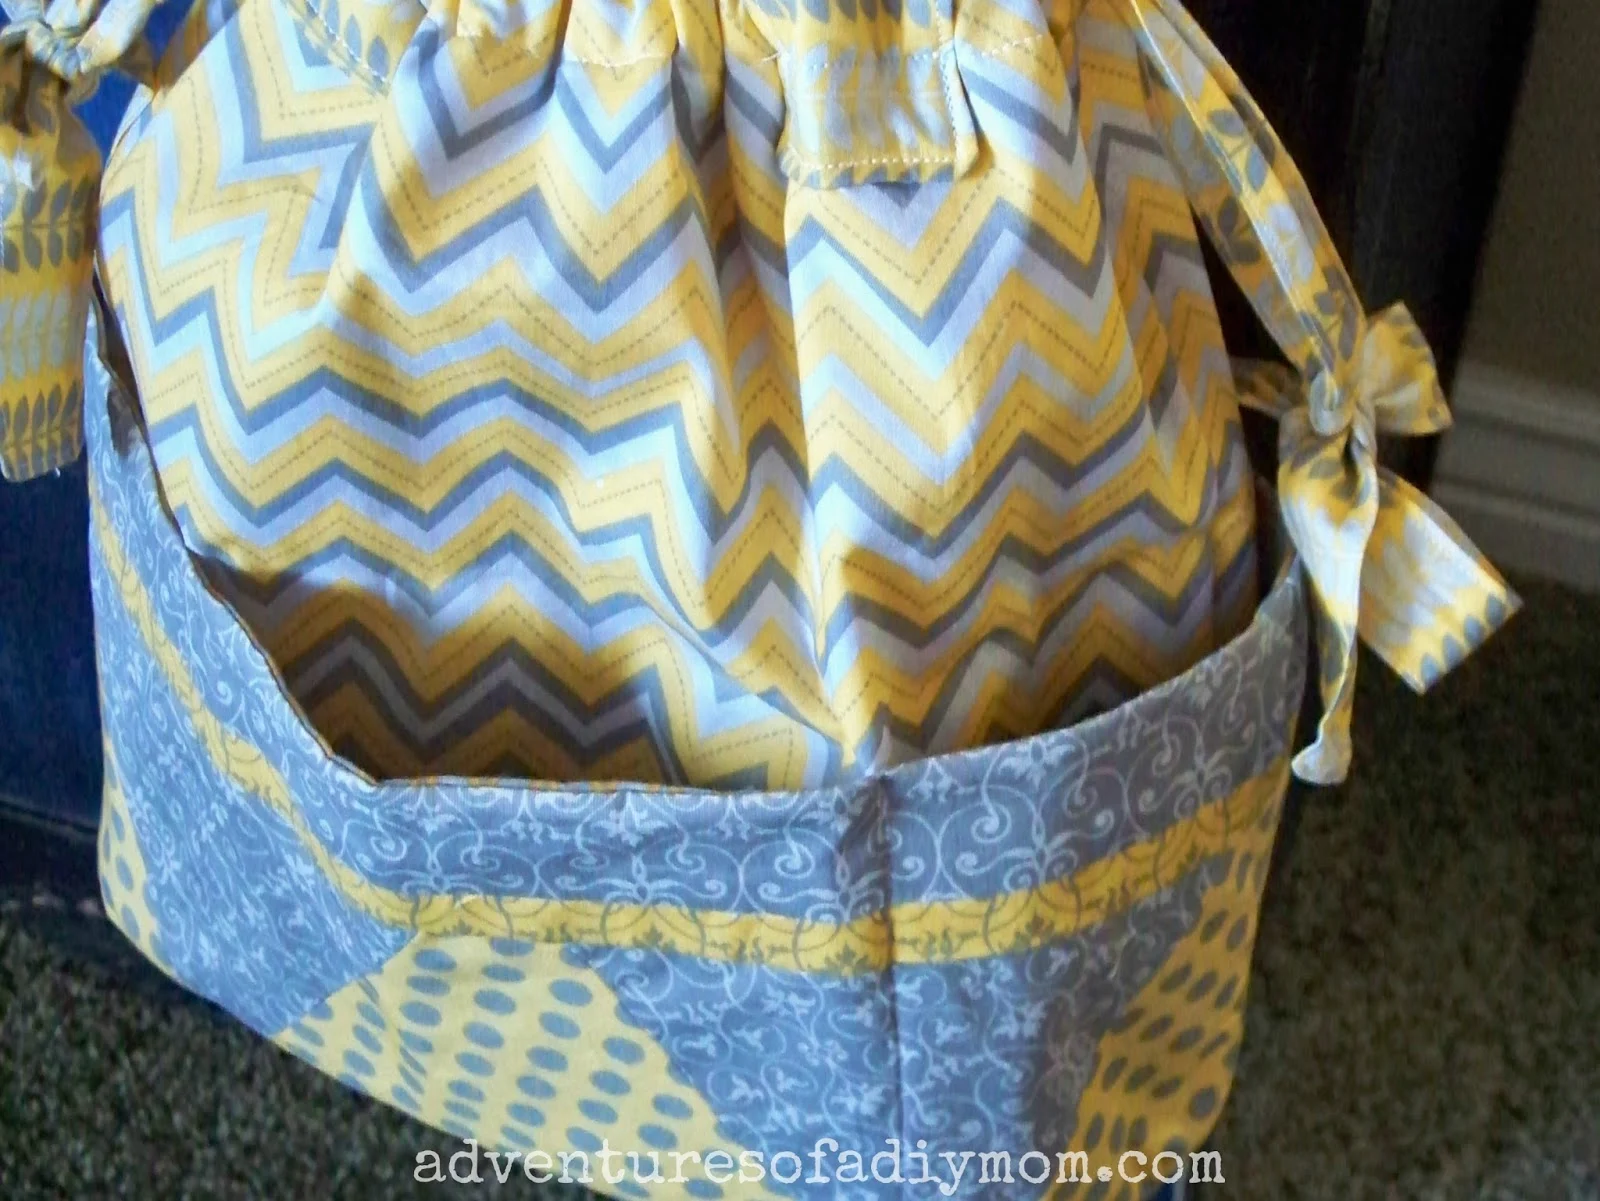
I wasn't too excited about posing for a picture if I made clothing for my review, so I chose to make the Farrah Tote Bag. I'm LOVING how it turned out! This is the perfect bag! It's not huge, but it's plenty big to hold anything you might need.

The Farrah Tote Bag

The whole bottom layer is a set of pockets. There's four of them, which is perfect for me - one pocket for each of my kids to keep snacks or small coloring pads for a long day trip. 

The Farrah Tote Bag
I began by printing off the pattern from the cd included in the book. Then taped all of the papers together, which was really easy since it is clearly marked how to put them together. Then I cut out the pattern. The pattern calls for two different fabrics for the bag. I had gotten these fun prints on sale a while back. The problem was I only 1/2 yard of each fabric. So I had to figure out how I which pieces I wanted out of which material. It ended up working out perfectly with only small scraps left over.

The Farrah Tote Bag
Next was the process of sewing it all together. I would guess that this is one of the most complex patterns in the book. {The Catherine shirt, which I'll tackle next only has three pattern pieces and should be a breeze} However the instructions were clear and easy to follow. I only had two problems. The first was not having enough interfacing. I would suggest getting 2 yards. The second was my own fault. As I was sewing the drawstrings, I just couldn't see how they needed to be as long as they were, so I left off a section. Well as it turns out, you're supposed to wrap each drawstring around the whole bag. Mine weren't long enough so I only went from one side to the other. It turned out ok, but they don't draw closed as easily as if I would have followed the instructions.

The Farrah Tote Bag
Another side effect: The drawstrings were too short to go all the way around the bag, but too long to just tie in simple knots like the pattern suggests. So I ended up tying them in bows. I must say I love the look.

I love how you get two different looks with the same bag, depending on if you draw it closed or not.

The Farrah Tote Bag

Thursday, October 9, 2014

Grey and Orange Bracelet and Earring Tutorial

Grey and Orange Bracelet and Earring Tutorial

I love yard sales, especially when you find amazing deals. This summer I hit a yard sale and was about to leave when I noticed a couple baskets full of beads. She was selling them for 50 cents a strand. Of course I grabbed quite a few strands. I'm loving these square beads! I knew just what I wanted to do with them.  A bracelet and earring set!

You will need:
2 strands grey square beads {mine were Blue Moon Brand}
1 strand orange round beads {Blue Moon Brand}
toggle clasp
beading wire
jump rings
fishhook ear wires
head pins and eye pins


Grey and Orange Bracelet and Earring Tutorial

How to Make the Earrings

 1- Slide a grey and orange bead onto a head pin, with the orange bead in the middle. Form a loop at the top.
2 - Slide an orange bead onto a eye pin. Form a loop at the top.
3 - Attach the two together by opening the loop slightly, adding the other loop and then closing.
4 - Using a jump ring, attach an ear wire to the top.
5 - Repeat for other earring.


Grey and Orange Bracelet and Earring Tutorial

How to make the bracelet

1 - Cut a length of wire 12 inches long.
2 - String wire through a crimp bead, then a clasp and back through the crimp bead. Crimp.
3 - String on the beads.
4 - String wire through a crimp bead, then a clasp, then back through the crimp bead and two beads. Pull wire tight and crimp. Clip excess wire.

I had a few of the grey beads left, so I made a couple sets of purple earrings. One for me and one to stick in my etsy shop: Bits of Sparkle and Lace


Grey and Lilac Earring

 Do you yard sale? What deals have you found?