Monday, March 30, 2015

Turquoise and Copper Bracelet - Cousin Creative Circle Blog Hop

My fellow Cousin ambassador Dawn had this great idea to do a blog hop. We all started out with the same materials and were given over a month to come up with a jewelry piece. I'm super excited to see what everyone made.  Make sure to read through to the bottom where I'll have links to the other bloggers projects.

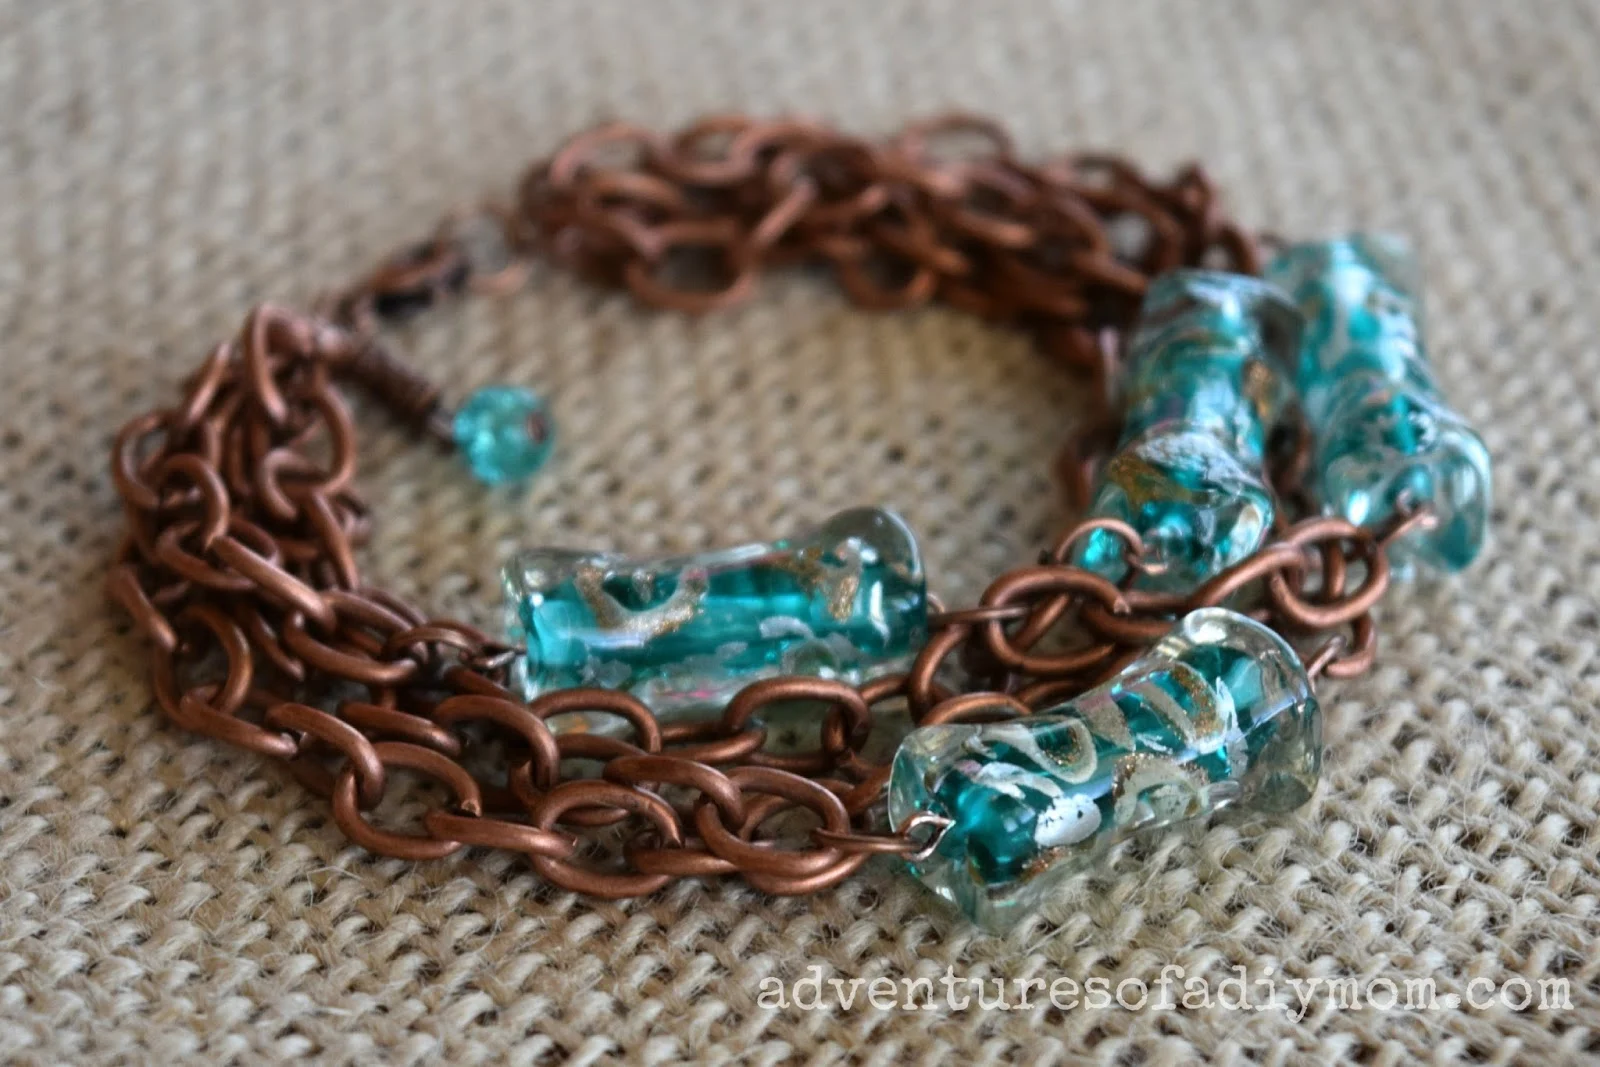
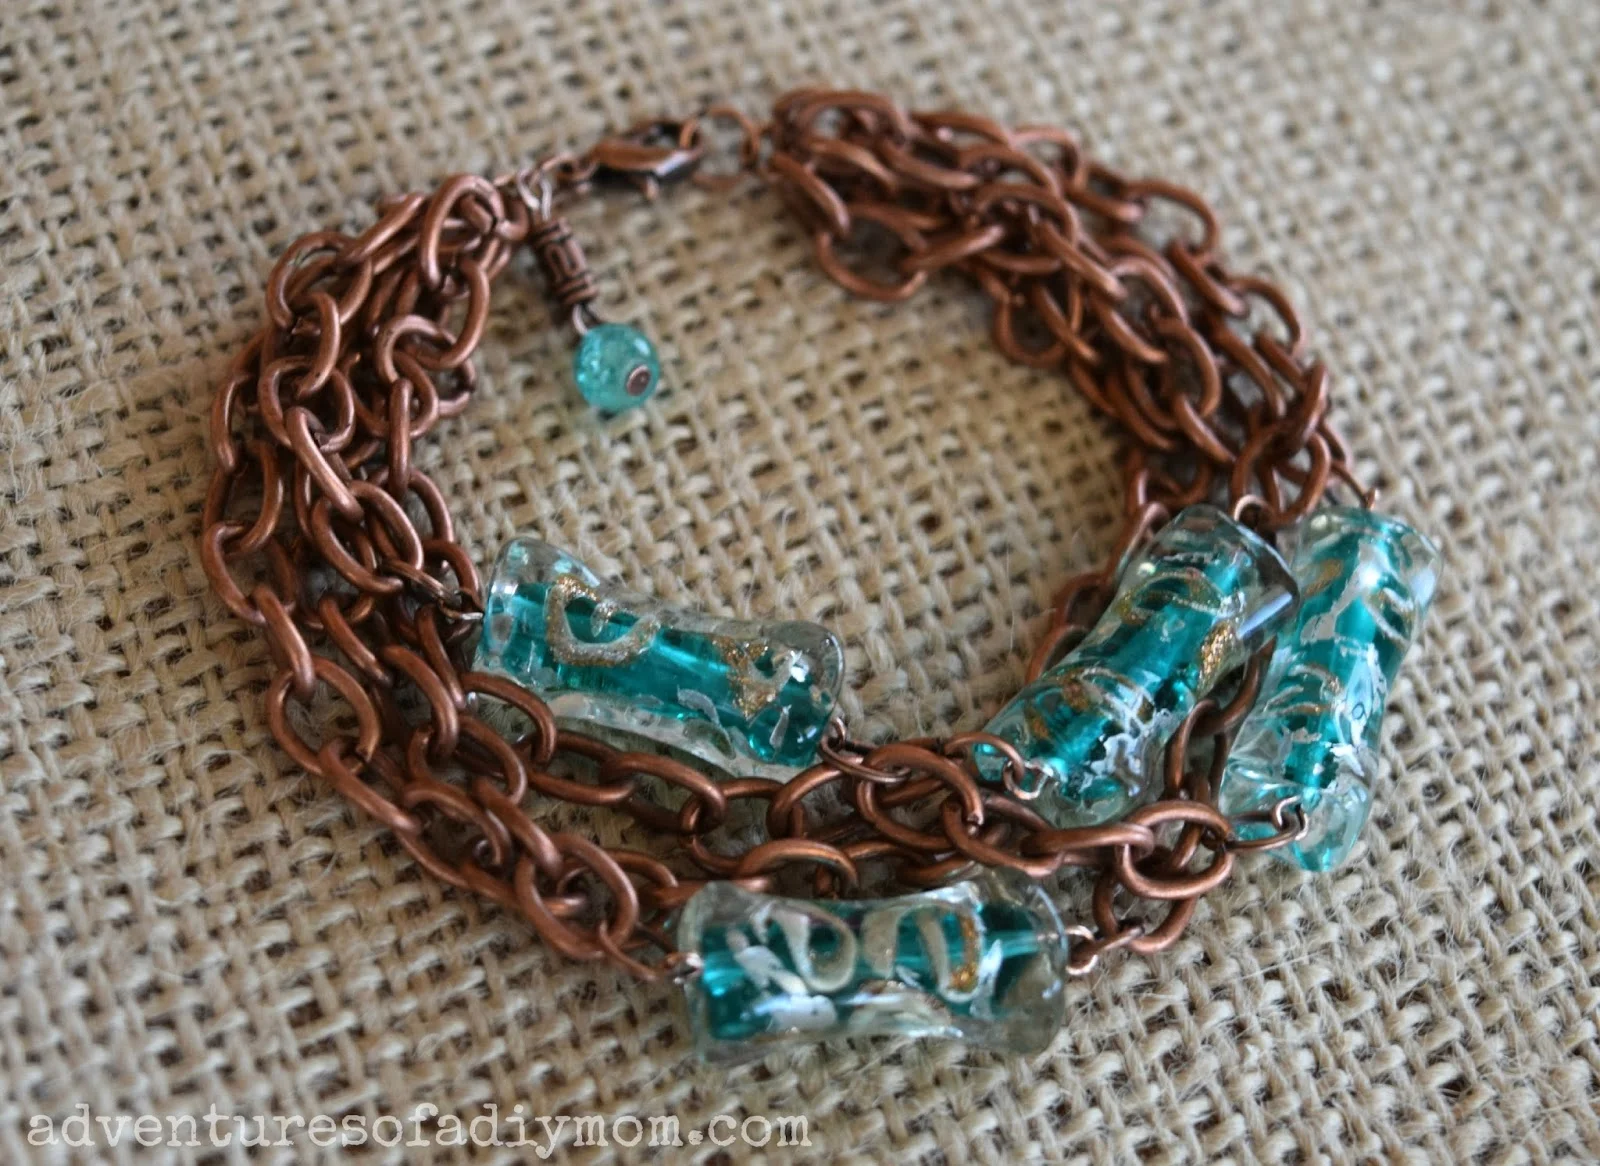
Turquoise and Copper Bracelet
I don't know what it is lately, but I've been having a bit of a creative slump. I pulled out the supplies a couple times, started one bracelet that's still not done, and finally came up with this. I love the combination of the turquoise and copper.

Turquoise and Copper Bracelet


Want to make your own?

You will need:
Copper Chain
Turquoise Glass Beads
Copper Findings Starter Pack
Jewelry Pliers
Wire Cutters
How to Make a Turquoise and Copper Bracelet

 1 - Add a large turquoise bead to an eye pin and form a loop at the other end. Do this with four beads.

2 - Cut two 2" pieces of chain and one 1" piece of chain.

3 - With jump rings connect the chain with two of the beads in the following order: 2" chain, bead, 1" chain, bead, 2" chain. {At this point I ended up removing a single link of chain from each end, because it was too long for my wrist.}

4 - Cut two 3" pieces of chain and two 3 1/2" pieces of chain.

5 - Now with these pieces of chain and the remaining beads we'll make two more strands for the bracelet. Attach with jump rings a 3" piece of chain, bead and 3 1/2" piece of chain. Repeat. When we attach them to the bracelet we don't want the beads to line up with each other, so flip one of the strands the opposite way.

6 - Cut a 7 1/2" piece of chain.

7 - Attach all the chains together at each end with a jump ring. While doing this you may need to trim off a piece of chain here or there so they are the same length.

8 - Add a lobster clasp to one end with a jump ring.  Add an extra jump ring to the opposite end.

Now for the dangle charm.

9 - Insert small copper bead onto eye pin and form a loop at the other end.

10 - Insert small blue bead onto a head pin, form a loop and attach that loop to the loop of the copper bead.

11 - Attach to the charm to the jump ring near the clasp.

Turquoise and Copper Bracelet


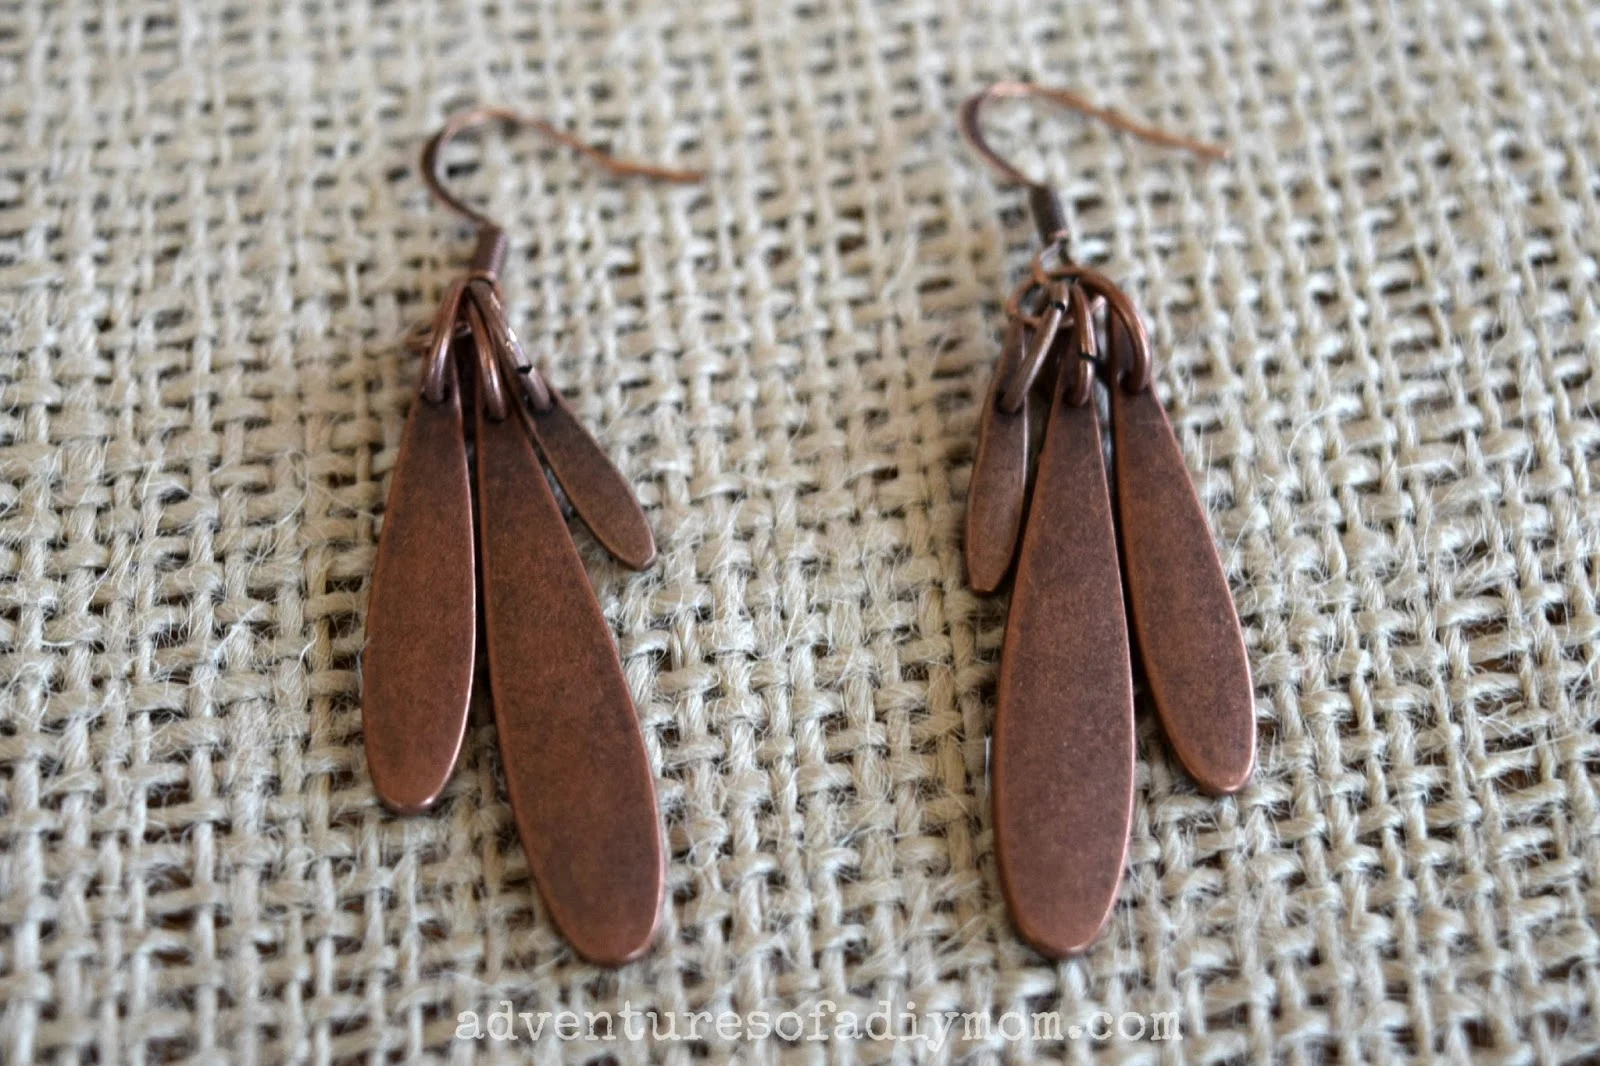
I also made some quick earrings.

Copper Dangle Earrings
 Basically I took the charms from the 7pc metal copper charms set and attached them to an earring. Can't get much easier than that.

Be sure to check out my friends projects. Here are the links:

Rebecca - My Girlish Whims
Allison - Quiet Lion Creations
Lisa - A Bead a Day
Carolina - 30 Minute Crafts


I am a member of the Cousin Creative Circle. I receive product from Cousin Corporation of America. In return, I create jewelry pieces from that product, and share about them through my blog and other social media outlets. All opinions expressed in this post are mine.

Thursday, March 19, 2015

Cherry Berry Dessert Recipe

I have a new favorite dessert! Cherry Berry Dessert. The base is a cream puff crust, then comes a creamy, pillowy filling and it's topped off with a yummy fruit topping. It's indescribably delicious! I could not get enough of it.

Cherry Berry Dessert Recipe
This treat is decadent and delicious!


Monday, March 16, 2015

DIY Pearl Cluster Earrings

Remember the twisted pearl bracelet I made? Well, I decided that I needed some earrings to go with it. I recently saw a tutorial from my fellow Cousin Ambassador Lisa Crone on how to make a 12 bead bauble. I knew it would be perfect for these pearl cluster earrings!

Pearl Cluster Earrings
I started out using the same pearls that I used for the bracelet. But the baubles kept turning out squarish and not at all what I was wanting. I think the problem was that they are rice shaped instead of round.

DIY Pearl Cluster Earrings
Then I remembered some pearls I had picked up at a yard sale that were very similar except that they had the holes drilled at an angle. I gave it a try and it turned out just as I had imagined.

DIY Pearl Cluster Earrings
I used a 12-bead bauble tutorial by Lisa Crone. Once I had made the bauble, I just added a crimp bead to each end of the wire and stuck the wire through the earring, then the crimp bead and crimped it in place.

You may also like:
Twisted Freshwater Pearl Bracelet
Violet Necklace and Earring
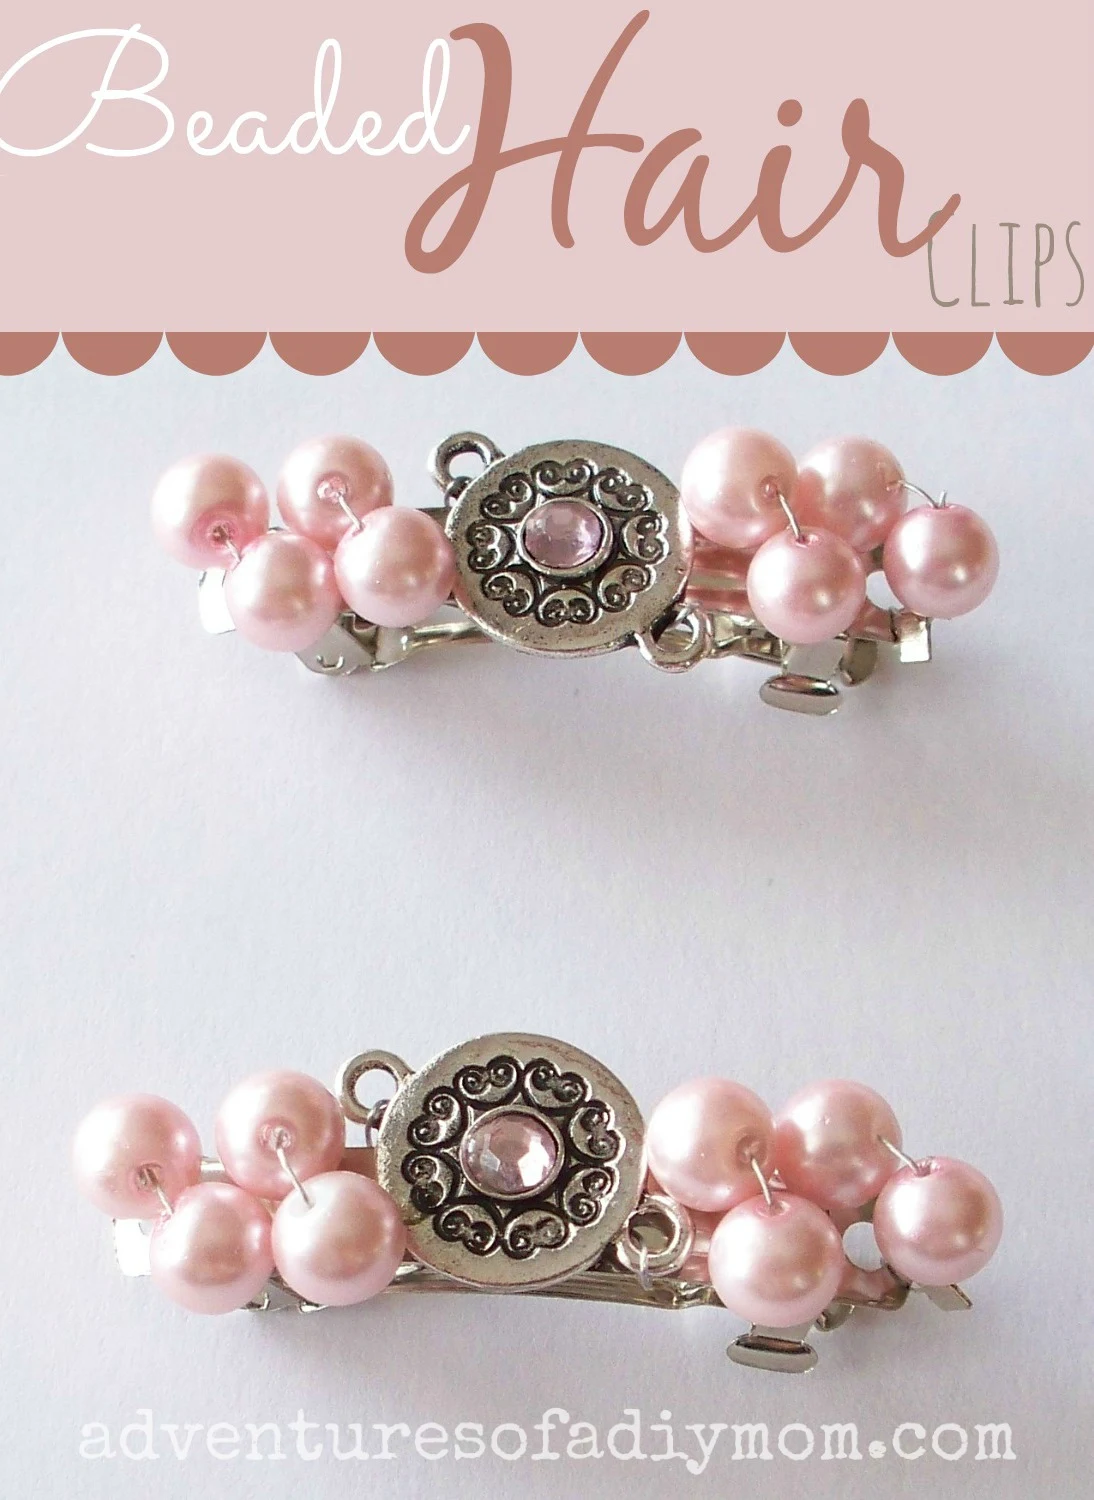
Beaded Hair Clips
Pearl Cluster Necklace

Thursday, March 12, 2015

Twisted Freshwater Pearl Bracelet


I love pearls. When I was 12 or 13 my mom took a trip to Australia, New Zealand and Hawaii. This was a big deal. She saved for two years. When she came back she, of course, brought home souvenirs. One of the things she got for herself was a pearl bracelet. All the strands were twisted around each other. It was so pretty.  I loved it then and I still love it now. So I decided to try and re-create one for myself. The pearls on her bracelet were much smaller than the ones on mine, but I came out with the overall look I was wanting.
Twisted Freshwater Pearl Bracelet

There is something so classy and elegant about pearls. They are timeless. I love the slight variation in size of freshwater pearls. They perfectly compliment the twisted, clustered look of the bracelet.

Twisted Freshwater Pearl Bracelet

How to Make a Twisted Freshwater Pearl Bracelet


You will need:
3 strands of freshwater pearls - they come in many colors - I chose ecru
beading wire
crimp beads
3 strand box clasp

I'll walk you through the steps I took:

Twisted Freshwater Pearl Bracelet

1 - Cut 4 lengths of wire about 12" long. Using crimp beads, attach 2 wires to the middle hole in clasp. Attach 1 wire to each of the remaining holes in the clasp.

2 - String on the pearls. You will want to make it a couple inches longer than you normally would to account for the twisting we'll do in a minute.

3 - Attach the wires to the other end of the clasp with crimp tubes. Clip excess wire.

4 - Now to twist the bracelet. It took me a while to figure it out, but this is what worked for me. {See picture above} Separate one strand from the rest. Take one end and slip it under the separated strand. Then pull the end back toward its original side. Repeat this several times always going under the same strand until the bracelet is twisted to your liking.

Twisted Freshwater Pearl Bracelet


Monday, March 9, 2015

DIY Penmanship Chalkboard for Kids

This cute little chalkboard is the perfect size for kids. Chalkboards are a fun way for kids to practice their letters and numbers and help them improve their penmanship.

Next year my youngest will be going to Kindergarten and in preparation we've been working on her letters. She loves her little chalkboard!

DIY Penmanship Chalkboard for Kids

Want to make your kids a Penmanship Chalkboard?

Here's what you need:
1/8" hardboard  {I used the back of a picture frame}
Chalkboard Spray, Black {affilate link}
Sharpie Oil Paint Marker Bold White {affiliate link}
pencil
ruler or straight edge

1. Begin by cutting your hardboard to the size you want. I cut mine to 8" X 10 1/4".

2. Then paint with the chalkboard spray paint. Let dry completely.


DIY Penmanship Chalkboard for Kids


3. To make the lines, I first marked the measurements on each end of the chalkboard. Then I used a straight edge to draw the line. Here are the measurements I used.
First set of lines:
- The top line is 1/2" from the top.
- The dotted line is 1 1/2" from the top line.
- The  bottom line is 1 1/2" from the dotted line.

For the second set of lines:
- The top line is 1" from the bottom of the first set of lines.
- The dotted line is 1 1/2" from the top line
- The bottom line is 1 1/2" from the dotted line and ends up being 1/2" from the bottom of the board.

Once I penciled in the lines, then I went over them with the paint marker, using a straight edge to keep the lines straight. I did two coats of the paint marker. Let dry completely.

4. Condition your chalkboard by rubbing all over with the side of a piece of chalk. Wipe off and it's ready to use.

DIY Penmanship Chalkboard for Kids


I'd like to make an eraser, but for now we just use a paper towel to wipe off the chalkboard.


You may also like:


Adventures of a DIY Mom is a participant in the Amazon Services LLC Associates Program, an affiliate advertising program designed to provide a means for sites to earn advertising fees by advertising and linking to amazon.com.