Tuesday, October 27, 2015

Easy DIY Shelf over the Washer - Laundry Room Makeover

Easy DIY Shelf over the Washer
As I was trying to figure out what I wanted in my laundry room, I spent a bit of time on Pinterest trying to find ideas. I created a board just for laundry room ideas.

Do you follow me on Pinterest? I kept coming across the idea of a shelf above the washer and dryer.

Easy DIY Shelf over the Washer

Easy DIY Shelf over the Washer

This shelf was super easy to build. I used a 1 X 10 board and 3 metal supports. I screwed the metal supports into the wall studs.

Then I simply set the shelf on top. If you want it more secure you can screw the supports into the shelf as well.


I decided that I wanted the shelf to be easily removable, so I didn't screw it to the supports. After all, I may someday get a new washer and dryer.  But more realistically, I may someday need to move one or the other of them to fix something on them :)


Easy DIY Shelf over the WasherI make sure to keep only small items on the shelf. A painted wire basket keeps dryer sheets easily accessible. An antique mason jar holds borax, which I use every time I wash a load of whites.

A small twine wrapped jar collects coins and other small objects that get lost in pockets. A fun framed clothesline adds some whimsy.


 On the wall, I hung a couple Precious Moment cross-stitched pictures. I recently finished the one on top. My sister made me the bottom one several years ago as a Christmas present. I repainted the frames to coordinate. I also have a couple more that I made forever ago. They are on the opposite wall and you'll see them soon.

My laundry room is coming together. Don't miss my other tips and tutorials:
Shortening the Laundry Cart
How to Build  a Shelf
Paint
DIY Drying Rack
Clothesline Craft
Before and After Pictures

Wednesday, October 21, 2015

How to Build a Shelf - Laundry Room Makeover


For a long time I've wanted some shelves in my laundry room. Finally I decided to just do it! I called my dad, who has built many shelves in his life to make sure I knew what I was doing. And then I went for it.


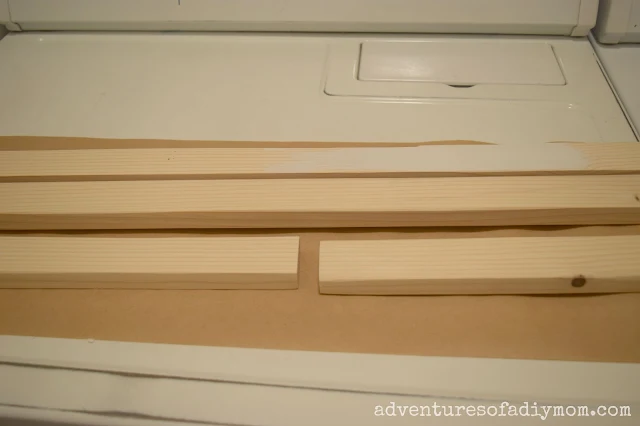
I began by cutting my pieces to the size needed and then painting them. These pieces below are part of the support of the shelf. They are called cleat supports {if I remember right}.

You can use many types of wood for the cleat. There is an mdf product specifically for this purpose, however it was more costly than a 1X2 - especially since I had a couple on hand.

How to Build a Shelf

Since my shelves were going in the corner, I needed two pieces of the cleat support for each shelf. I held it up on the wall and stuck a level on it. Once it was level, I drew a line with a pencil along the top.

How to Build a Shelf

Next it was time to find the studs in the wall. It took me a few tries, but I finally got one. Once you find a stud, measure 16 inches either way and you should hit your next stud.  No big deal about the extra holes - they'll be covered up soon anyway.

How to Build a Shelf

I pre-drilled holes in the wood to prevent splitting. Then I attached them to the wall with 2 1/2" wood screws. They need to be long enough to go through the wood, drywall and still get a solid grip on the stud.

How to Build a Shelf

 At this point, I painted the walls. It's much easier to paint around these small boards than the whole shelf. 

I missed a picture of the next part, but next you add the shelf. I added a bead of glue along the cleat and then set the shelving on top. Then with a nail gun, I nailed it in place.


Next I began work on the end supports. I used particle board. I drew a shape freehand that I liked. I cut out one, then traced it onto the other board so they would match. Then gave them a couple coats of paint.

How to Build a Shelf

I attached a piece of wood to the top with glue and a nail gun.

How to Build a Shelf

Then add another piece of wood to the back. You can see how I had to adjust the placement for the cleat support that was there. Glue and nail in place.

How to Build a Shelf

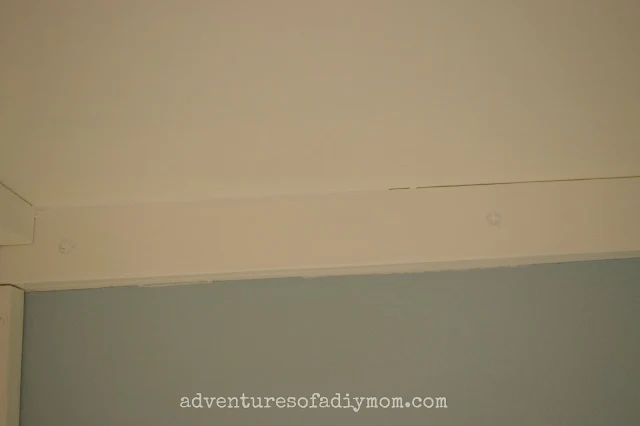
Now here's what what I think makes all the difference in giving your shelf a finished look:  Wood filler and caulk! I didn't realize that caulk now comes in a squeezable tube - no more caulk guns for me!

How to Build a Shelf
I filled all the nail holes with the wood filler. Along all the seams of the wood, I added caulk. You can see in the picture below, where the caulk is, it seems seamless. I also caulked between the frame and the wall.

How to Build a Shelf

 Once it's dry, paint over all the caulking and wood filler. It was kind of a pain since the wall and shelf are two different colors, but well worth the effort to get a finished look.


How to Build a Shelf

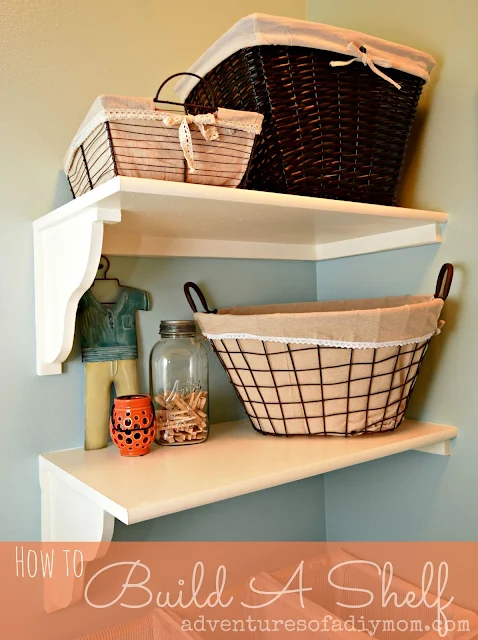
Lastly, I added a few baskets for additional sorting and some fun decorative items as well.

How to Build a Shelf

Don't miss the other posts in my Laundry Room Makeover:
Shortening the Laundry Cart
Another way to Build a Shelf
Paint
DIY Drying Rack
Clothesline Craft
Before and After Pictures


Wednesday, October 14, 2015

Paint - Laundry Room Makeover


Paint can bring so much life to a room. Or it can totally ruin it! When I painted my laundry room, it started out a bit rocky. My first idea was to do a peachy/coral color called guava jelly for the walls and have accents of blue in the smaller details.  I started painting and my body filled with dread. I knew I would want to avoid this room at all costs if I painted the whole thing this color. It was absolutely horrid!


Paint
I had bought a small can of blue to use for an accent color. I tried it out on the wall and felt instant relief. So clear pond blue it was. Oddly enough, as an accent color the guava jelly was just fine.

A couple tips from a non-expert:
* Take the paint chip into the room you are painting. My laundry room has no windows. Because of the lighting, the color looks vastly different in the laundry room than it did in other places.
* Buy the small sample cans to make sure you like it before dropping $30 on a can of paint.

Here's a picture of the final color, along with a sneak peak at my shelves I built. I'll share how in the next installment. {The bottom half of the photo is the true color - the top looks kind of green}

How to Build a Shelf

Read more in my Laundry Room Makeover adventures:

How to Build  a Shelf
Another way to Build a Shelf
Paint
DIY Drying Rack
Clothesline Craft
Before and After Pictures
Wednesday, October 7, 2015

Easy Beaded Chain Multi-Strand Necklace

Easy Beaded Chain Multi-Strand Necklace

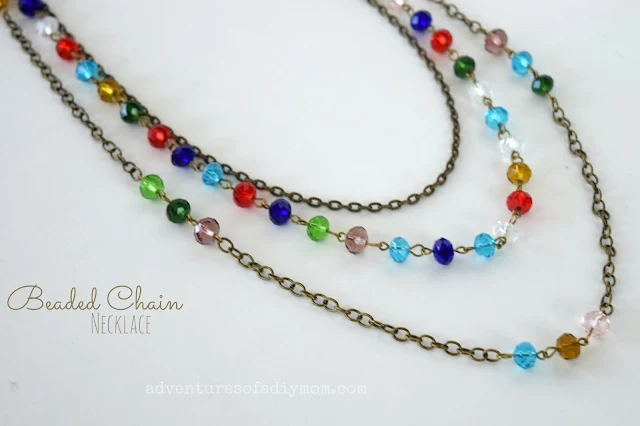
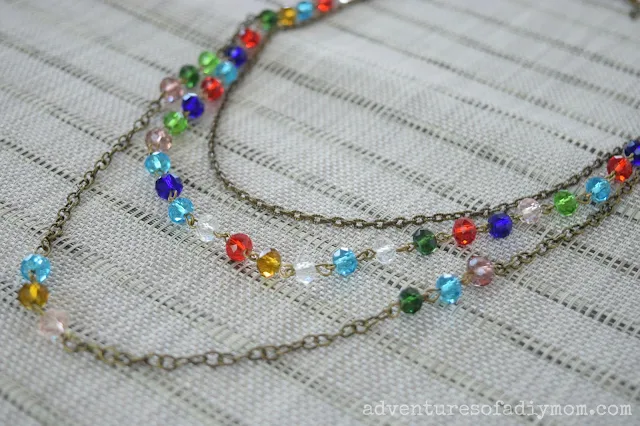
 I recently got to try out some beaded chain from Panda Hall. I love the fun, eclectic colors. I decided to make a multi-strand necklace. Each strand is a little different, but all ties in together.

Want to make one?
Here's what you need:
Beaded chain
chain {I used two slightly different kinds}
lobster clasp
jump rings


Easy Beaded Chain Multi-Strand Necklace

1 - Cut a piece of beaded chain 26" long. {I actually didn't cut it, I just opened the loop} Attach a clasp to one end with a jump ring. Add a 1 1/2" piece of chain to the other end with a jump ring.

2 - Cut a 23" piece of regular chain. Attach to the jump rings and the ends of the beaded chain.

3 - Cut 6 pieces of chain 3 1/2" long. Remove 6 sections of beaded chain that are 3 beads long. Attach beaded chain to the chain by opening the loops on the beaded chain and inserting the regular chain. Then close the loop. Repeat alternating chain with beaded chain.

4 - Attach to the other chains connecting at the jump rings at the ends of the necklace. 

Easy Beaded Chain Multi-Strand Necklace

Friday, October 2, 2015

DIY Vintage Button Earrings


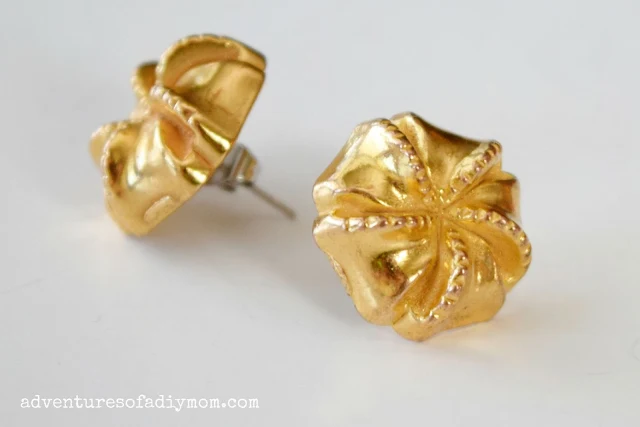
I have received many compliments on these earrings. People are amazed to find out that I made them from old vintage buttons. They are so easy to make, you'll be searching through grandma's button box to make yourself a pair.

DIY Vintange Button Earrings

How to Make Vintage Button Earrings

You will need:
a pair of old buttons
disc earring posts
E6000
wire cutters or something similar

My mom gave me several tins of old buttons. Most were regular buttons, but when I saw these gold ones I knew they would make great earrings.

How to Make Vintage Button Earrings
Begin by removing the button hole from the back of the button. I used some wire cutters from the garage. I clipped off as much as I could. These buttons ended up being plastic, which made it much easier than if they had been metal. Repeat for both earrings.

How to Make Vintage Button Earrings
Add a dab of E6000 to the disc on the earring post and attach it to the button back.

How to Make Vintage Button Earrings
The hardest part is waiting for them to dry. I let them dry overnight before wearing.


How to Make Vintage Button Earrings