Today we're going to transfer our pattern to the fabric. There are several embroidery transfer methods. I will share my favorite method - the window method.
Ever wondered how to transfer a design onto fabric without tracing paper? You will find out below.
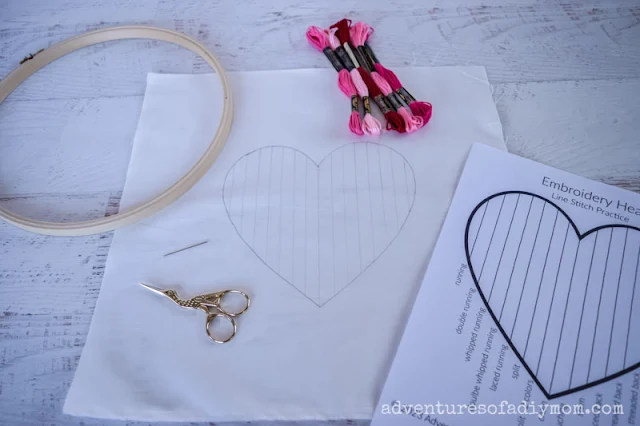
If haven't already, grab all your supplies. (You can find what you need here.)
Make sure to grab your printed pattern and let's get started.
HOW TO TRANSFER AN EMBROIDERY PATTERN
This post may contain affiliate links. As an Amazon Associate I earn from qualifying purchases. Please see my full disclosure policy for details.
SUPPLIES NEEDED TRANSFERRING AN EMBROIDERY PATTERN
There are just a few things you will need to transfer your project.- A bright light source
- fabric
- a pencil, Frixion pen, or water soluble pen
I often use a simple pencil when tracing my embroidery projects. This works well most of the time. However, for this project there are a few running stitches where the written line is not completely covered by the embroidery thread.
So I recommend the Frixion pens. Once the project is finished, simply apply a hot iron and the ink completely disappears.
I have used a water soluble pen before as well. It works, but you have to spray the project with water. The one project I used it on, not all of the pen completely erased.
STEPS FOR TRANSFERRING AN EMBROIDERY PATTERN
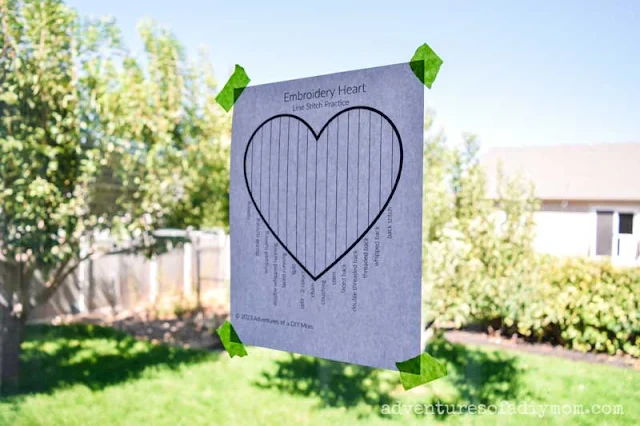
Check out the video tutorial for even more details.To start with tape your embroidery pattern to a bright window. I use painters tape.
Next center your fabric on top of the pattern and tape it in place.
Using your Frixion pen (or water soluble pen) trace the entire design of the pattern onto the fabric.
For this pattern I used a ruler to help me keep all the lines straight.
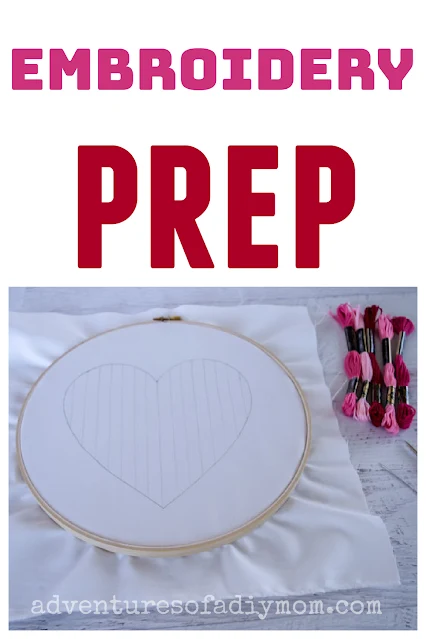
Next, remove the fabric from the window and center it inside an embroidery hoop. (Use a 10" embroidery hoop for this project.)
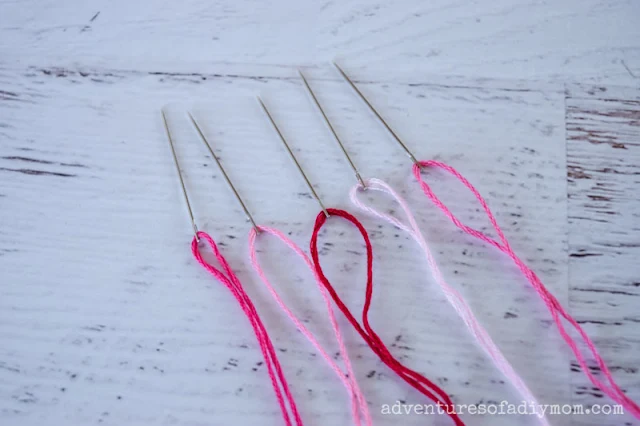
Lastly, I like to prepare several needles with the colors of embroidery floss I will be using.
MORE EMBROIDERY TRANSFER METHODS
The above method works best with white fabric or lighter fabrics. Depending on the type of fabric you are using there are different ways you can do it. Embroidery Transfer Method
If you have a dark fabric, transfer paper may be a great option for you. Try using lightweight tracing paper, or white carbon paper instead.
Simply place the fabric on a flat surface. Then place the transfer paper on top of the fabric and the pattern on the transfer paper. Then trace the pattern lines with a regular pencil or pen.
Soluble Stabilizer Method
You can also try the stabilizer method. Purchase a soluble stabilizer like this Print-Stitch-Dissolve Stabilizer. You can print the pattern right onto the stabilizer.Then place the stabilizer on your fabric and stitch through both the fabric and the stabilizer. When you are done, the stabilizer will easily tear away or it will dissolve with warm water.
Want to watch the video? ↓↓Click the link ↓↓
MORE EMBROIDERY PROJECTS
- EASY Embroidery Patterns
- Christmas Hand Embroidery Patterns
- Free Fall Embroidery Pattern
- Flower Hand Embroidery Designs
Don't forget to pin it!!


0 comments