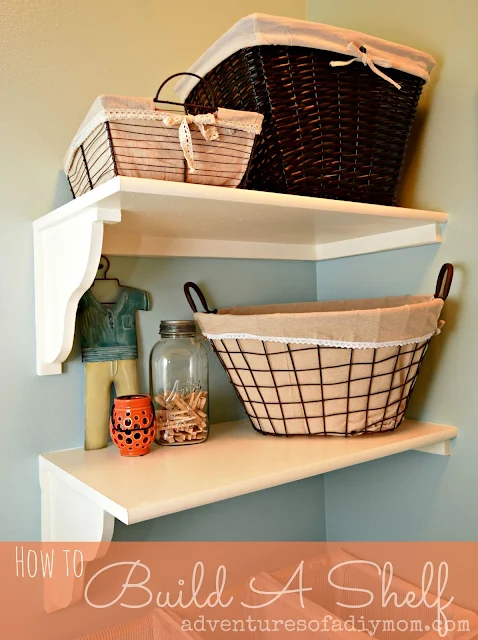
For a long time I've wanted some shelves in my laundry room. Finally I decided to just do it! I called my dad, who has built many shelves in his life to make sure I knew what I was doing. And then I went for it.
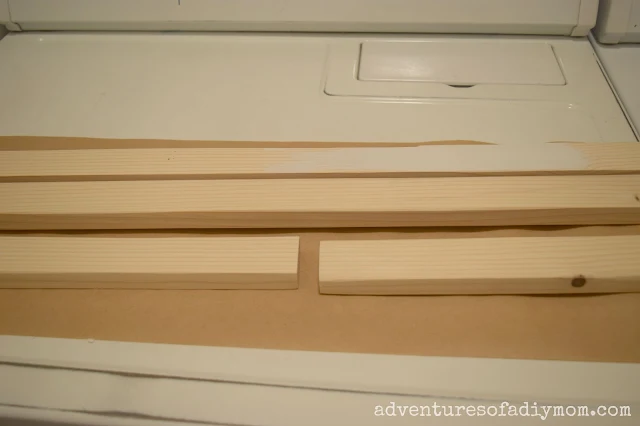
I began by cutting my pieces to the size needed and then painting them. These pieces below are part of the support of the shelf. They are called cleat supports {if I remember right}.
You can use many types of wood for the cleat. There is an mdf product specifically for this purpose, however it was more costly than a 1X2 - especially since I had a couple on hand.
Since my shelves were going in the corner, I needed two pieces of the cleat support for each shelf. I held it up on the wall and stuck a level on it. Once it was level, I drew a line with a pencil along the top.
Next it was time to find the studs in the wall. It took me a few tries, but I finally got one. Once you find a stud, measure 16 inches either way and you should hit your next stud. No big deal about the extra holes - they'll be covered up soon anyway.
I pre-drilled holes in the wood to prevent splitting. Then I attached them to the wall with 2 1/2" wood screws. They need to be long enough to go through the wood, drywall and still get a solid grip on the stud.
At this point, I painted the walls. It's much easier to paint around these small boards than the whole shelf.
I missed a picture of the next part, but next you add the shelf. I added a bead of glue along the cleat and then set the shelving on top. Then with a nail gun, I nailed it in place.
Next I began work on the end supports. I used particle board. I drew a shape freehand that I liked. I cut out one, then traced it onto the other board so they would match. Then gave them a couple coats of paint.
I attached a piece of wood to the top with glue and a nail gun.
Then add another piece of wood to the back. You can see how I had to adjust the placement for the cleat support that was there. Glue and nail in place.
Now here's what what I think makes all the difference in giving your shelf a finished look: Wood filler and caulk! I didn't realize that caulk now comes in a squeezable tube - no more caulk guns for me!
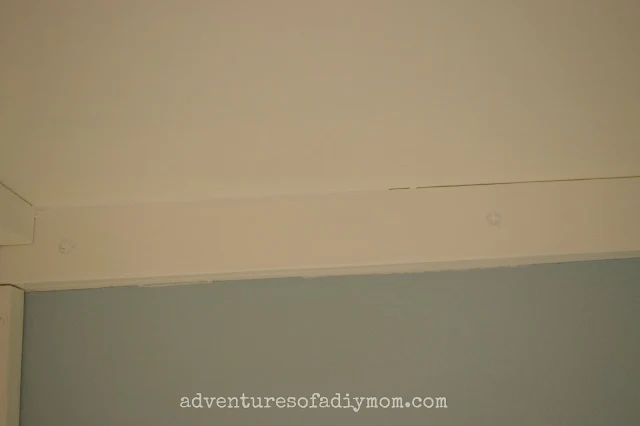
I filled all the nail holes with the wood filler. Along all the seams of the wood, I added caulk. You can see in the picture below, where the caulk is, it seems seamless. I also caulked between the frame and the wall.
Once it's dry, paint over all the caulking and wood filler. It was kind of a pain since the wall and shelf are two different colors, but well worth the effort to get a finished look.
Lastly, I added a few baskets for additional sorting and some fun decorative items as well.
Don't miss the other posts in my Laundry Room Makeover:
Shortening the Laundry Cart
Another way to Build a Shelf
Paint
DIY Drying Rack
Clothesline Craft
Before and After Pictures


THANK YOU for all wonderful ideas you give to us.
ReplyDelete