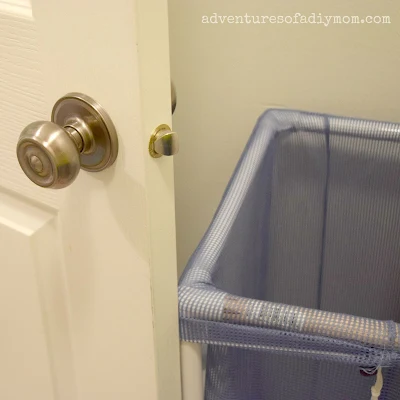
The first thing I did was to shorten this little laundry cart. I've had this thing for several years and it's always been just a tad long for the space.
I could never quite open the door all the way.
It was an easy fix that took under 10 minutes. Why did I wait so long to do this?
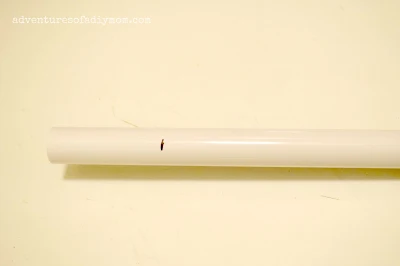
I began by disassembling the cart and marking where to cut.
Then I grabbed the pipe cutters from the garage. {If you've ever had to put in a sprinkling system, then you probably have some of these too.}
I found that this is really plastic, not pvc, so the cut was a little jagged. Not a big deal though since it just slides into the corner pieces anyway. I did this with both the top pieces and the bottom pieces.
One of them had broken a few years ago and so I had replaced it with a wooden dowel. I simply cut that piece with a saw.
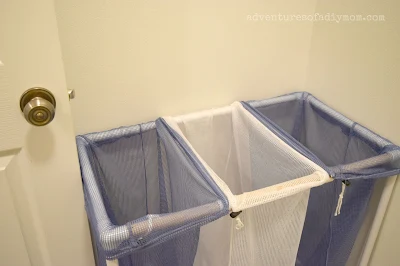
I put it back together and now I can open the door completely!
I did end up replacing the blue mesh bags for white ones. Here's a sneak peek.
Next up:
How to Build a Shelf
Another way to Build a Shelf
Paint
DIY Drying Rack
Clothesline Craft
Before and After Pictures


0 comments