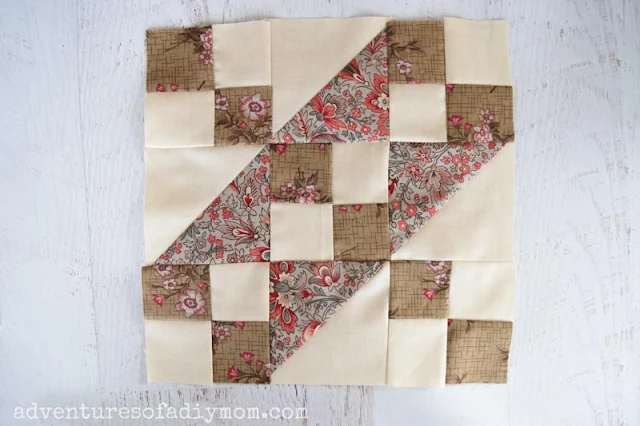
Line them all up correctly and you get a diagonal pattern in each direction that makes up the piece.
I'm making a quilt this year, and I'm really excited to share each quilt block as I go. I'm planning to share at least one block a month with full instructions on how to make them.
This is a new skill that I'm learning, so if any of you seasoned quilters have tips for me, I'd love to hear them!
JACOB'S LADDER QUILT BLOCK
This post may contain affiliate links. Please see my full disclosure policy for details.
SUPPLIES NEEDED FOR A 12" JACOB'S LADDER BLOCK
- fabric (See below for specifics.)
- thread
- rotary cutter / cutting mat / straight edge
- sewing machine
- sewing scissors
- iron and ironing board
- 12 1/2" square quilting ruler
Want to know what quilting rulers you need to get started with quilting? Visit my quilting rulers article for all the details.
FABRIC REQUIREMENTS FOR 12" JACOB'S LADDER QUILT BLOCK
1/4 yard of EACH - a dark color and a light color of materialFor the four patch squares you will need:
- 2 strips of fabric (one dark and one light) 2 1/2" X 30"
For the half square triangles you will need:
- 4 pieces of fabric (two dark and one light) 5" square
HOW TO ASSEMBLE AND SEW THE JACOB'S LADDER QUILT BLOCK
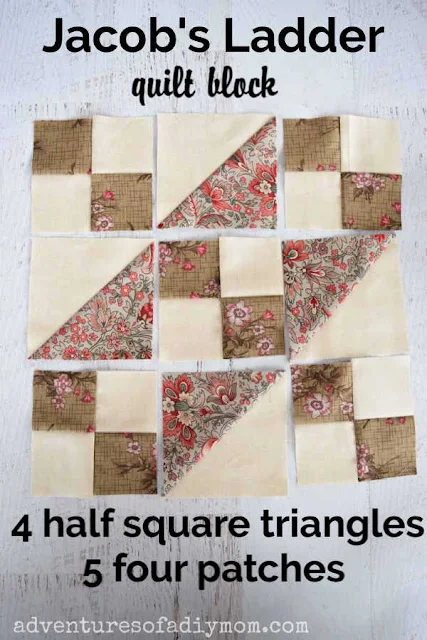
4 half square triangles and 5 four patch squares.
↑ ↑ ↑For in depth instructions, visit my tutorials at the links above. ↑ ↑ ↑
Lay out the pieces. Follow the image above as a guideline.
Make sure that all of the four patches are facing the same way with the dark color creating a diagonal down the center. The darker points of the half square triangle should be facing toward the center.
Begin sewing the pieces together. I like to sew them into rows first. Beginning at the top and with right sides together, sew the top three pieces together into a strip. Use a 1/4 inch seam allowance.
Repeat with each row.
An important part of getting the pieces to fit well together is called nesting. Basically you press the seams in opposite directions. Then the seams will lay flat and fit right into each other, like they do in the above picture.
It can get confusing to know which way to press in order for nesting to work properly. But with this block, it's fairly simple. For each row, press the seams toward the 4-patch blocks.
Now sew each row to the next. Take care to keep right sides together and keep the rows lined up correctly.
Once it's all sewn together, press the seam toward the middle.
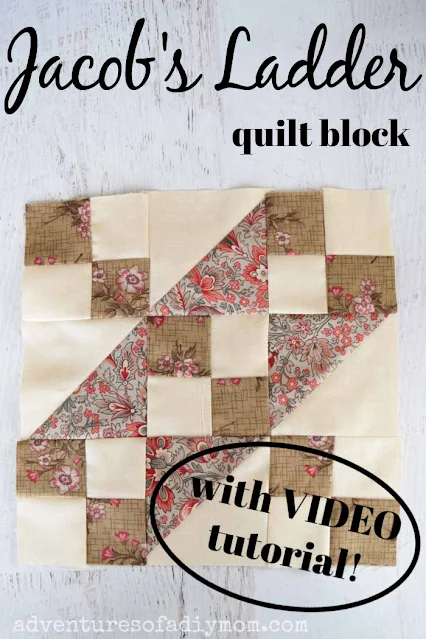
Want to watch the video? ↓↓Click the link ↓↓
MORE QUILT BLOCK TUTORIALS
These are a few of the blocks that are coming soon. Once I've completed the tutorial, I will add a link here.- Nine Patch
- Shoo Fly
- Birds in the Air
- Churn Dash Quilt Block
- Basket Block
- Easy Quilt Blocks that Look Difficult
- Bear Paw Quilt Block
- Hourglass Quilt Block
- Sawtooth Star Quilt Block
- Greek Cross Quilt Block
- Celtic Twist Block
MORE QUILTING ARTICLES
Don't forget to pin it!!


0 comments