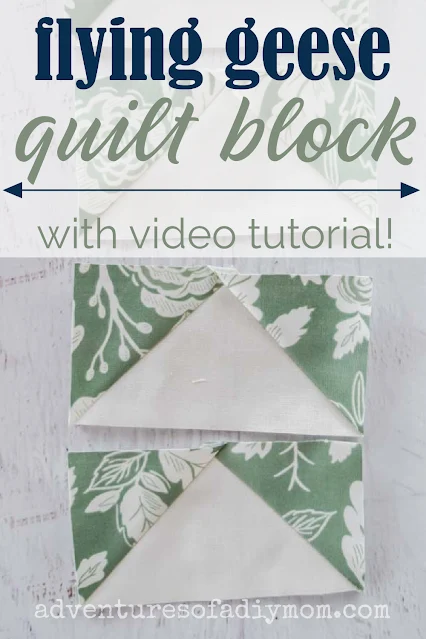
Today, I'm sharing a method to make 4 flying geese blocks at one time. This technique starts out with slightly oversized blocks. Once finished, trim them down to the exact size for perfect flying geese.
FLYING GEESE (An easy method to make 4 at a time)
These flying geese units were used to make a sawtooth star quilt block. The sawtooth star and a 16 patch quilt block were used to make this darling baby blanket.Check out this post for more quilt ideas using flying geese.
This post may contain affiliate links. As an Amazon Associate I earn from qualifying purchases. Please see my full disclosure policy for details.
SUPPLIES NEEDED FOR QUILTING
Below are some quilting tools that will be helpful making flying geese.- thread
- rotary cutter / cutting mat / straight edge
- sewing machine (This is my new machine that I absolutely love!)
- sewing scissors
- pencil
- iron and ironing board
- large flying geese ruler
- small flying geese ruler
FORMULA FOR FLYING GEESE
When I quilt, I like to make things just a little bit bigger than needed and then trim them down to be the exact size I want.
The reason is because no matter how hard I try, I'm never 100% accurate with my sewing. If I make my blocks slightly larger than needed then there is a little wiggle room.
Once I trim the block down, I end up with the perfect size without all the stress of perfection.
Each flying geese quilt block is twice as long as it is tall. Determine the final size you wish the block to be.
Add 1 1/8 inches to the short measurement. Add 1 1/2 inches to the long measurement. Make the block as instructed below and then trim to the finished size.
The new short measurement will be used to cut out 4 squares of colored fabric. The new long measurement will be used to cut out one square of white fabric.
I've created a printable flying geese cutting chart with a variety of sizes. It's a handy resource that includes instructions on how to make them as well.
Simply print it out and you can have it to reference any time you make flying geese. Make sure to grab your flying geese cheat sheet at the end of the post.
HOW TO MAKE 4 FLYING GEESE AT ONCE
This is my favorite method to make flying geese because you can make four at once. If you learn better by watching, here's the video tutorial for this easy technique.
This flying geese method is in essence a no-waste method. The only scraps you'll toss are when you trim up the block at the end.
Gather and cut out your fabric. For this example, I am making a 2" X 4" flying geese unit. So cut out four 3 1/8" squares from white and one 5 1/2" square.
Draw two lines on the back of each colored smaller square. These lines are 1/4 inch away from the center.
I line up the quarter inch markings on a ruler with the points of the square. Then draw a diagonal line. Turn the square and draw a line on the other side.
Place two of the colored squares at opposite corners of the white large square with right sides together. The middle will overlap.
Sew along the lines and then cut down the center of the square from corner to corner between the two sewn lines.
Press open with the seam toward the colored fabrics.
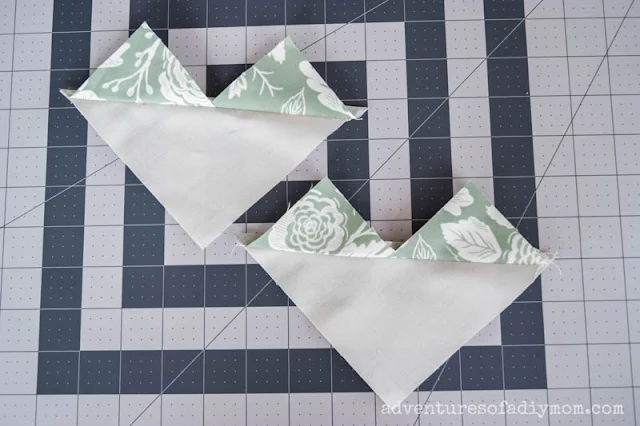
Place the last two colored small squares on the remaining white corner with the lines vertical.
Again, sew along the lines. Cut between the lines.
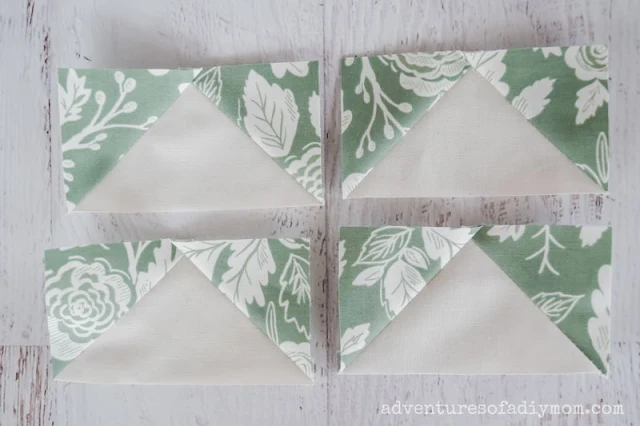
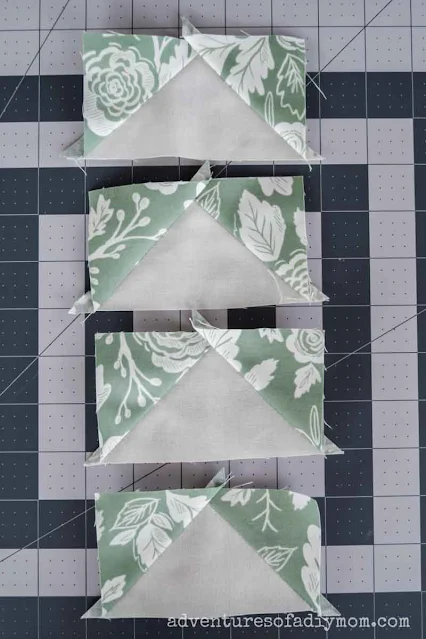
Press each unit open with the seam toward the color.
Using a flying geese ruler, trim up the block to create the perfect flying geese unit.
Want to watch the video? ↓↓Click the link ↓↓
MORE QUILT BLOCK TUTORIALS
- Half Square Triangles
- Four Patch
- Nine Patch
- Shoo Fly Quilt Block
- Churn Dash Quilt Block
- Bear Paw Quilt Block
- Hourglass Quilt Block
- Greek Cross Block
MORE QUILT PATTERNS
Don't forget to pin it!!







0 comments