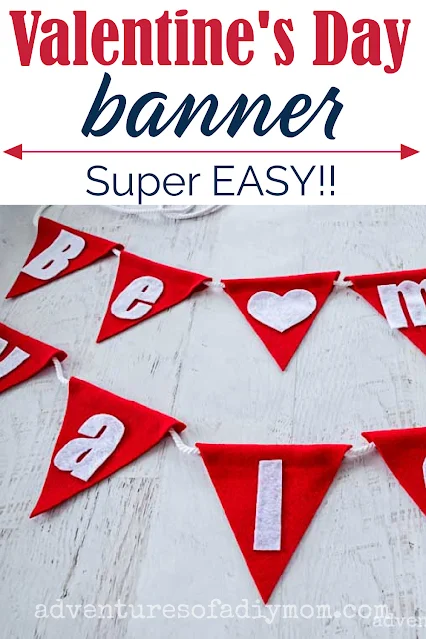
Valentine's Day is coming soon! Decorate your home with this cute Valentine's Day banner.
It's easy to make and you'll just need a few craft supplies, so it's very inexpensive as well.
I love decorating my home for different holidays.
A few other Valentine themed home décor items I have made include this EASY Valentine Pillow Cover, Love Embroidery Hoop Art and Heart String Art
At Christmas time, I saw a banner similar to this. It was a simple red and white banner and I was planning to create my own version. I even got the supplies, but never got around to it.
So I decided to do a make the banner for my Valentine's décor this year. I have it hanging in my kitchen. It adds a pop of color and is a simple way to add a spirit of love to our home.
DIY VALENTINE'S DAY BANNER (SO EASY!)
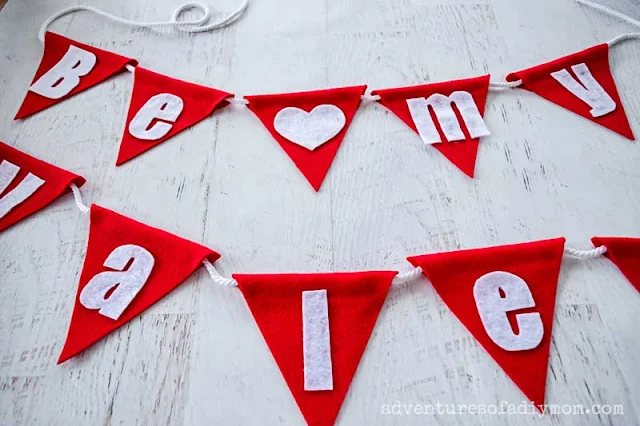
I opted to create a double banner. I chose the words "Be my Valentine". Since the word valentine is so long it just made sense to make it into two banners.You could also use the phrases "Happy Valentine's Day" or "Love You More"
If you want something shorter try "Be Mine" or "Love".
Or come up with your own sayings and create a banner to add to your Valentine's Day decorations.
This post may contain affiliate links. As an Amazon Associate I earn from qualifying purchases. Please see my full disclosure policy for details.
SUPPLIES NEEDED VALENTINE BANNER
The supplies needed are simple and you probably have a lot of them at home. I only purchased the felt, which made this a super affordable project.- felt (I used red and white)
- cord (I used 4mm white cord, but you could use baker's twine, or a jute twine)
- hot glue
- free printable template
- printed letters *see notes below*
- freezer paper *see notes below*
When I went to purchase felt there were two different thicknesses. I opted to get a thicker felt for the red. (I would have for the white too, but they were out.)
It's just a little bit more stable for the banner, but either type will work.
To print out the letters, I used the font Impact with a font size of 300. Any bold font will work.
The freezer paper is great to use to cut out the letters. Basically you trace the letter onto the freezer paper and then iron it onto the felt.
It makes it easier to cut the felt without it wiggling around as your cutting. You can get step by step instructions for freezer paper applique here.
HOW TO MAKE EASY VALENTINE'S DAY BANNER
The first step is to print the pdf file of the free template and cut it out.Next, cut out the felt with the template as a guide. I opted to use my cutting mat, ruler and rotary cutter to get perfectly straight lines.
It's perfectly fine to use the template to trace onto the felt. Or you can pin it to the felt and then cut it out.
Cut out enough pieces to spell out the phrase you'd like to use.
You also need to cut a piece of cord. I measured how long I wanted it and added another foot or so for room to tie the ends.
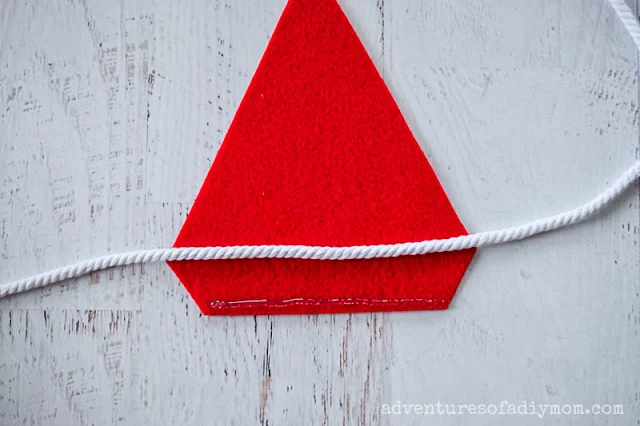
Next place your cord along the widest point of the felt. Add a strip of hot glue to the edge.
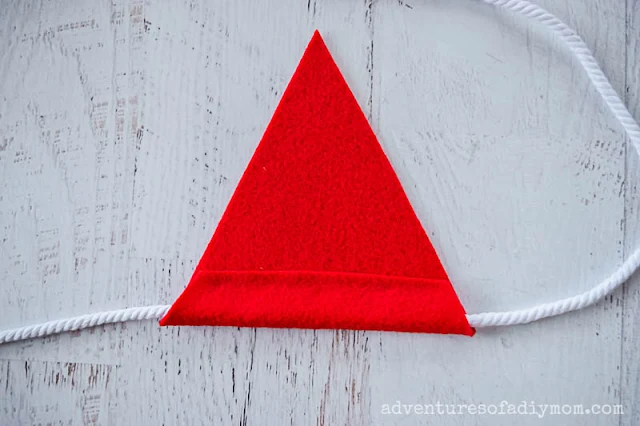
Then fold the felt over the cord to create a triangle shape.
Repeat for all the banner pieces.
Next, cut out all your felt letters and the felt heart.
I opted to use the freezer paper applique method to get more precise cutting. Trace the letters onto the freezer paper.
(You could try printing them onto the paper, but I was not successful - my printer wouldn't grab the freezer paper.)
Then iron the freezer paper to the felt. This will keep the felt from flopping around as you cut. Then the paper just peels off easily when you're done.
You could also trace and cut if desired.
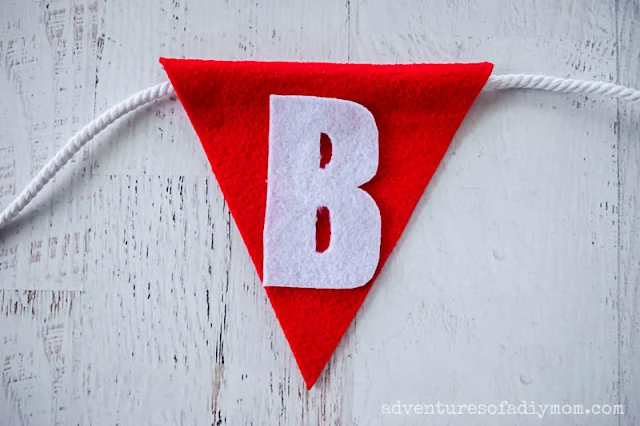
Hot glue the letters on to the banner.
And there you have an easy Valentine's day décor idea!
You can use this cute idea create any type of holiday or seasonal banner. Just switch up the colors and phrases.
I hung it in the bay window in our kitchen, but it would look so cute over a fireplace mantel or on a stair railing.
MORE VALENTINE'S DAY PROJECTS
Don't forget to pin it!!




0 comments