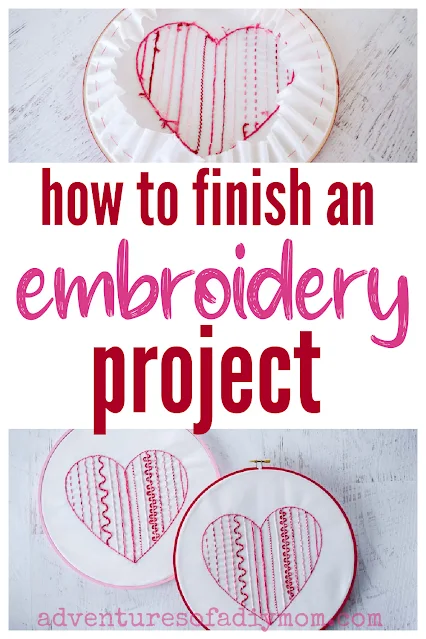
So you've finished your embroidery hoop project. Now what? How do you finish it off and display your hard work?
Today I will show you my favorite EASY method for finishing off an embroidery hoop.
Today is the last day of the heart sampler stitch along! I hope you've enjoyed learning new hand embroidery stitches the last couple of weeks.
If you just found this, don't worry. You can start up whenever you wish.
Begin by learning how to transfer embroidery patterns.
Then learn the following line stitches:
- running stitch
- double running stitch(aka the Holbein stitch)
- whipped running stitch
- double whipped running stitch
- laced running stitch
- back stitch
- whipped back stitch
- threaded back stitch
- double threaded backstitch
- laced backstitch
- split stitch
- chain stitch
- stem stitch
- couching stitch
HOW TO FINISH AN EMBROIDERY HOOP
This post may contain affiliate links. As an Amazon Associate I earn from qualifying purchases. Please see my full disclosure policy for details.
HOW TO FINISH AN EMBROIDERY HOOP
I'll start off by saying there are a lot of ways to finish off the back of an embroidery hoop.One easy way is to use a hot glue gun. However, I personally don't like using glue. If I accidentally get it on the back side of the fabric, it can show through to the front.
Check out the video tutorial!
The first thing I did was to paint the wooden hoop. This is totally optional, but adds a fun pop of color to enhance the embroidery design.
Next trim the corners of the extra fabric off. Leave enough so there is an inch to an inch and a half of fabric left all the way around.
You want to have enough fabric so that you can gather it, but not a lot of excess fabric.
Turn the project to the back of the hoop.
Cut a long strand of thread. Thread it on a needle. Arrange so the ends of the thread are even and double knot the ends together.
Make sure your thread is more than double the circumference of the hoop so you have enough.
Insert the needle so that the knot is on the inside. Do a simple basting stitch about half an inch from the edge.
This does not need to be perfect.
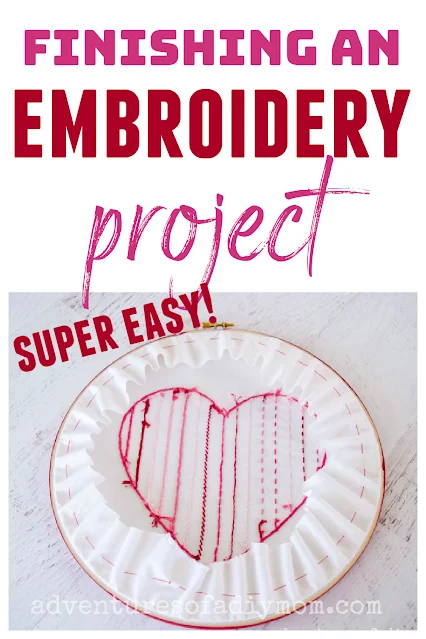
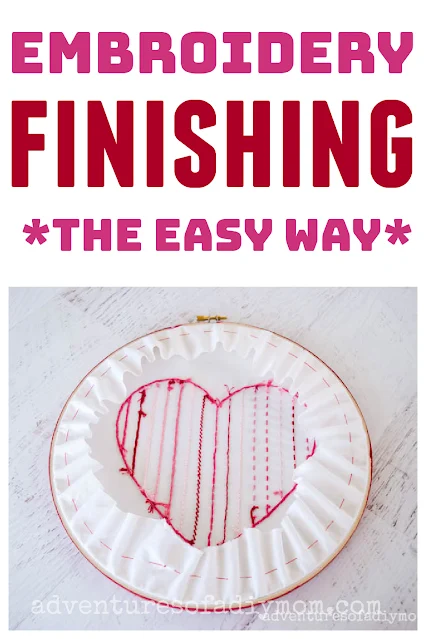
As you work pull on the thread to tighten it and the fabric will gather nicely behind the hoop.
Continue all the way around the hoop, pulling the thread tight as you go. When you get back to the starting point, knot the thread off on the underside of the fabric. Clip excess thread.
That's it! Super easy right?
I am content to leave my finished piece like this. Some may prefer a more polished look.
For an even more professional finish, you can add a fabric backing. Felt backing backing is inexpensive and easy to work with.
Simply cut out a felt circle just smaller than the size of your hoop. (It should be about the size of the inside of the hoop.)
Then secure the edge of the fabric to the back of your work with embroidery floss using a whip stitch.
Want to watch the video? ↓↓Click the link ↓↓
MORE EMBROIDERY HOOP ART
Don't forget to pin it!!


0 comments