Learn how to sew the chain stitch to use in embroidery.
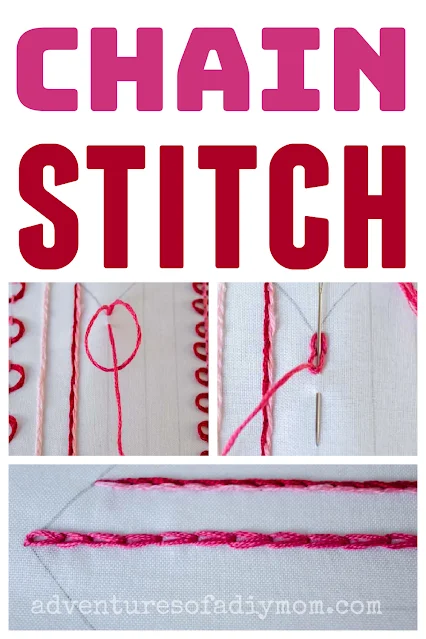
The chain stitch is aptly named because it resembles the links of a chain.
Often embroidery stitches have several different names that they go by. The chain stitch is also known as the tambour stitch, or the point de chainette stitch.
This chain stitch tutorial is part of the heart sampler stitch along.
Come stitch along with us! Each day we are learning a new embroidery stitch while we create this darling Valentine's heart sampler.
Begin by learning how to transfer embroidery patterns.
Then learn the following line stitches:
- running stitch
- double running stitch(aka the Holbein stitch)
- whipped running stitch
- double whipped running stitch
- laced running stitch
- back stitch
- whipped back stitch
- threaded back stitch
- double threaded backstitch
- laced backstitch
- split stitch
Next, we'll learn the stem stitch.
CHAIN STITCH (EMBROIDERY TUTORIAL)
The chain stitch is easiest to create when working top to bottom.The chain stitch is a thick line stitch. It can be used for straight lines or curves.
It can also be worked or rows or spirals to be used as a filling stitch.
Try adjusting the stitch length, or using more or less strands of embroidery floss to achieve different outcomes.
For a heavy chain stitch, use all 6 strands of floss.
This post may contain affiliate links. As an Amazon Associate I earn from qualifying purchases. Please see my full disclosure policy for details.
HOW TO SEW THE CHAIN STITCH
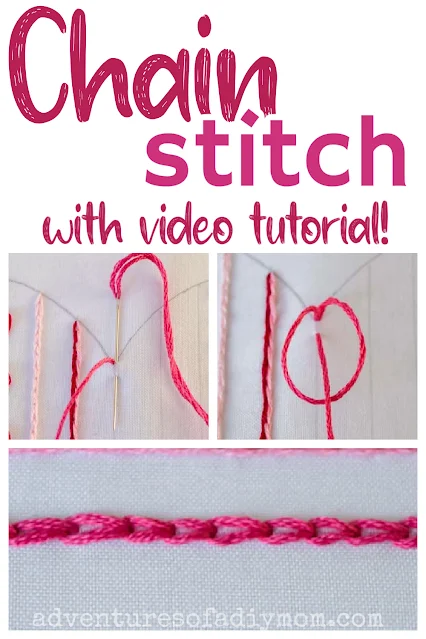
Let's learn how to create the chain stitch. (Learn better visually? Check out the video tutorial!)The chain stitch is easiest to sew when you orient your work so you can stitch top to bottom.
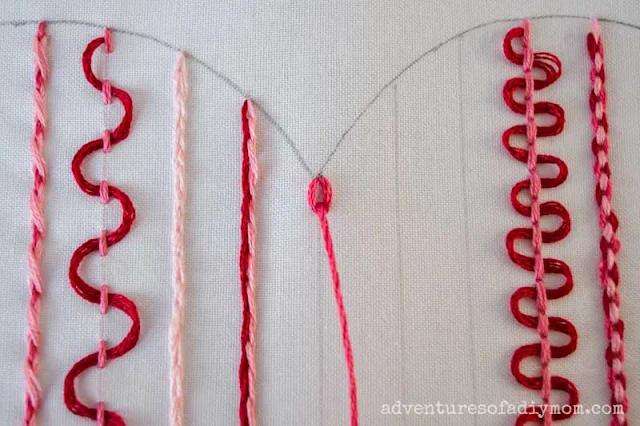
Bring the needle up at the start of the line. Pull the thread all the way through.
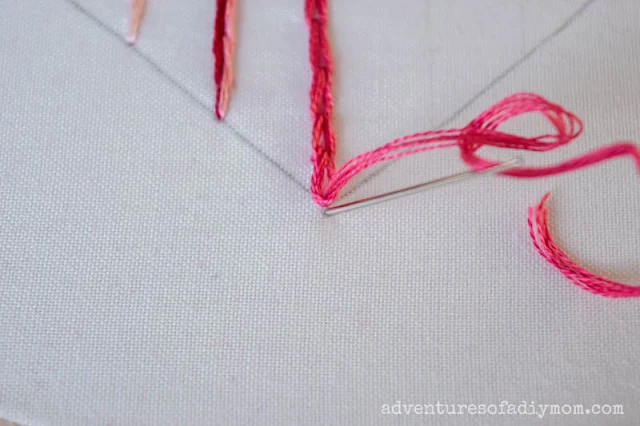
Next put your needle down in the same hole you came up in, and bring it back up a stitch length away.
Pull the thread until there is a small loop remaining. Make sure needle and thread are coming up through the middle of the loop.
Then pull until the thread is snug. This is your first chain stitch.
Put the needle down in the same hole it's coming out of, and bring it back up a stitch length away.
Again pull the thread, making sure that the needle and thread are coming up through the middle of the loop. Pull to snug the stitch.
Repeat until you get to the end of the line.
To finish off the stitch and prevent it from unraveling, simply insert the needle down on the underside of the last stitch. Pull the thread through and this will secure the last stitch in place.
Tie off on the back side of your fabric.
Want to watch the video? ↓↓Click the link ↓↓
VARIATIONS OF THE CHAIN STITCH
There are quite a few variations of the chain stitch. I hope to get tutorials up at some point. For now here is a list of them.
- reverse chain stitch
- double chain stitch
- detached chain stitch
- open chain stitch
- cable chain stitch
- rosette chain stitch
- twisted chain stitch
MORE BASIC EMBROIDERY STITCHES
Tutorials coming soon:
- stem stitch
- couching stitch
- satin stitch
- french knot
- lazy daisy stitch
Don't forget to pin it!!


0 comments