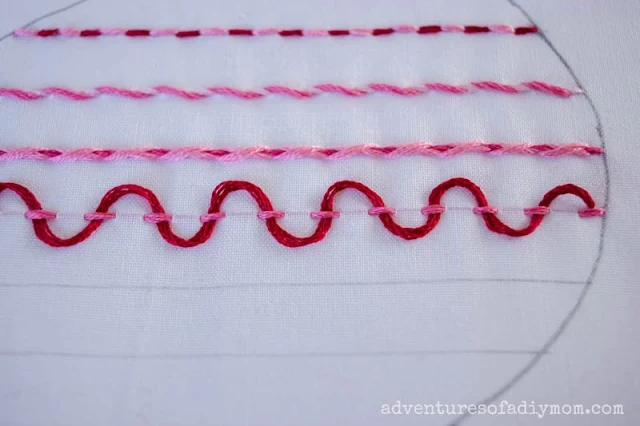
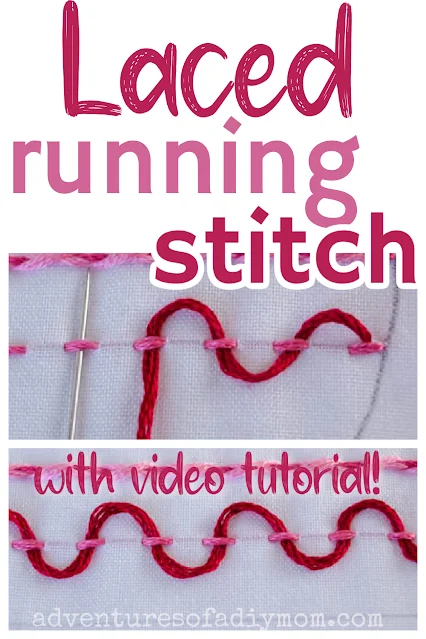
The laced running stich is a gorgeous variation of the running stitch.
It's simple to make and will add a wow factor to your embroidery projects.
The end result of the stitch is a wavy line that is bold and attention grabbing.
Have you been stitching along? This tutorial is part of the heart sampler stitch along. It's a fantastic way to learn new hand embroidery stitches. The stitches we are learning are all types of line stitches.
Each day I'm sharing a new embroidery stitch tutorial.
Begin with this how to transfer embroidery patterns post. So far we have covered how to sew the running stitch, the double running stitch(aka the Holbein stitch), the whipped running stitch, and the double whipped running stitch.
Next up we will learn one of the most basic stitch of hand embroidery - the back stitch.
LACED RUNNING STITCH
The laced running stitch is best used when working a straight line.You can do it using a single color, or choose different colors of thread for a whole new look. Try contrasting thread, or go for a mono-chromatic feel.
Change up the number of strands used to create different effects and beautiful patterns.
Keep in mind that this is a decorative stitch. It is easily snagged and pulled out of place. Don't worry, it it gets moved out of place it's simple enough to fix it.
I would caution against using this stitch on clothing or any item that is handled a lot. It's best used in projects that end up as a display item.
This post may contain affiliate links. As an Amazon Associate I earn from qualifying purchases. Please see my full disclosure policy for details.
HOW SEW THE LACED RUNNING STITCH
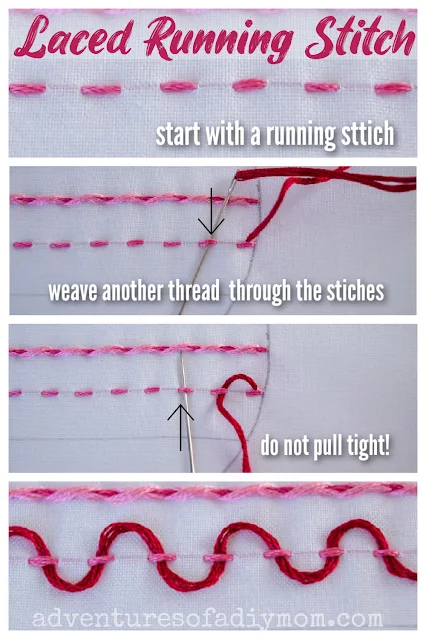
Want to watch the video tutorial? Laced running stitch videoBegin by sewing a running stitch.
With a contrasting color, bring the needle from the back on the upper side of the first stitch, in the center of the stitch.
Next weave the thread through the running stitches, up and down, up and down. Do NOT pull the stitches tight. They should be loose to create that wavy effect. Try to keep the "waves" about the same size.
When you reach the end of the line of stitches insert the needle at the center of the stitch. You will place it on either the upper or lower side of the stitch depending on where you end. You want it to appear as if the stitch is ending under the existing stitch,
Keep in mind that this second thread is not going to the back of the fabric (until you get to the end). Keep the embroidery needle between the fabric and the existing running stitches.
Tie off on the back. Be careful as you do this that you don't pull the thread tight ruining the lacy effect.
Want to watch the video? ↓↓Click the link ↓↓
MORE EMBROIDERY STITCHES
Coming Soon:
Don't forget to pin it!!


.jpg)


0 comments