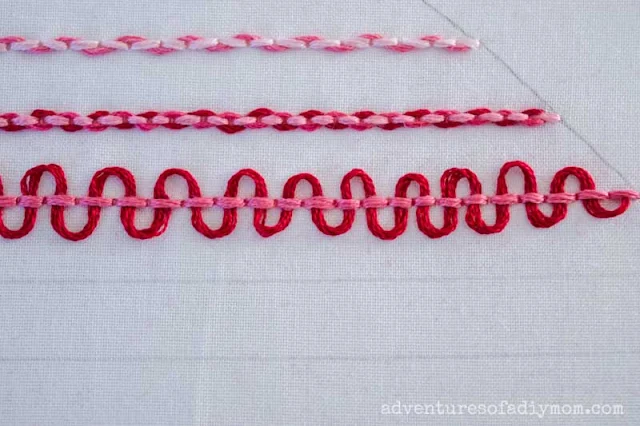
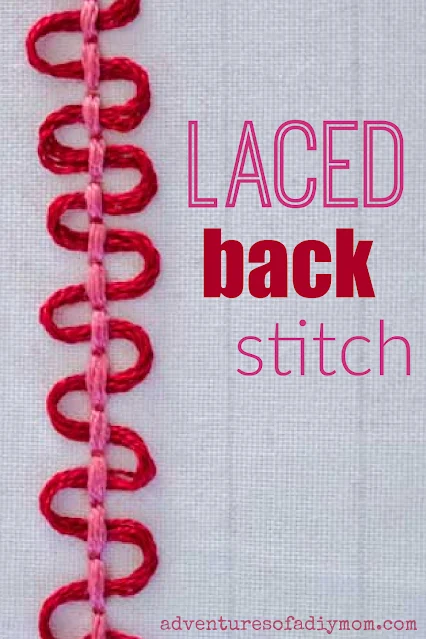
The laced backstitch will bring a wow factor to your embroidery projects!
It's a basic back stitch with another thread woven through it.
It's very similar to a laced running stitch. The only difference is the foundation stitch you start with.
It is really a easy and simple stitch to sew.
This laced backstitch tutorial is part of the heart sampler stitch along.
If you've ever wanted to improve your embroidery skills and learn new stitches, then you need to do this stitch along. We learn a new hand embroidery stitch every day. You'll end up with a cute little heart sampler.
We started off by learning how to transfer embroidery patterns.
After that we learned the following line stitches:
- running stitch
- double running stitch(aka the Holbein stitch)
- whipped running stitch
- double whipped running stitch
- laced running stitch
- back stitch
- whipped back stitch
- threaded back stitch
- double threaded backstitch
Next up we will learn the split stitch.
LACED BACKSTITCH (EMBROIDERY HOW TO)
The laced backstitch is one of my favorite decorative stitches.
You can use it for outline stitches or any straight lines. It can also be used on gently curved lines.
You can sew this stitch in all one single color. Or you can change up the color of the lacing thread to a different color if you like.
This post may contain affiliate links. As an Amazon Associate I earn from qualifying purchases. Please see my full disclosure policy for details.
HOW TO SEW THE LACED BACKSTITCH
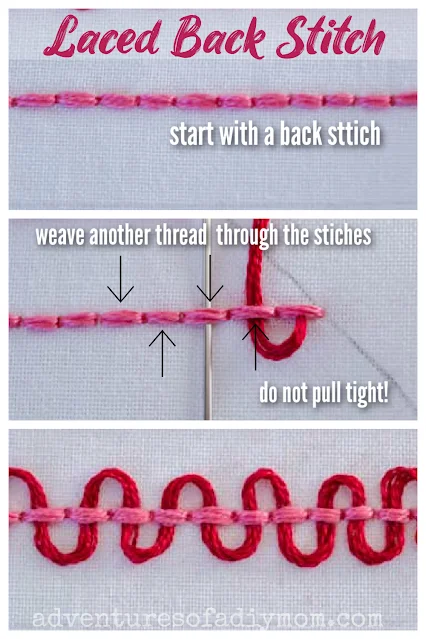
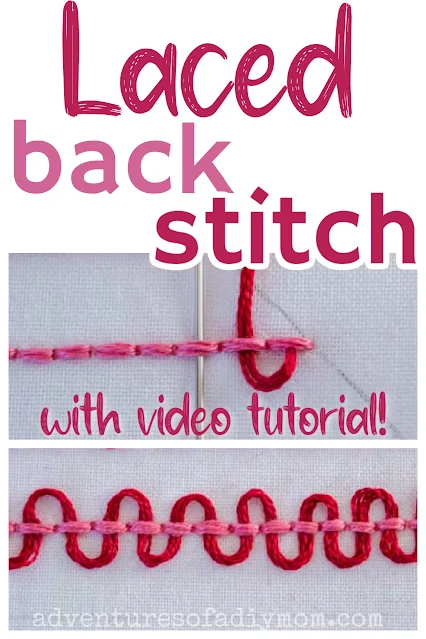
Check out the laced backstitch video tutorial.Begin with a back stitch. You can find the back stitch tutorial here.
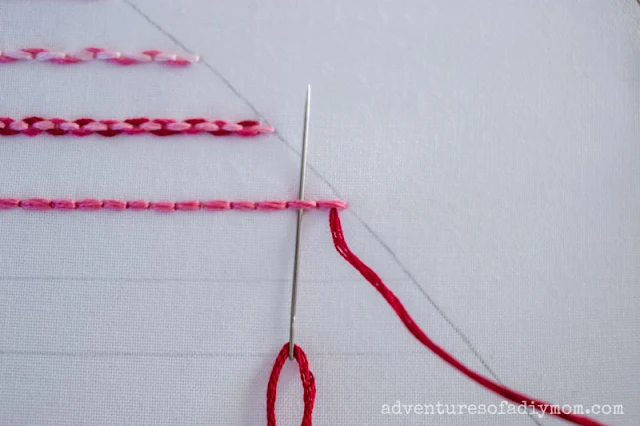
With a second thread, bring the needle up on the underside of the first stitch.
Next weave the embroidery thread up and down through the remaining stitches.
The key to this stitch is to not pull this second thread tightly. Pull it just until there is a small loop left in the thread.
As you work your way through the backstitch line try to keep the loop sizes as even as possible.
Once you get to the end of the line of stitches, insert needle underneath the last stitch.
Secure with a knot on the back side of the fabric. Be very careful! Do not pull the thread tight as you're knotting the backside. You don't want to ruin the loops on the front.
Note: I recommend this stitch only be used decoratively. The threads can be pulled out of place quite easily. Do not use on items that will be worn or handled frequently. It's best for display items.
Want to watch the video? ↓↓Click the link ↓↓
MORE BACKSTITCH VARIATIONS
MORE HAND EMBROIDERY STITCHES
Don't forget to pin it!!


0 comments