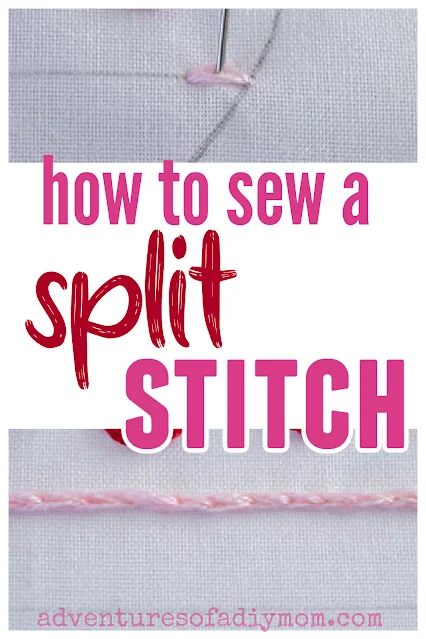
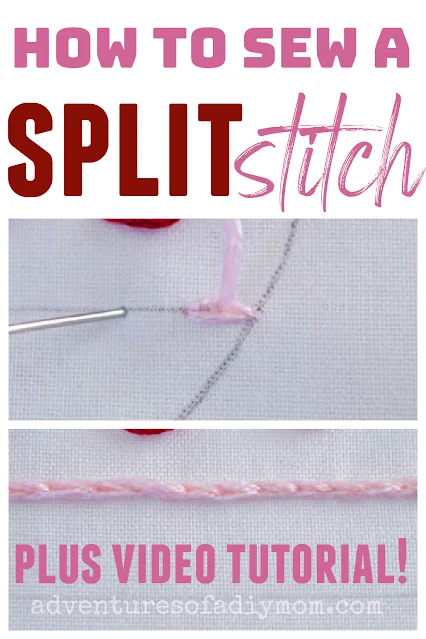
Learn to sew the split stitch in this tutorial. The reason it is called a split stitch is because the needle splits the thread each time it comes up through the fabric.
Another name for the split stitch is the Kensington outline stitch.
This split stitch tutorial is part of the heart sampler stitch along.
We're over half way done with this stitch along. Feel free to jump in whenever you want.
It's a great way to learn new stitches since we learn a new hand embroidery stitch each day.
You'll end up with a cute little heart sampler to display this Valentine's day.
Get started with this how to transfer embroidery patterns tutorial.
Then follow along as we learn these line stitches:
- running stitch
- double running stitch(aka the Holbein stitch)
- whipped running stitch
- double whipped running stitch
- laced running stitch
- back stitch
- whipped back stitch
- threaded back stitch
- double threaded backstitch
- laced backstitch
Next up we will learn another variation of the split stitch using two colors.
HOW TO EMBROIDER A SPLIT STITCH (WITH VIDEO TUTORIAL!)
The split stitch is traditionally worked with one color of thread. Tomorrow we'll learn how to make it using two colors. It is commonly used as a line stitch, but can also be a great stitch when used as a solid fill stitch.
The finished result has a similar appearance to the chain stitch.
It's best to use smaller stitches.
So far we've been learning simple embroidery stitches. While the stem stitch isn't really hard, it isn't a basic stitch. I consider it to be more of an intermediate stitch.
This post may contain affiliate links. As an Amazon Associate I earn from qualifying purchases. Please see my full disclosure policy for details.
HOW TO SEW THE SPLIT STITCH
This one's a little tricky to explain, so I'll do my best, but definitely watch the video tutorial.For this tutorial I am use all 6 strands of floss.
It's important to note that it's best to use an even number of thread strands for this stitch.
Bring the needle up at point 1. Bring the needle back down about a stitch length away at point 2.
Then bring the needle back up right in the middle of the stitch you just created at point 3.
Take care to ensure that the thread is split evenly on both sides of the point of the needle.
Next put the needle down, again about a stitch length away at point 4.
Bring the needle back up at point 5, which is where the previous stitch ended. Again, be sure to split the thread as you come up so it is even on both sides of the needle.
When you get to the end of the stitching area, simply tie off on the back of the fabric.
Want to watch the video? ↓↓Click the link ↓↓
MORE EMBROIDERY STITCHES
- stem stitch
- chain stitch
- french knot
- satin stitch
Don't forget to pin it!!


0 comments