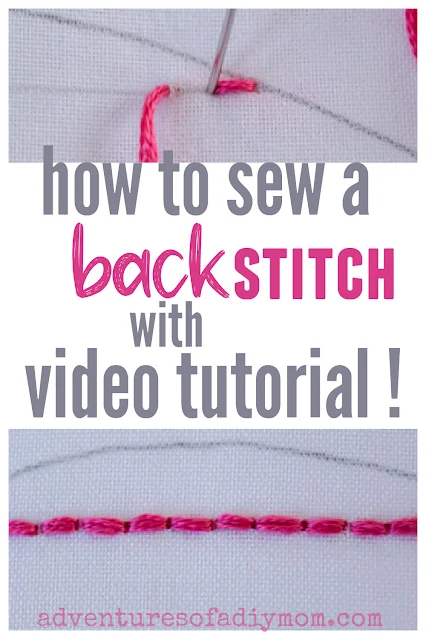
The backstitch is a simple stitch and one of the most basic stitches in embroidery.
It is easy to do and it's great for stitching straight lines, a simple outline stitch, and adding details. It's also great for tight curves like when doing lettering.
The backstitch is also the foundation stitch that many other stitches are built upon.
Using small stitches is ideal for most backstitch applications. However, long stitches can give a unique flair to a project. Whatever the size of your stitches, the most important factor that they are even and all the same size.
This tutorial is part of the heart sampler stitch along. Stitch along with us as we learn new hand embroidery stitches.
Each day I'm sharing a new embroidery stitch tutorial.
New to embroidery? Begin by learning how to transfer embroidery patterns.
So far we have learned the following line stitches:
- running stitch
- double running stitch(aka the Holbein stitch)
- whipped running stitch
- double whipped running stitch
- laced running stitch
Next up we will learn the Whipped Backstitch.
HOW TO DO THE BACKSTITCH (EMBROIDERY TUTORIAL)
This post may contain affiliate links. As an Amazon Associate I earn from qualifying purchases. Please see my full disclosure policy for details.
HOW TO SEW THE BACK STITCH
Learn better with video? Watch how to sew the backstitchThere are two methods that I use to create the back stitch. I call them the stabbing method and the sewing method.
Reference the image below as I explain each method.
STABBING METHOD BACKSTITCH
Backstitching is easiest to do working from right to left (unless your left handed, then do the opposite).Also keep in mind that with each stitch you will want to bring the thread all the way through.
Ok, let's get started.
Begin about a stitch length away from the end of your line (point a). Bring your needle up from the back of the fabric.
Next put your needle down at the beginning point of your line (point b).
Then bring your needle up another stitch length away from the end of the last stitch (point c), and put your needle back down at the point where your first stitch ended (point d).
Continue this process until you reach the end of your line of stitching.
SEWING METHOD BACKSTITCH
The sewing method is my favorite because it's quicker to do and it's easy to make your stitches even. This method keeps your hand on the upper side of your fabric and so there's less moving from front to back.Begin by bringing your needle up about a stitch length away from the end (or as in the image above, a stitch length away from the last stitch).
Then put your needle down and back up in the same motion. Put your needle down at the beginning of your line of stitches or at the end point of the preceding stitch.
Without pulling the needle through, poke the end through a stitch length away from the thread that is coming out.
When the needle is in this position (before you've pulled it through) it's a great time to check if your stitches are even. There should be an equal amount of fabric from where the needle goes through the fabric and the center thread.
Pull the needle through and repeat.
Wow, that was hard to explain. Didn't quite catch what you're supposed to do? Definitely watch the video.
Want to watch the video tutorial? ↓↓Click the link ↓↓
VARIATIONS OF THE BACKSTITCH
MORE BASIC EMBROIDERY STITCHES
Don't forget to pin it!!


0 comments