I love to stitch.
But I don't always have room on my walls for the finished product.
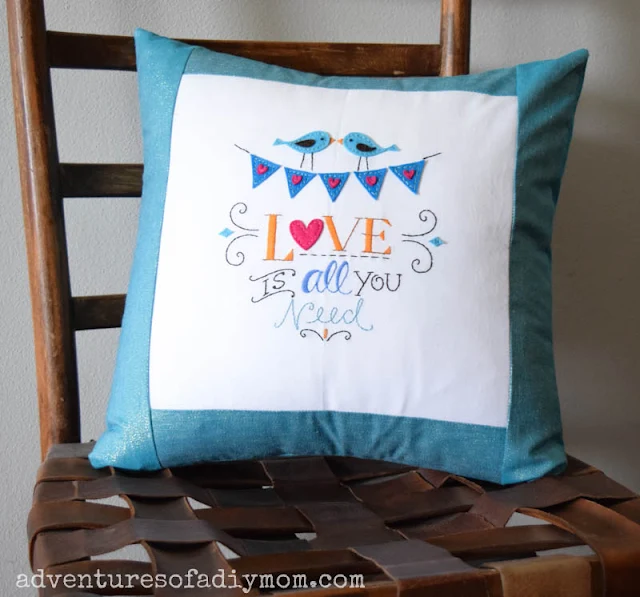
So this time I decided to turn my embroidery into a pillow.
It's pretty easy to do and it makes the most darling accent pillow.
Let me show you how I made this easy DIY embroidered pillow.
This pillow starts with an embroidery kit.
Everything you need is included in the kit, except a hoop.
It includes the embroidery needle and thread and the fun felt embellishments.
The pattern is printed right on the fabric.
Of course you can use any embroidery that you have done to turn into a throw pillow.
DIY Embroidered Pillow
I decided to make it an envelope pillow. In other words it's a cover for a pillow that can be removed as the seasons change. Or when I make a new one.
Last year I shared how to make an envelope pillow with one piece of fabric.
I've made a few pillow cover variations, like this leaf rubbings pillow cover and this cloth napkin pillow cover. So go check those out for more throw pillow ideas!
Let's get started!
This post may contain affiliate links. Please see my full disclosure policy for details.
Supplies Needed for Embroidered Pillow
- embroidery kit (or a pattern, embroidery thread and needle)
- pillow insert
- embroidery hoop
- 3/4 yard coordinating fabric
- sewing machine
- thread
- iron
and ironing board
- rotary cutter, mat and straight edge
HOW TO MAKE AN EMBROIDERED PILLOW COVER
Begin by stitching your embroidery. I used this kit from Plaid.
I like this kit because in involves more than just embroidery. There are the fun little felt shapes added in and it's just adorable.
Follow instructions on kit to complete the stitching. This project used just a few stitches - the back stitch, satin stitch and a simple running stitch.
Or complete an embroidery pattern of your choice.
Once you have finished with the needlework, trim the fabric to be a perfect square.
My piece was 10 3/4" X 11 1/4".
So I trimmed off 1/4 inch from the top and the bottom to create a square piece that was 10 3/4" X 10 3/4".
Next cut two pieces of fabric that are 10 3/4" X 3". Sew these pieces to the top and the bottom of the square. Press seams flat.
Note: All seams are sewn with 1/4" seam allowance.
Next, cut two pieces of fabric that are 15 1/2" X 3". Sew them along the sides of the embroidery.
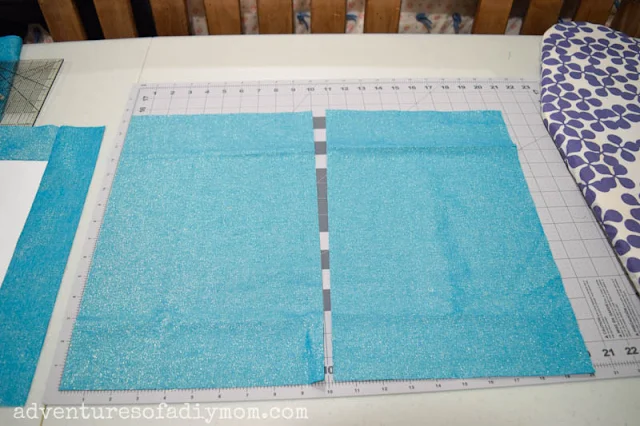
Now let's make the back. I decided I wanted to make an envelope pillow. That way, I can remove the cover and change it up if I want to.
For this pillow, cut two pieces that are 15 1/2" X 10".
Fold over one long end 1/4 inch. Press. Fold once again 1/4". Press. Sew in place.
Repeat this for the other piece of fabric. This creates the finished edges of the envelope pillow.
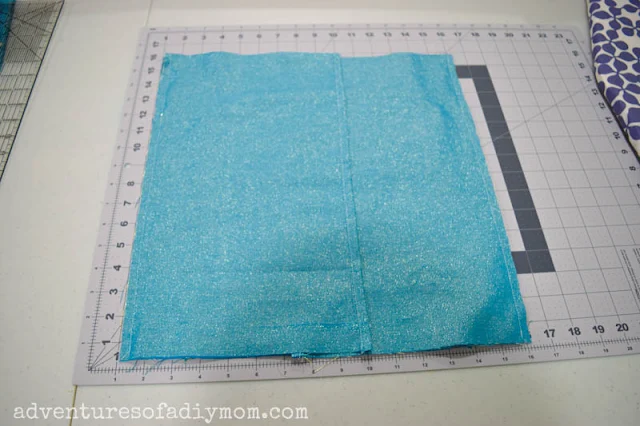
With right sides together, sew the unfinished edge of the pillow back to the pillow front.
Sew the remaining back piece to the opposite side of the pillow front.
Next, with right sides still together, sew along the top and the bottom of the square.
Turn the pillow right side out.
Insert a pillow form (I used a 16" X 16" form)
That's it! Now you have a custom pillow with your stitching on it. I think it would make a wonderful gift. Or, keep it for yourself!
MORE EMBROIDERY PROJECTS
- Love Embroidery
- Tulips in Mason Jar Applique
- Embroidered Apron
- Embroidered Ornaments
- Spider Web Embroidery
- Fall Embroidery
- Easy Embroidery Projects for Beginners
- Floral Embroidery Patterns


Very nice and very creative.
ReplyDeleteThat pillow is super cute!
ReplyDelete