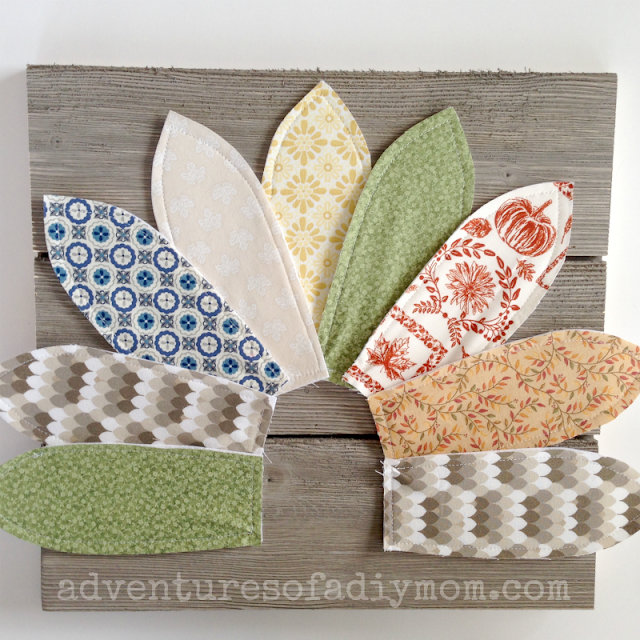
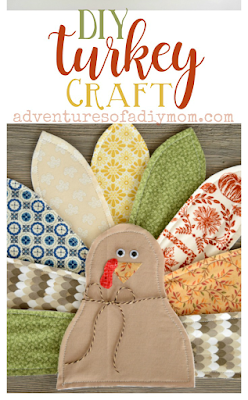
Make this adorable turkey wall plaque for your home decor. Using an eclectic mix of fabrics for the tail feathers and some weathered shiplap for the base, you can create a fun and whimsical decoration perfect for the Thanksgiving season. Give this DIY a try.
If you have been searching for DIY Thanksgiving decorations, then you might have run into the same problem I did. I wanted to make a Thanksgiving craft for adults. I found lots of kids crafts, I found lots of tablescapes, but I could find almost nothing in the category of a DIY craft for adults that I would want to display in my home. I wanted a Thanksgiving decorations that I could make and use year after year. So I set out to make one myself. {I also made this EASY Indian corn decor}
DIY Thanksgiving Home Decor - Turkey Craft
Let's get started!But first! Do you follow me on Instagram? You should! I will be sharing pictures of how this turkey looks in my living room. Plus I made a quick video too!
Supplies Needed to Make a Turkey Craft
weathered shiplap - or a ready made pallet plaquefabric - multiple colors/patterns, you could totally use scraps or fat quarters
3/4 yard of thick interfacing
bakers twine or ribbon
googly eyes
hot glue
sewing machine/thread
saw - to cut shiplap, or just have the home improvement store do it.
grey stain
Steps to Making a Fabric Turkey Craft
Watch the video at the end of the post!Step 1 - Make the Base
Let's start with the base. I got a piece of grey, weathered-looking shiplap from the home improvement store. It was about 5 1/2" wide {including both overlapping pieces}. Cut three 15" boards. Glue and nail the boards together. Add a bit of grey stain to the edges of the cut boards.Step 2 - Create your turkey pattern.
I saved my patterns, but I cannot find them! If/when I do find them, I will try to scan them to share them with you. However, they were pretty easy. And that's coming from someone who does not consider herself good at drawing AT ALL.You can totally make your own! The feather is approximately 8 inches long and 3 inches wide. You can see that I folded the paper in half. I drew on one side and with the paper folded, cut it out.
The turkey's body was a bit harder - it took me a few tries to get one I liked. The body is about 7 1/2 inches tall and 6 inches wide at the base. The head part is slightly less than 4 inches. Again I folded the paper to create a symmetrical body.
You will also need a beak and snood. Cut a triangle for the beak. After several attempts I was able to create a snood.
Keep in mind that you can alter your turkey to whatever size you'd like.
Step 3 - Cut out the fabric and interfacing
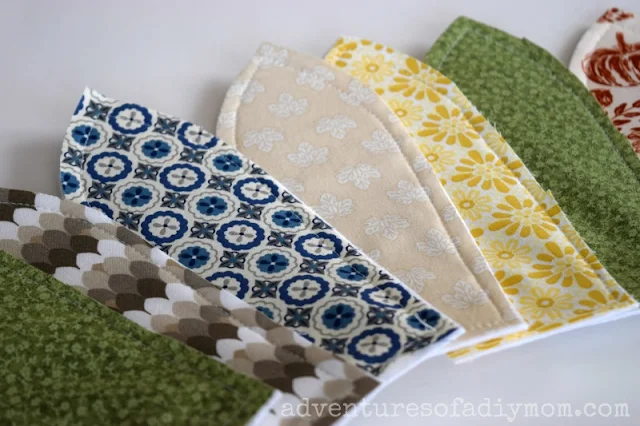
Cut out your feathers and interfacing. I laid down the interfacing, placed the fabric on top and cut both pieces out together. I did 9 feathers.I got the very thickest interfacing that the fabric store had. It's pretty stiff and helps the fabric to keep it's shape and not be all floppy.
I did not use interfacing on the beak or snood.
Step 4 - Sew the interfacing to the fabric
Sew the fabric to the interfacing. I sewed about 1/4 inch from the edge all the way around.Step 5 - Glue the turkey feathers and body to the board
I placed them all where I wanted them, then starting with the top center feather, started gluing them on. I used hot glue. There was a lot of arranging between gluing, to make sure they were added where I wanted them.Before gluing on the body, tie a piece of bakers twine or a ribbon around the neck. Glue turkey body in place.
Add the beak, snood and eyes.
Now I have a grown-up turkey craft that I can display each year for Thanksgiving.
↓↓ To watch the video, click the link ↓↓
More Thanksgiving Decor and Crafts
Don't forget to pin it!
P.S. I just created some fall leaf-rubbed pillows!
Also, see this article for ALL of my fall crafts.


This Thanksgiving Turkey you made is so adorable! Thanks for sharing this at Cooking and Crafting with J & J.
ReplyDeleteOh, that's the cutest turkey ever! You did a wonderful job.
ReplyDeleteThank you fro sharing at The Really Crafty Link Party. Pinned.
Very cute idea - sewing is not my thing but I bet a lot of DIY bloggers will love your creation. Happy Fiesta Friday.
ReplyDeleteI love all the different fabrics, this is one adorable turkey! I'll be featuring this tonight at Merry Monday
ReplyDeleteHi Rachel. What a gorgeous home decor idea for Thanksgiving. Our readers will love it! I've shared your tutorial in our latest Thanksgiving crafts inspiration roundup https://craftylikegranny.com/thanksgiving-crafts/ Cheers Jodie :)
ReplyDeleteSo cute! Looks great against the wood pallet. Visiting from Cooking and Crafting with JJ.
ReplyDeleteWhat a fun craft! I love all the different fabrics you used. Sharing on Twitter. Thank you for sharing, and for being a part of the Hearth and Soul Link Party. Hope to see you again this week. Have a great week ahead!
ReplyDeleteLove your turkey! Thanks for sharing with us at the Snickerdoodle link party! This will be one of my features this Saturday! Roseann from This Autoimmune Life
ReplyDeleteSo cute and what a great way to use up scraps. Featuring when my link party opens up tonight!
ReplyDeleteLove your DIY turkey craft!! Thanks so much for sharing at the Friday at the Fire Station link up! You will be the featured post this week. Have a great weekend. :)
ReplyDeleteJen