Thursday, June 26, 2014

Simple Ribbon Bows - Cut off Jean Shorts Series


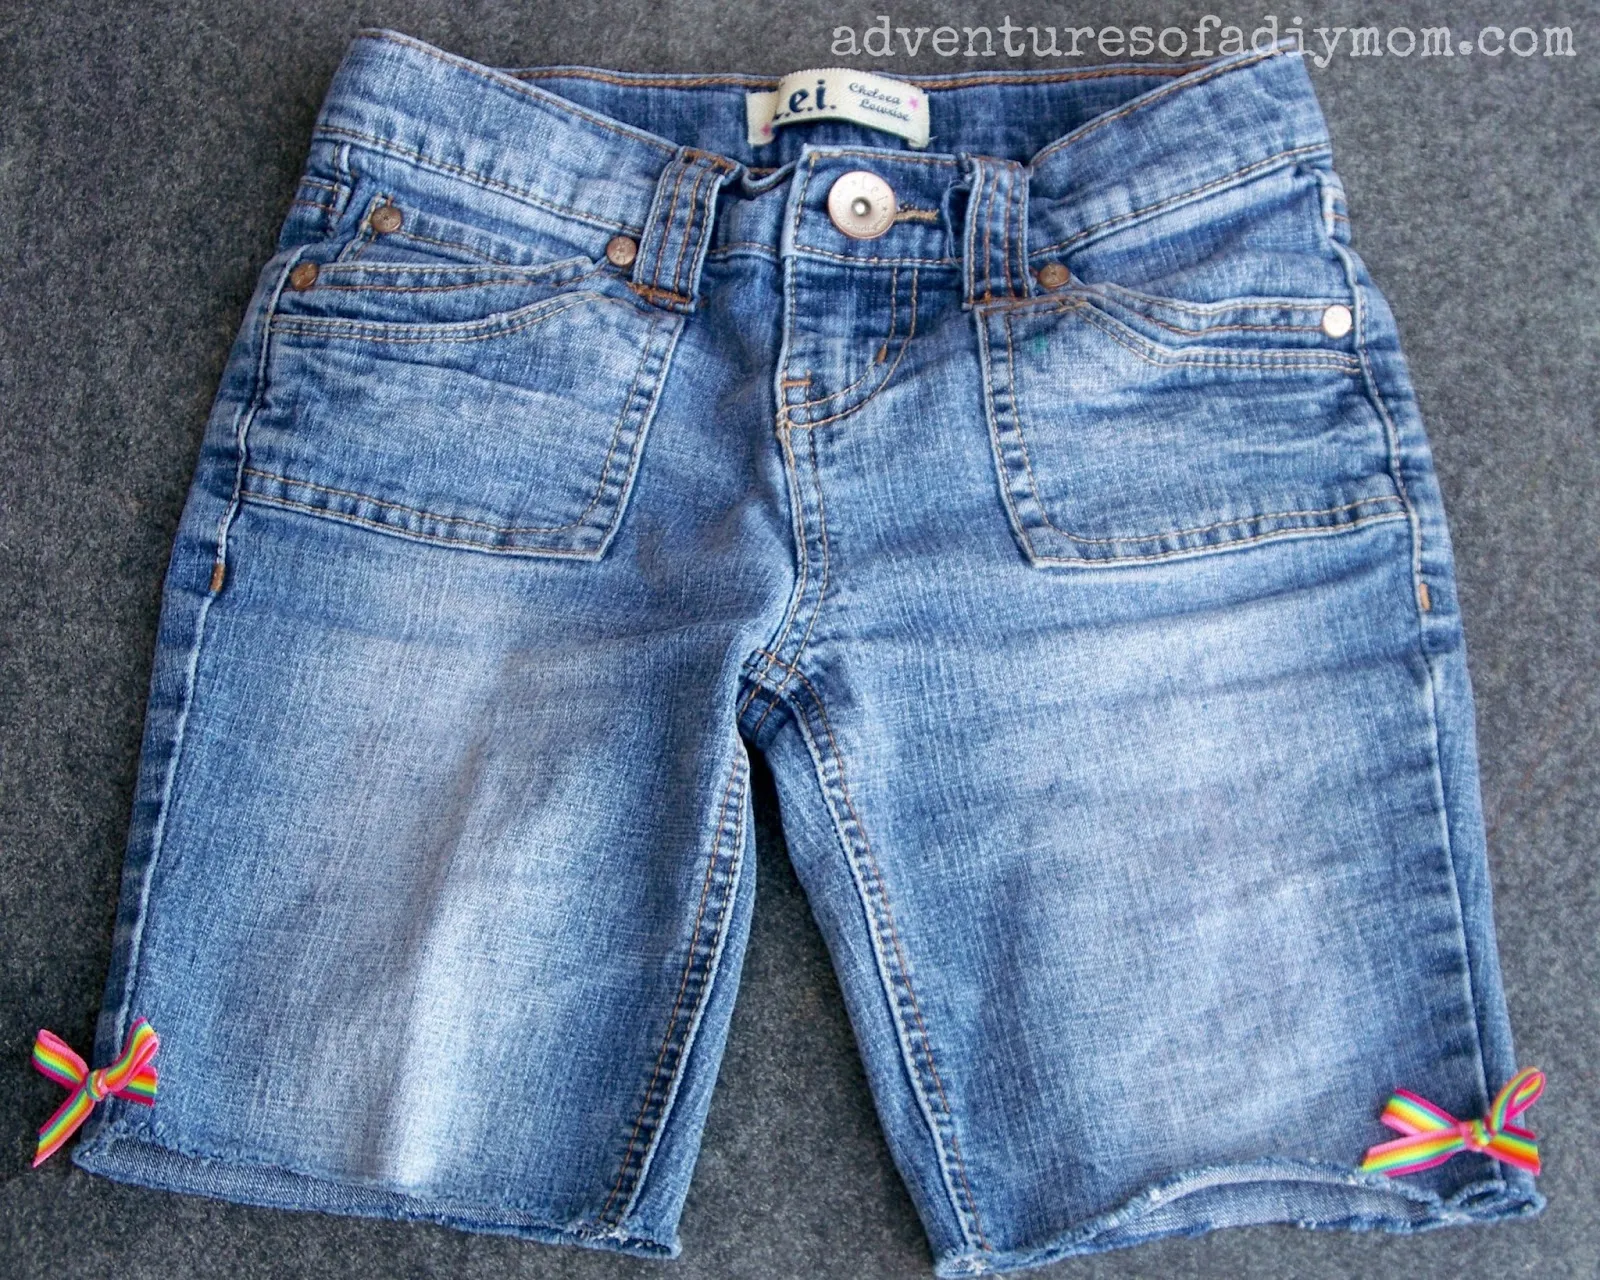
Today I'm finally back with more in my Cut Off Jean Shorts Series. Today's pair of shorts were definitely the easiest, but so darn cute! The simple ribbon bows add a touch of cuteness with very little work.

Simple Ribbon Bows for Cut off Jeans

Cut off the shorts at the length you desire. I try for 1-2 inches above the knee for my kids. Then stick them through the washer and dryer. They will continue to fray each time they are washed. You will need to cut off the long strings.

Simple Ribbon Bows for Cut off Shorts

For the bows simply tie a bow with ribbon. Play around with it to get it to look how you want it. Cut the excess ribbon. I used a lighter to melt the ends of the ribbon so they wouldn't fray. Then just grab a needle and thread and sew it in place. I used three stitches for each bow.

Simple Ribbon Bows for Cut off Jeans

I've washed them 3 times since adding the bows and so far they've held up perfectly.


Other posts in my Cut off Jean Shorts Series:
Cutoff Jean Shorts with Flag Pocket
Flag Pocket Jean Shorts


Cuffed Jean Shorts with Ribbon


Cuffed Jean Shorts with Paint


Lace Cutoff Shorts


Wednesday, June 18, 2014

4th of July Flag Tree with Cornstarch Ornaments

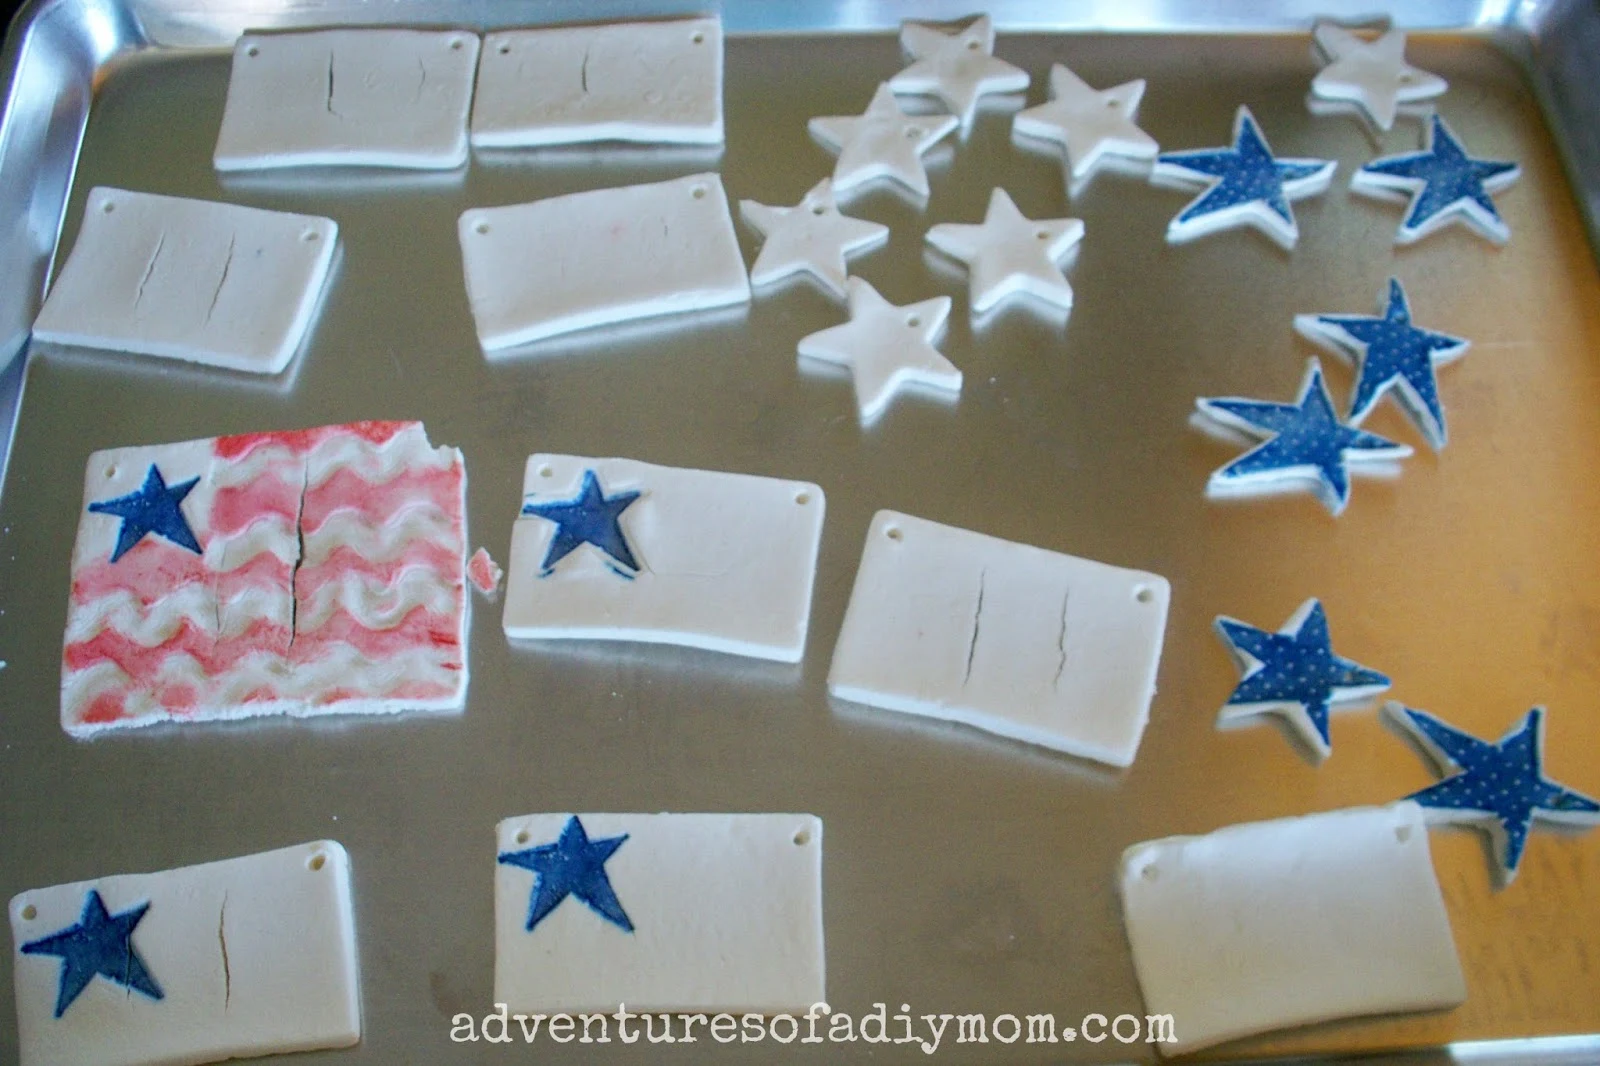
I've been wanting to make over my spring tree. I wanted to do something patriotic for the 4th of July. Then I remembered the cornstarch ornaments I'd seen forever ago. I made the dough, cut out some rectangles for the flags and some stars shapes. I stamped some and left some plain. Then I left them to dry for a few days. After they were dry, I added ric rac for the stripes of the flag and hung them on my little tree. I used my blue painted mason jar filled with dry beans for the base.


4th Of July Flag Tree with Cornstarch Ornaments

 Cornstarch Dough Recipe

1/2 c. cornstarch
1 c. baking soda
3/4 c. water

Mix together cornstarch and baking soda in a pan, add water and stir. Bring mixture to a boil and stir until it thickens. It will look like mashed potatoes. Remove from pan and let it cool down, but keep it covered with plastic wrap so it doesn't dry out.

Using small pieces of dough, roll out and cut into shapes. You can stamp the dough or leave it plain.  Be sure to make some holes in your ornaments to hang. I used a toothpick. Let dry on a cookie sheet for a couple days, turning after one day. Or Bake at 175 for 45 min, flip and bake 45 more min.

4th Of July Flag Tree with Cornstarch Ornaments

You can see that several of my flags cracked. I'm not sure why, maybe it would be better to bake them than let them air dry. Or maybe it's best to make small ornaments because none of my stars cracked at all. But they were still usable, especially when I covered them all up with ric rac or glitter.

Here's a couple other styles I made that aren't on the tree. I'm thinking of making a flag/star garland with the extras. 

4th Of July Flag Tree with Cornstarch Ornaments

Cornstarch Ornaments

It was a fun project and now I just need to get out the rest of my 4th of July decor.

4th Of July Flag Tree with Cornstarch Ornaments


Have you tried cornstarch dough? What was your experience with it? Did it crack on you?

If you're interested in more 4th of July crafts be sure to check back later this week. I'll be sharing some 3-D paper stars.


Here's a few more 4th of July projects

Wednesday, June 11, 2014

Flag Pocket - Cut off Jean Shorts Series

It's summer and it's hot! Time to get out the shorts. At our house, all pants that have holes in the knees get cut off into shorts. In years past that's all I've done, but this year I decided to embellish them a bit. Today's project is the Flag Pocket shorts. This embellished pocket is simple, yet adorable. They are perfect for the 4th of July, but I'm sure they will be worn all summer.

Flag Pocket - Cut Off Jean Shorts Series

Want to make your own Flag Pocket?

You will need:
Cut off jeans
red ric rac
white ric rac
blue ribbon with white polka dots {for the stars}
red embroidery thread
white embroidery thread
blue embroidery thread

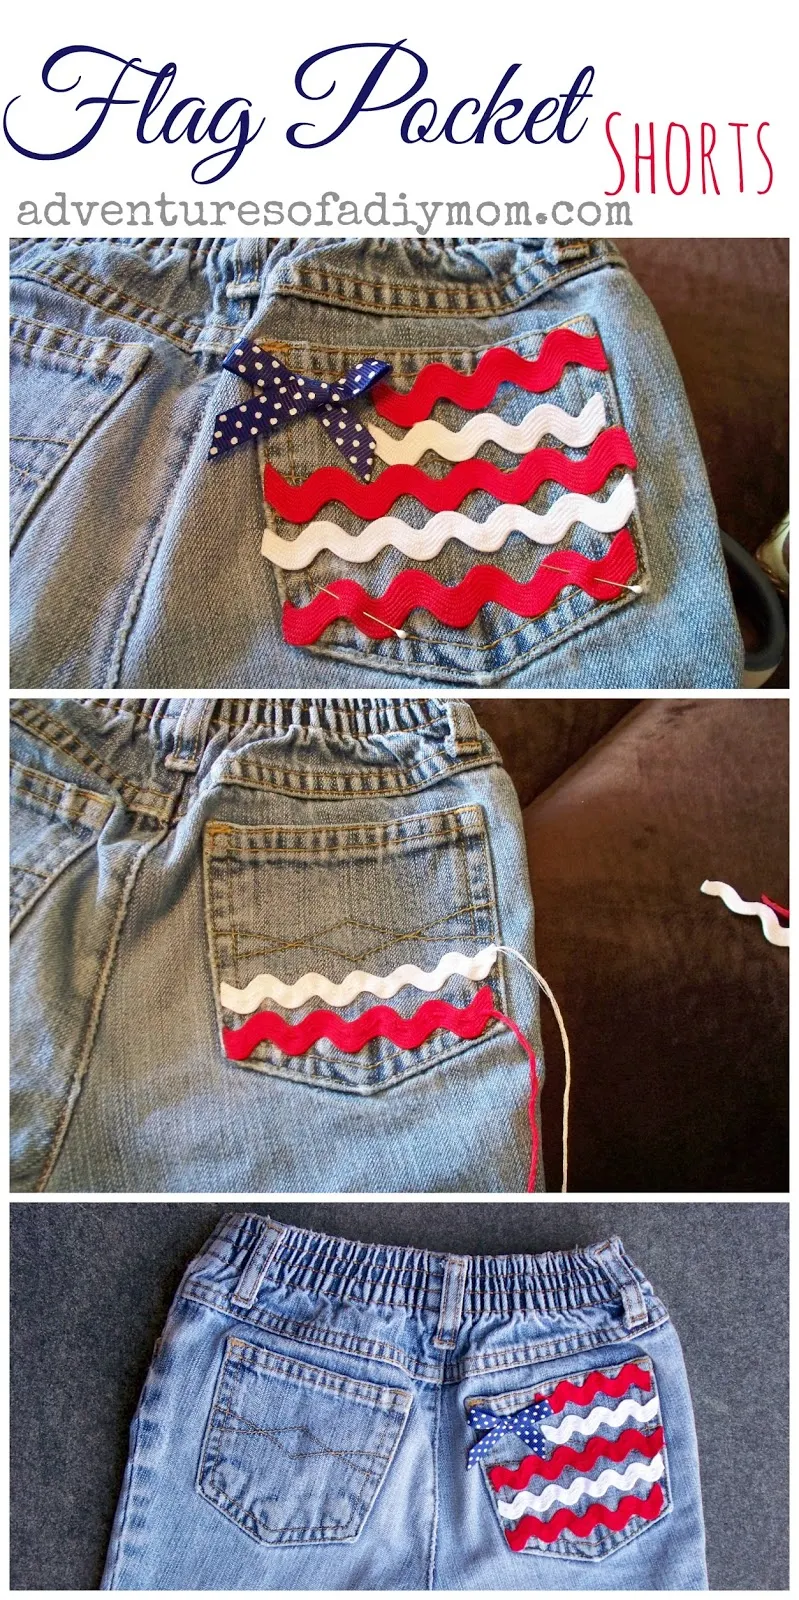
It's best to use a pair of jeans where the pocket is fairly plain, so it doesn't distract from the flag. I began by cutting the ric rac to the desired length. and placing it on the pocket how I wanted it. I also made a small bow with the blue ribbon to place in the corner.


Flag Pocket - Cut Off Jean Shorts Series
Beginning at the bottom, I pinned a red piece of ric rac to the pocket. Using all six strands of the red embroidery thread I hand stitched the ric rac to the pocket. I wanted the pocket to be usable, so I made sure to only stitch it to the pocket and not through to the pants.

I found that it was nearly impossible to knot off the thread that far down in the pocket, so I just left it to use on the next red stripe, where it was easier to knot off since it was closer to the top.

Each time I pinned a new stripe in place, I would place them all on the pocket to make sure I had the spacing fairly even.

Once you have all the stripes sewn on, sew on your bow.

Flag Pocket - Cut Off Jean Shorts Series
Originally I was going to do a flag on both pockets, but once I got it sewn on one side, I fell in love with the way it looked with just one. My oldest {who first told me she didn't want me to do anything with her shorts} said she liked it and wanted me to sew a flag onto a pair of her shorts too.

Flag Pocket - Cut Off Jean Shorts Series

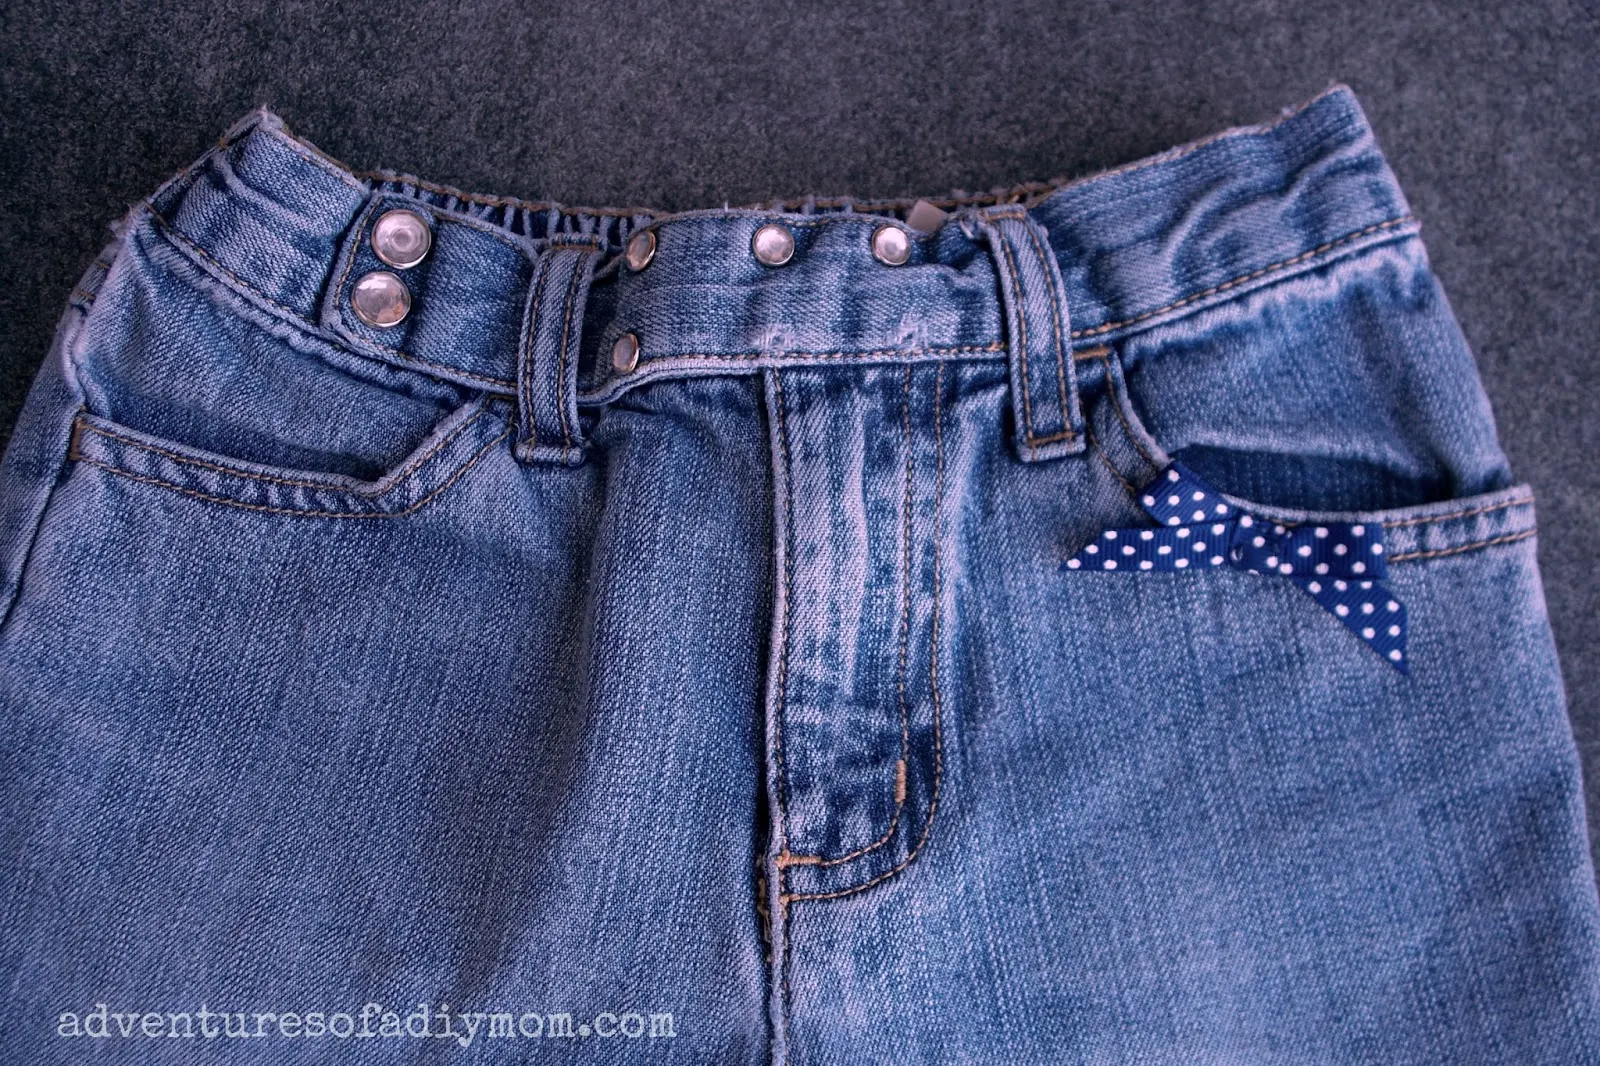
I decided to add a little bow to the front pocket - just for some extra cuteness.

Flag Pocket - Cut Off Jean Shorts Series


Do you cut off your old jeans? Have you ever done any embellishments?

I had a lot of fun dressing up the kids old pants into cute shorts and I'll continue to share them over the next couple of weeks.

Here's what's coming up in my Cut off Jean Shorts Series:
Cutoff Jean Shorts with Bows
Cuffed Jean Shorts with Ribbon
Cuffed Jean Shorts with Paint

You may also like:


Thursday, June 5, 2014

The Easiest Bracelet You'll Ever Make - Trinkette Bracelet


It's the first week of summer and I'm trying to get into a groove. The blog has been on the back burner for a while - there were just so many school projects and extra curricular activities with the kids the last month or two. I've tried to have at least one post a week. Now that summer is here, I'm still busy, it's just a more relaxed kind of busy. There's more dishes to do, toys to pick up, weeds to pick, and arguments to stop. But I've also had a little more time for projects. As usual, I have several projects done, just waiting to be written about.

As I was looking through my drafts file I found this trinkette bracelet post that I'd all but forgotten about. I created this post forever ago, when I first became part of the Prima Bead Blogger Team. This really is the easiest bracelet you'll ever make and there are no tools required!

Trinkette BraceletAmong the supplies that Prima Bead sent me in my welcome package were Trinkettes. You can read about my past experience with trinkettes here.

Here are the trinkettes I received:
Trinkettes


Want to see how easy it is to do?

Even if you are not a jewelry maker - you can do this - I promise!

Trinkette Bracelet
One end of the bracelet is removable, just unscrew it, add your beads and screw the end cap back in place.

Trinkette Bracelet
I must admit that I prefer the snake chain type bracelet to this bangle type. Don't worry Prima Bead has both to accommodate your style.

I love how versatile this is. In less than a minute you can change up the bracelet and get a whole different look. 


I am a Prima Bead Blog Team Member. I am also an affiliate of Prima Bead. I receive product from Prima Bead. In return, I create jewelry pieces from that product, and share about them through my blog and other social media outlets. All opinions expressed in this post are mine. 


Wednesday, June 4, 2014

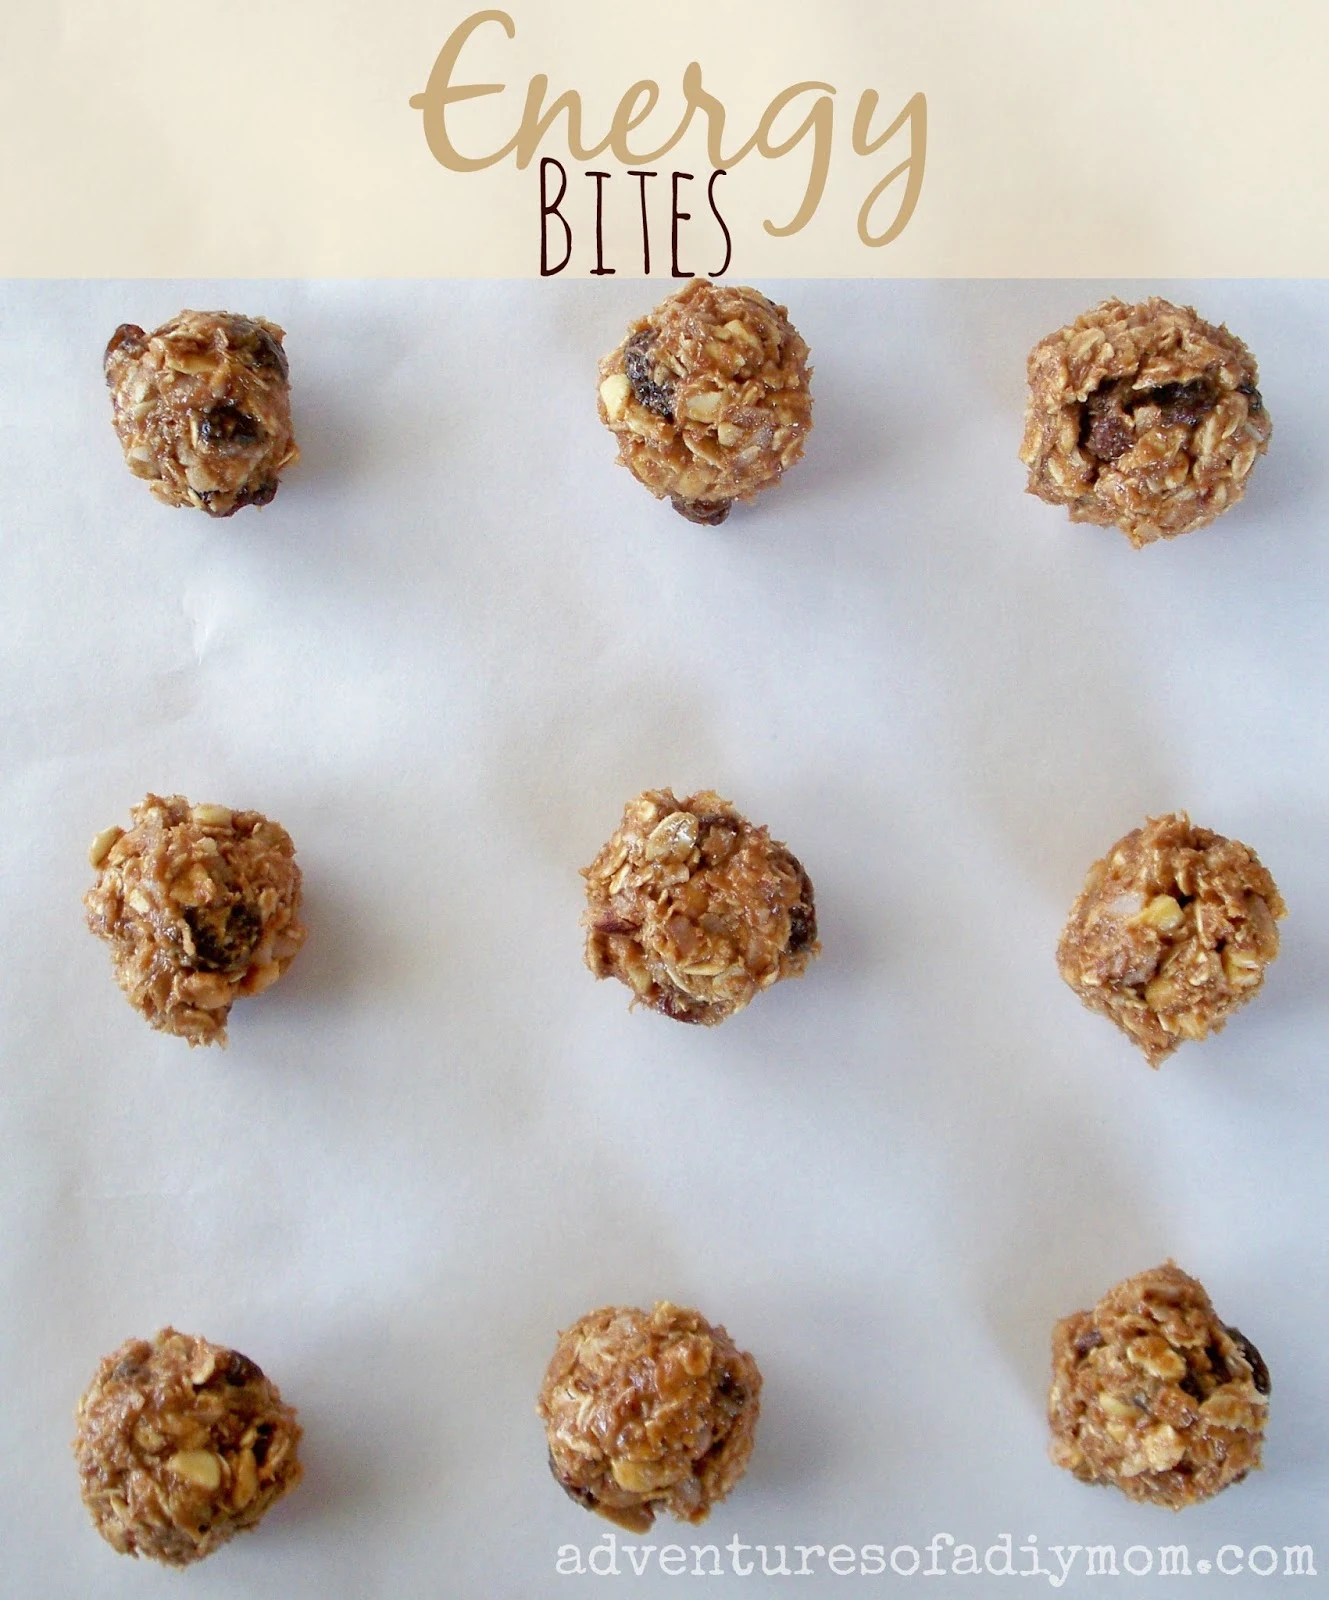
Energy Bites

So my sister gave me this recipe a few years ago and I finally got around to trying it. These energy bites are super yummy. They reminded me of oatmeal cookie dough. And you know that I can't make cookies without eating a bunch of the dough. But these energy bites are even better than cookie dough, because there's no raw eggs and they're packed full of healthy stuff. 

Energy Bites

I did not include the ground flax or the sunflower seeds because I didn't have them on hand. And I decided to go with the more healthy raisins vs the mini chocolate chips. Feel free to experiment and adjust to fit the ingredients you have on hand. 


Energy Bites Recipe
 These were perfect for a quick snack in the afternoon. You know that time of day when it's too close to dinner to eat without spoiling your appetite, but you're starving. Just grab one or two of these to keep the hunger pains at bay. 


Enjoy!


Energy Bites

Energy Bites

Servings: 18
Author: Rachel Nielsen
Prep time: 20 MinTotal time: 20 Min
A make ahead recipe for a quick snack on-the-go.

Ingredients

  • 1 c. rolled oats
  • 1/2 c. peanut butter
  • 1/3 c. honey
  • 1/3 c. shredded coconut
  • 1/4 t. salt
  • 1 t. vanilla
  • 1 c. raisins
  • 1 t. cinnamon

Instructions

  1. Mix all ingredients together and refrigerate for 45 minutes.
  2. Roll into quarter-sized balls.
  3. Store in an airtight container in the fridge.

Notes:

Optional add ins: 1/2 c. ground flax 1/3 c. raw sunflower seeds 1/2 c. mini chocolate chips

energy bites,
Snacks
American