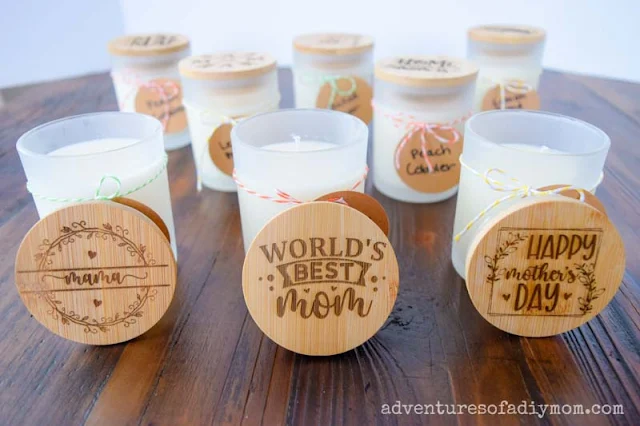
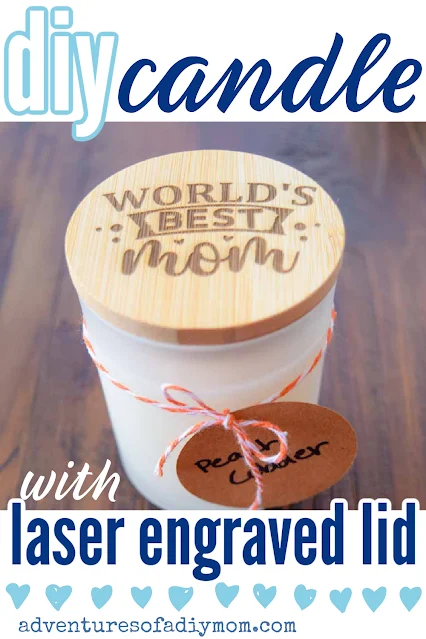
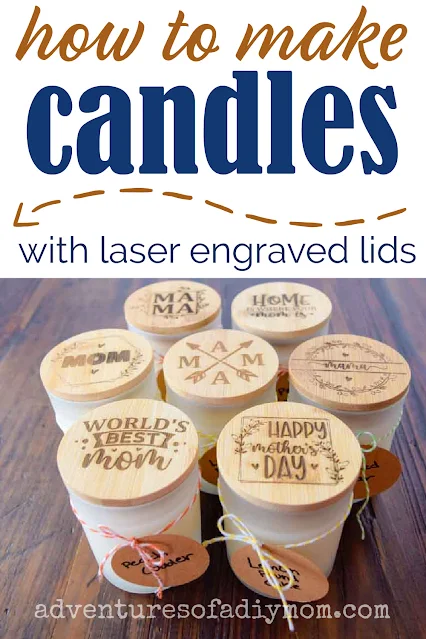
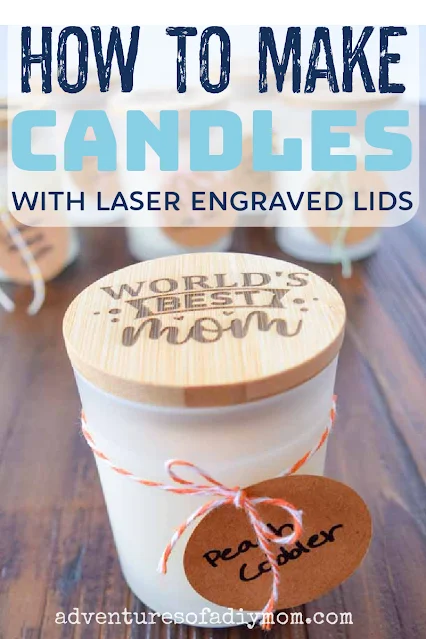
Honor mom with hand-poured candles with laser engraved lids.
Candles are a great gift for mom and are easy to make.
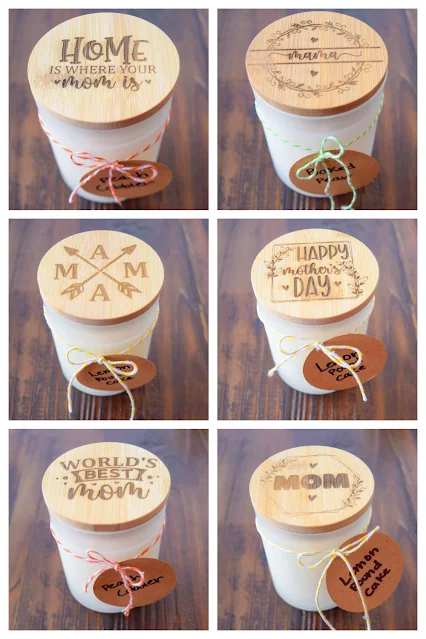
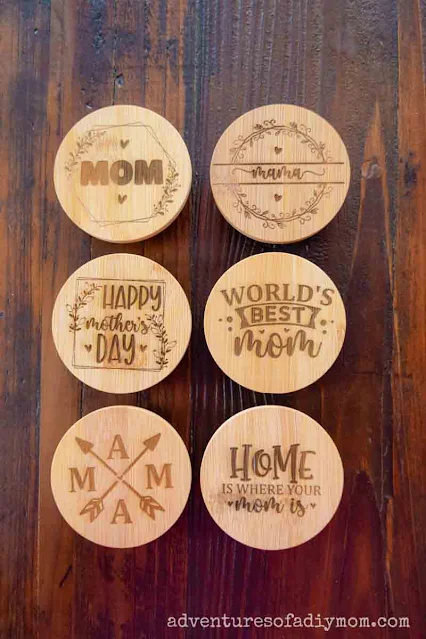
Add a customized laser engraving to the bamboo lid to make the gift extra special.
DIY CANDLES WITH LASER ENGRAVED LIDS
Candle making is almost a lost art. It's so easy to purchase store-bought candles.But the satisfaction of creating your own candles makes it something worth trying.
This post may contain affiliate links. As an Amazon Associate I earn from qualifying purchases. Please see my full disclosure policy for details.
SUPPLIES NEEDED TO MAKE CANDLES WITH ENGRAVED LIDS
- Laser cutting machine (I have the x-Tool S1 20W)
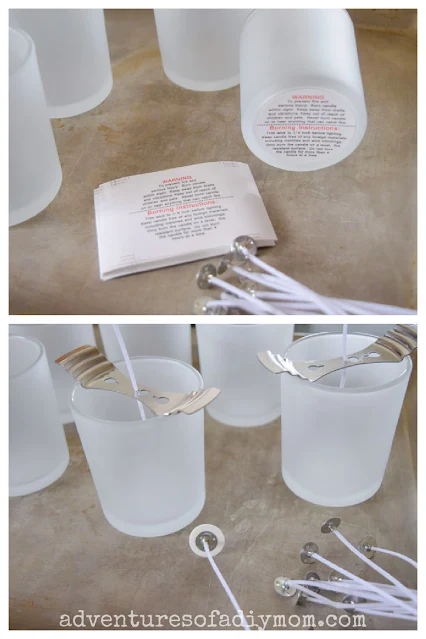
- frosted candle jars with bamboo lids (wicks are included)
- candle wax
- fragrance oils (my wax was pre-scented)
- Mother's Day SVG Bundle (Free)
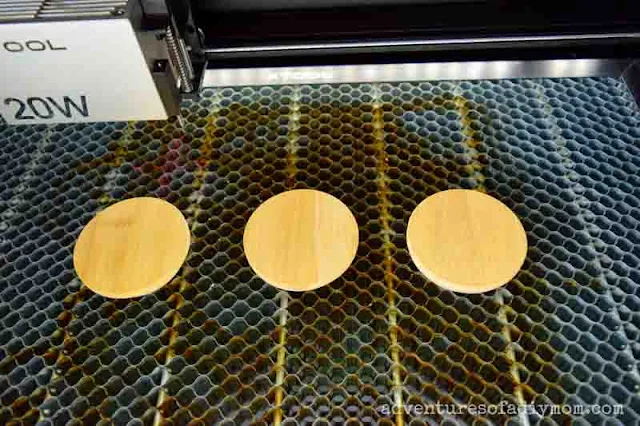
HOW TO LASER ENGRAVE BAMBOO
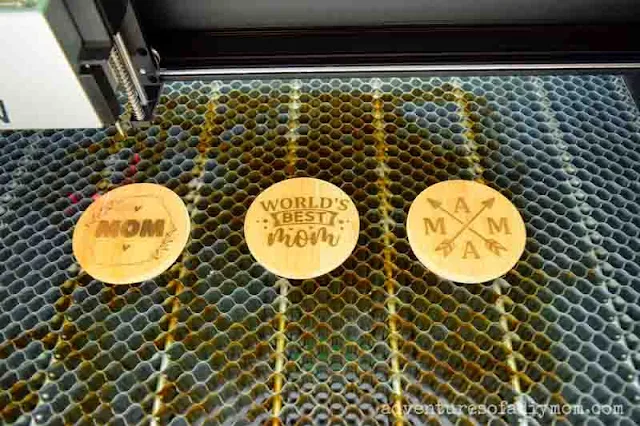
Let's get started with engraving the lids.Note: If you don't have a laser engraver, but you do have a cricut or silhouette you could try using these files to cut out vinyl to apply to the lid instead. If you don't have either machine, you can just leave them plain.
One thing I learned is that bamboo engraves unevenly. But there's a trick to minimize this.
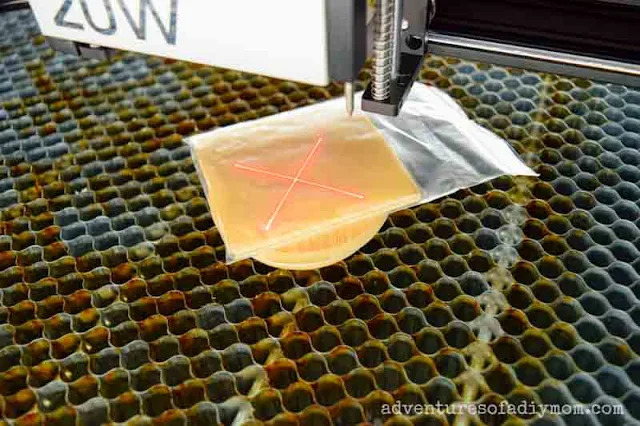
When measuring the distance, add something so that the machine measures just a little bit higher than the actual lid.
I used this stack of blank stickers that came with the candle jars. It's about 3/8 inch thick. I placed it on top of the lid, then measured the distance.
I'm not sure why this works, but it does. I learned this trick from this video.
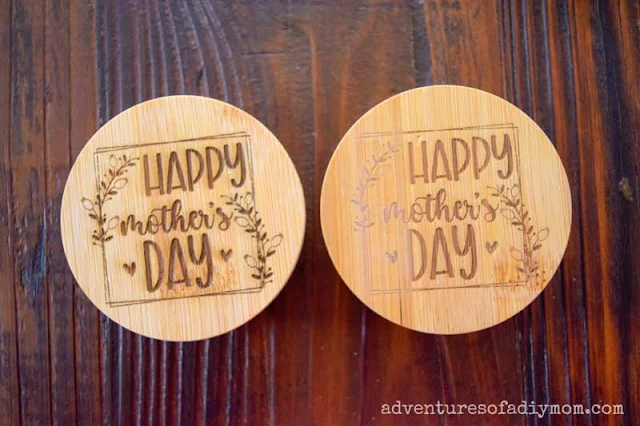
You can see below the difference this makes.
The lid on the left was made by adjusting the distance. The distance was not adjusted for the lid on the right.
You can see the lid on the right has uneven etching - some of the design is much lighter than the rest of it.
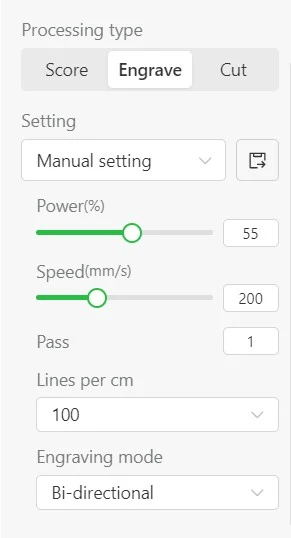
There wasn't a materials setting for bamboo, so I used the basswood setting.
Here are the settings I used: 55% power, 200 speed, 1 pass
HOW TO MAKE CANDLES
Now let's make the candles.This kit from xTool comes with everything you need except the wax.
I really like the transparent frosted jars. They also come in amber or black.
Add the warning stickers to the bottom of the glass jar.
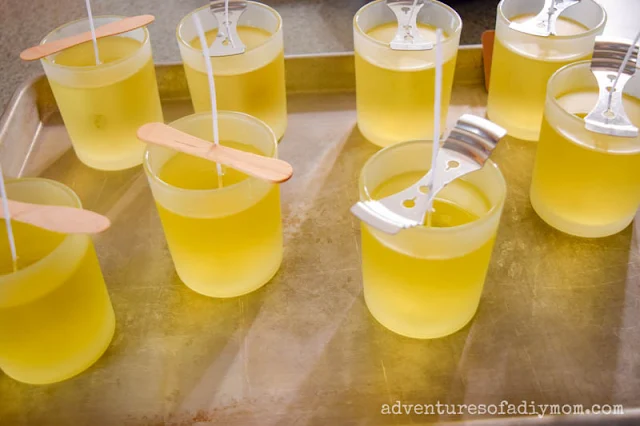
Then add a wick stickers to the bottom of the each wick and place it in the center of the jar.
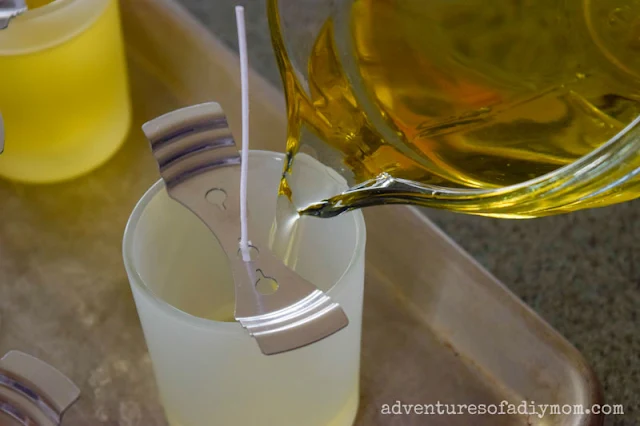
Use the wick holders to keep the wick in place when the warm wax is poured into the jars.
I placed the jars on a cookie sheet.
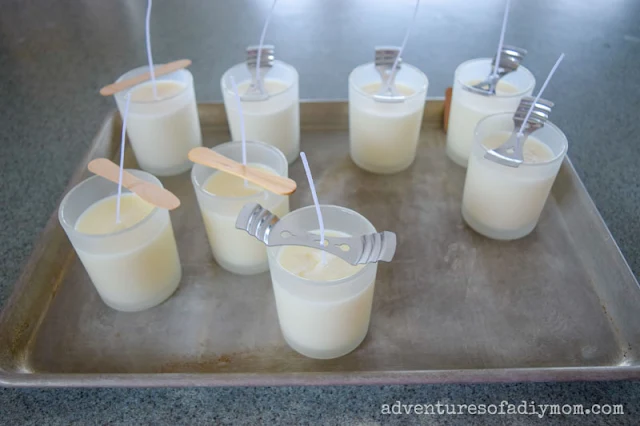
This made it easy to move the candles into the pantry to cool and harden overnight. This was necessary because we have curious cats who like to investigate.
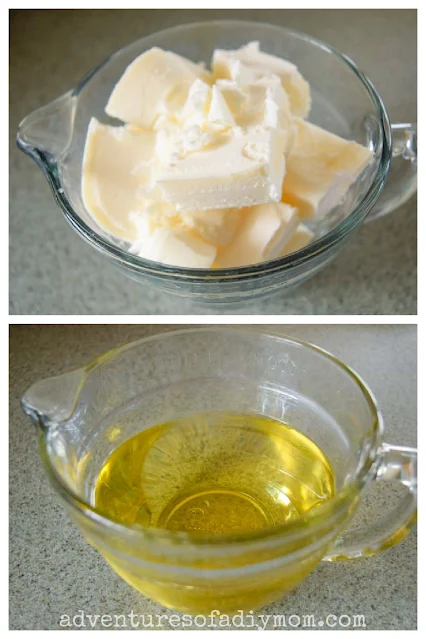
There are lots of kinds of candle-making wax. The wax I'm using is not available anymore. But since I have a stockpile of it, I decided to use it up.
There are a few different ways you can melt the wax. Follow the instructions for the wax you choose.
Below is the candle-making process I followed based on the instructions for my wax.
The instructions for this wax said to microwave in a glass bowl for 2 minutes, adding an additional minute if needed to melt. Then to let the wax cool for 5 minutes before pouring.
Carefully pour the wax into the jars. Be sure to leave some room at the top so that the wooden lids can be added once cooled.
I only had 5 wick holders and I made 8 candles. So I used wooden sticks to keep the wicks in place in the remaining jars.
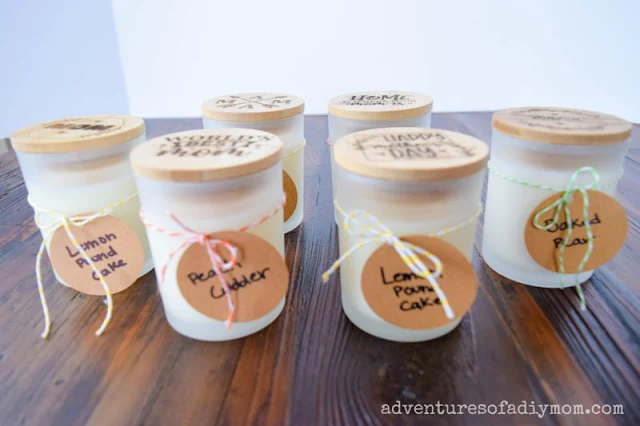
I made 3 different scents. Peach Cobbler, Baked Pear, and Lemon Pound Cake.
Allow to cool for at least 24 hours before lighting.
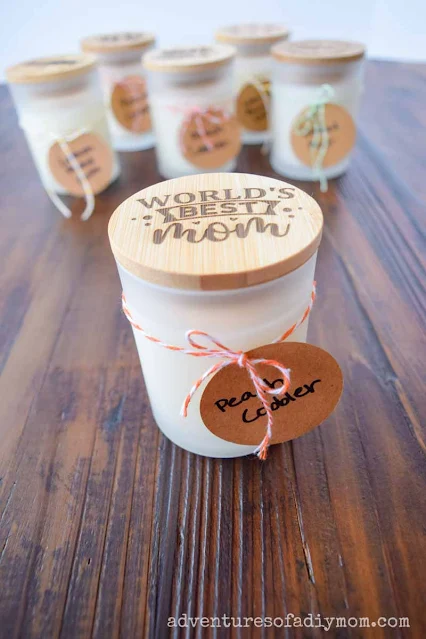
Once the candles have cooled, trim the wicks and add the engraved bamboo lids.
I added some bakers twine with a round paper tag to label the scent of the candle.
MORE MOTHER'S DAY IDEAS
- Embroidered Apron
- Scalloped Edge Crochet Hotpad
- Love Embroidery
- 35+ Mother's Day Craft Ideas for Adults
- 35+ Mother's Day Crafts for Kids to Make
MORE LASER PROJECTS
- Laser Cut Succulent Magnets
- Laser Cut Bookmarks with Engraving
- Pin Point Positioning with xTool
- xTool S1 Review
- Laser Cut Drawer Organizer
Don't forget to pin it!!

0 comments